


YORK INTERNATIONAL
36
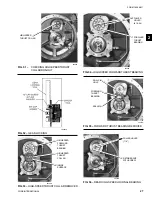
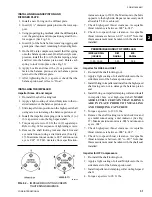
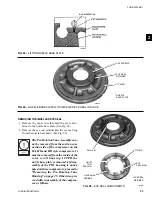
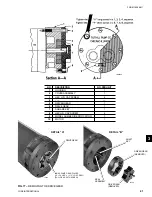
FIG. 72 –
PRE-ROTATION VANE ASSEMBLY
21501
3
10
5
4
6
9
11
(7, 12)*
8
10
2
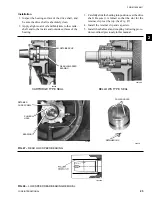
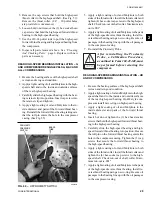
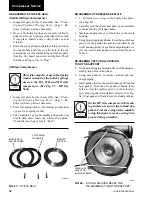
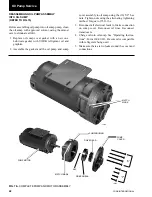
After access is made to the PRV assembly proceed as
follows:
1. Remove the 12 pt. Hd. cap screw and fill piece to
disconnect the adjustable bearing rod from the vane
driving ring. (See Fig. 70)
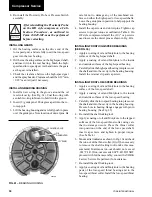
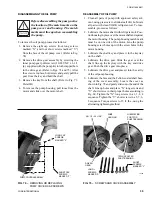
2. Remove the (2) hex hd. cap screws at approximately
180 degrees apart. Replace these screws with (2)
guide pins from the tool kit. Then remove the re-
maining screws from around the perimeter of the
PRV assembly. Hook a lifting device to the assem-
bly and carefully pull off the guide studs and place
on a work bench to replace any parts.
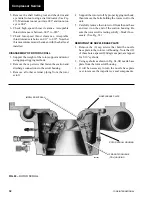
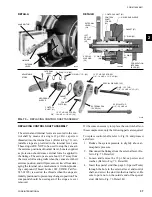
3. The PRV vanes are actuated by a rotating vane
drive ring through individual vane arms to each vane.
Individual vanes may be removed by
a. unscrewing the cap screw which secures the
vane arm to the vane;
b. lifting off the vane arm;
c. lifting off the two special washers and pulling
the vane out toward the inside of the vane
housing. (Refer to Fig. 71)
4. If any of the individual vanes were removed or
replaced, refer to Figs. 71 and 72. The vane cap
screw must be tightened to the torque as indicated
in Table 4.
5. Re-assembly the PRV assembly and the nozzle base
plate together in reverse order. Torque all screws in
accordance with Table 4.
Compressor Service
Содержание HA-57
Страница 2: ...YORK INTERNATIONAL 2 ...
Страница 43: ...FORM 160 49 M1 43 YORK INTERNATIONAL NOTES 3 ...


