Getting Started
35
2.
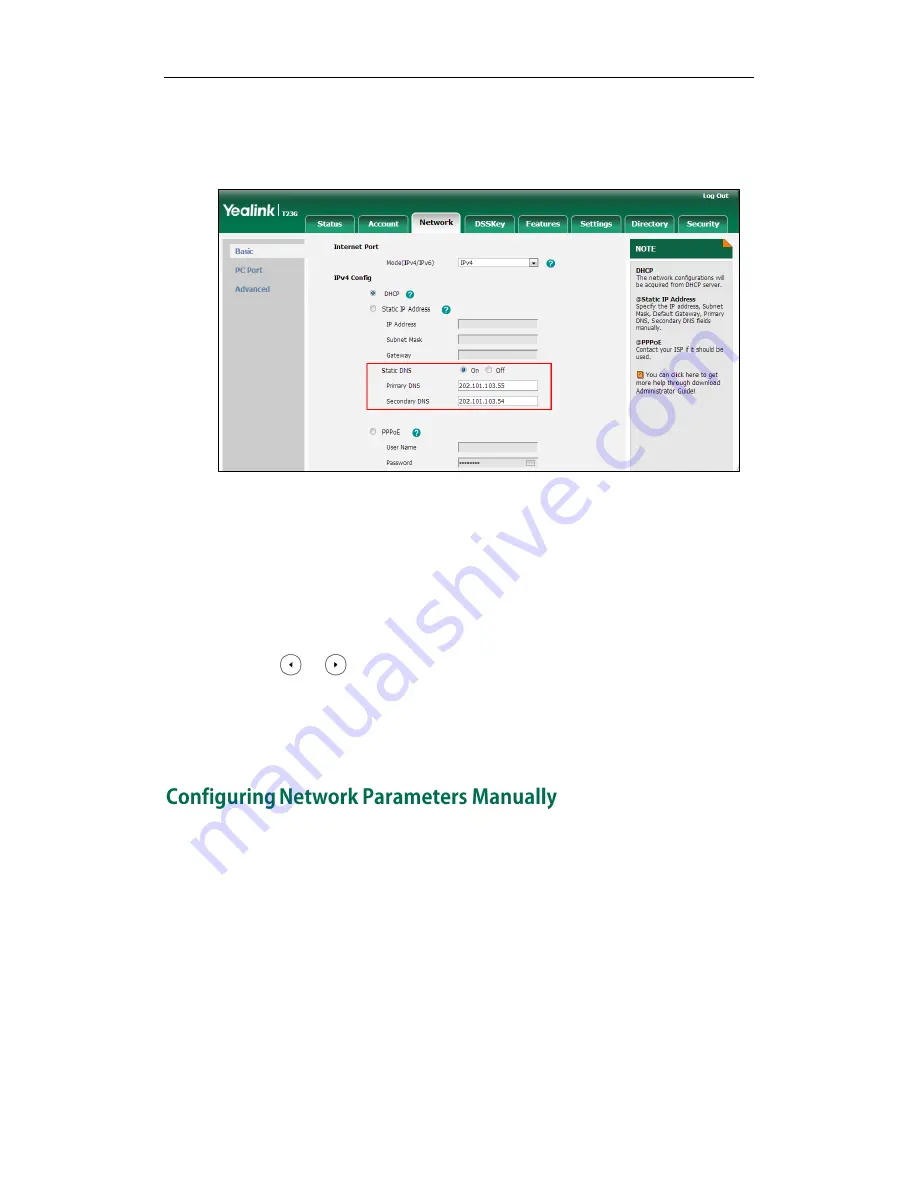
In the IPv4 Config block, mark the DHCP radio box.
3.
Mark the Static DNS radio box.
4.
Enter the desired values in the Primary DNS and Secondary DNS fields.
5.
Click Confirm to accept the change.
A dialog box pops up to prompt that settings will take effect after a reboot.
6.
Click OK to reboot the phone.
To configure static DNS when DHCP is used via phone user interface:
1.
Press Menu->Settings->Advanced Settings (default password: admin)
->Network->WAN Port->IPv4->DHCP IPv4 Client.
2.
Press or , or the Switch soft key to select Enabled from the Static DNS field.
3.
Enter the desired values in the IPv4 Pri.DNS and IPv4 Sec.DNS fields respectively.
4.
Press the Save soft key to accept the change.
The IP phone reboots automatically to make settings effective after a period of time.
If DHCP is disabled or IP phones cannot obtain network parameters from the DHCP
server, you need to configure them manually. The following parameters should be
configured for IP phones to establish network connectivity:
IP Address
Subnet Mask
Default Gateway
Primary DNS
Secondary DNS
Содержание Yealink SIP-T46G
Страница 1: ...啊 ...
Страница 8: ...Administrator s Guide for SIP T2_Series_T4_Series IP Phones viii ...
Страница 28: ...Administrator s Guide for SIP T2_Series_T4_Series IP Phones 14 ...
Страница 70: ...Administrator s Guide for SIP T2_Series_T4_Series IP Phones 56 ...
Страница 129: ...Configuring Basic Features 115 The following shows a portion of the input method file Russian_ime txt ...
Страница 558: ...Administrator s Guide for SIP T2_Series_T4_Series IP Phones 544 ...
Страница 622: ...Administrator s Guide for SIP T2_Series_T4_Series IP Phones 608 ...


