


Customizing Your Phone
29
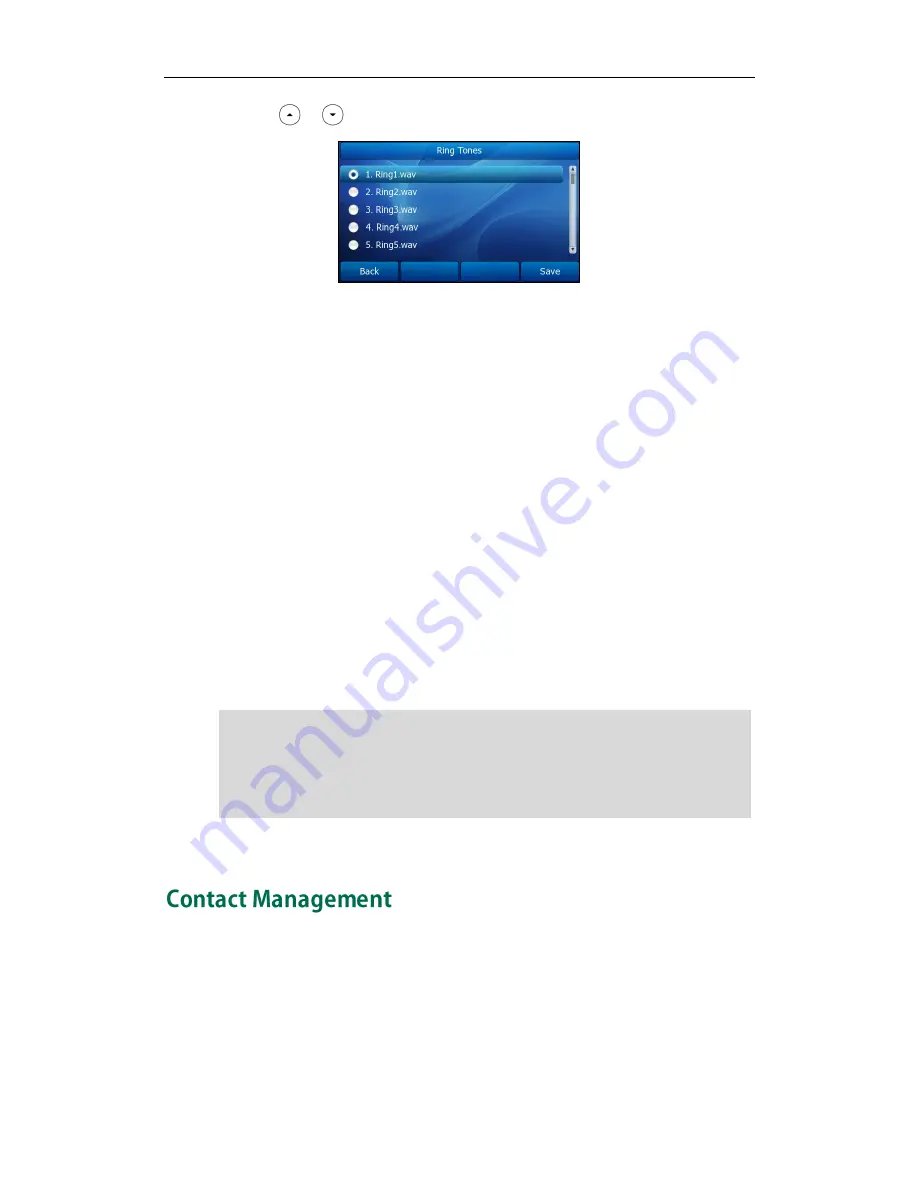
2.
Press or to select the desired ring tone.
3.
Press the Save soft key to accept the change or the Back soft key to cancel.
To select a ring tone for the phone via web user interface:
1.
Click on Phone->Preference.
2.
Select the desired ring tone from the pull-down list of Ring Tones.
3.
Click Confirm to accept the change.
To select a ring tone for the account via web user interface:
1.
Click on Account.
2.
Select the desired account from the pull-down list of Account.
3.
Select the desired ring tone from the pull-down list of Ring Tones.
If common is selected, this account will use the ring tone selected for the phone at
the path Phone->Preference. Refer to the above instruction.
4.
Click Confirm to accept the change.
You can also upload custom ring tones for your phone, contact your system
administrator for more information.
Note
This section provides the operating instructions for managing contacts. The topics
include:
Local Directory
Blacklist
Remote Phonebook
The ring tone for an incoming call on the phone may be different. For example, when the
phone receives an incoming call from a contact stored in the local directory, it will play
the ring tone assigned to the con tact in the contact directory (refer to
Addin g Contacts
in
the Contact Management section). Otherwise, the phone will play the ring tone assigned
to the account. If both the contact ring tone and the account ring tone are not assigned,
then the phone will play the ring tone assigned for the phone.
Содержание SIP-T32G
Страница 1: ......
Страница 10: ...User Guide for the SIP T32G IP Phone x ...
Страница 26: ...User Guide for the SIP T32G IP Phone 16 ...


