PERIODIC MAINTENANCE AND MINOR REPAIR
6-17
6
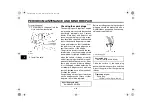
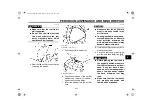
10. Remove the coolant reservoir by
removing the bolts.
11. Remove the coolant reservoir cap,
and then turn the coolant reservoir
upside down to empty it.
12. After the coolant is completely
drained, thoroughly flush the cool-
ing system with clean tap water.
13. Install the coolant reservoir by in-
stalling the bolts.
14. Connect the radiator hose, and
then tighten the clamp screw.
15. Install the coolant drain bolt, and
then tighten it to the specified
torque.
NOTE:
Check the washer for damage and re-
place it if necessary.
16. Pour the recommended coolant
into the reservoir to the maximum
level mark, and then install the
coolant reservoir cap.
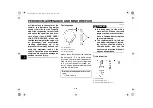
17. Insert the fuel hoses into the guide,
place them in their original posi-
tions, and then install the coolant
reservoir cover by installing the
bolts.
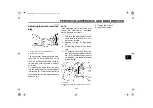
18. Pour the recommended coolant
into the radiator until it is full.
1. Coolant reservoir cap
2. Coolant reservoir
3. Bolt
Tightening torque:
Coolant drain bolt:
10 Nm (1.0 m·kgf, 7.2 ft·lbf)
1. Fuel tank breather hose (except for Califor-
nia)
2. Fuel tank overflow hose
Antifreeze/water mixture ratio:
1:1
Recommended antifreeze:
High-quality ethylene glycol anti-
freeze containing corrosion inhibitors
for aluminum engines
Coolant quantity:
Radiator capacity (including all
routes):
2.15 L (2.27 US qt) (1.89 Imp.qt)
Coolant reservoir capacity (up to the
maximum level mark):
0.25 L (0.26 US qt) (0.22 Imp.qt)
U5SL12E0.book Page 17 Monday, August 9, 2004 10:51 AM

