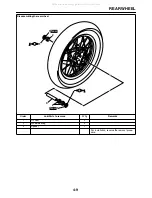
REAR WHEEL
4-10
EAS22040
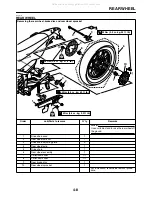
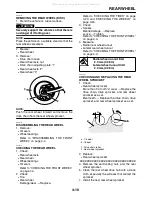
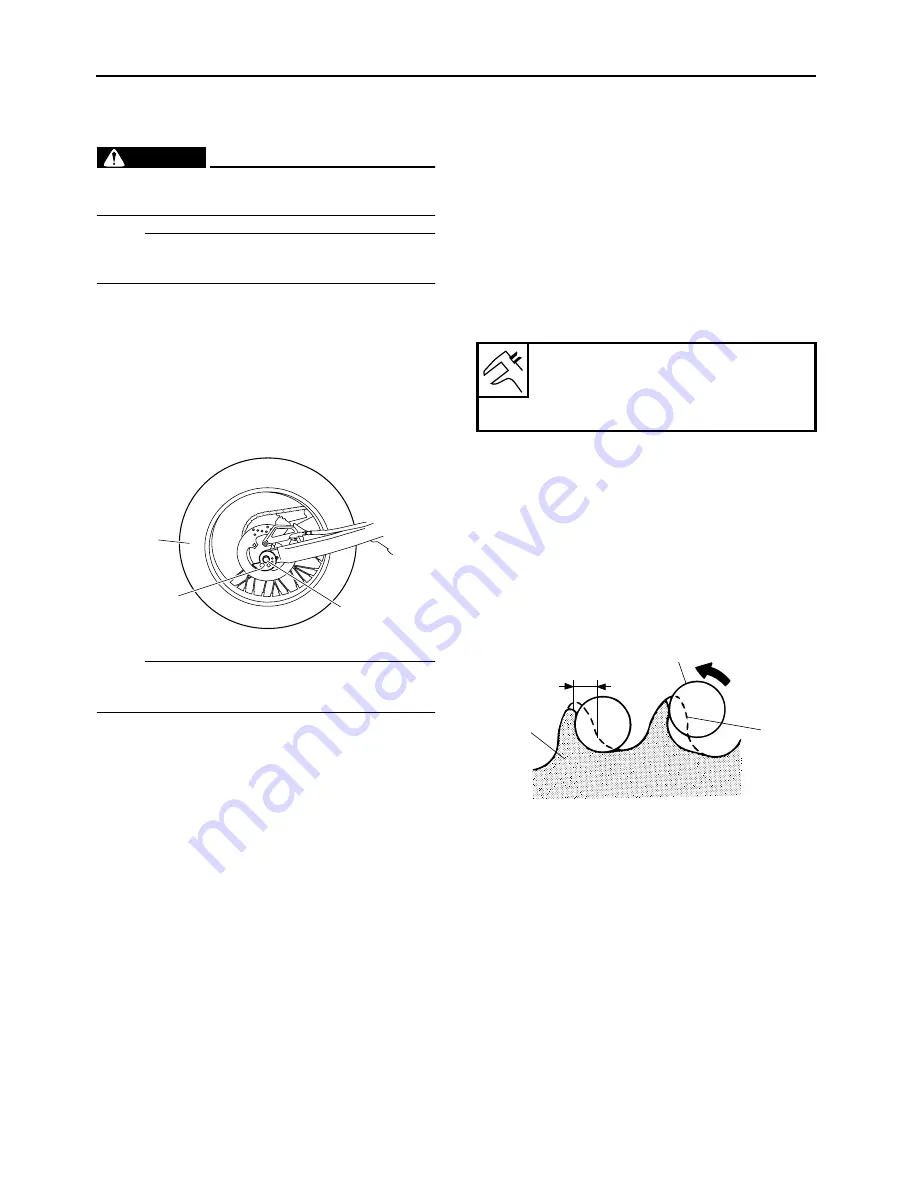
REMOVING THE REAR WHEEL (DISC)
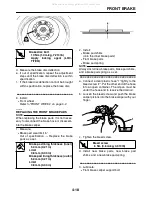
1. Stand the vehicle on a level surface.
WARNING
EWA13120
Securely support the vehicle so that there is
no danger of it falling over.
NOTE:
Place the vehicle on a suitable stand so that the
rear wheel is elevated.
2. Elevate:
●
Rear wheel
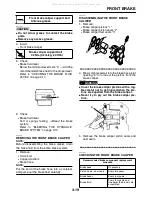
3. Remove:
●
Drive chain case
●
Rear wheel axle nut
●
Drive chain adjusting plate “1”
●
Rear wheel axle “2”
●
Rear wheel “3”
NOTE:
Push the rear wheel forward and remove the
drive chain from the rear wheel sprocket.
EAS22080
DISASSEMBLING THE REAR WHEEL
1. Remove:
●
Oil seals
●
Wheel bearings
Refer to “DISASSEMBLING THE FRONT
WHEEL” on page 4-4.
EAS22100
CHECKING THE REAR WHEEL
1. Check:
●
Rear wheel axle
●
Rear wheel
●
Wheel bearings
●
Oil seals
Refer to “CHECKING THE FRONT WHEEL”
on page 4-4.
2. Check:
●
Tire
●
Rear wheel
Damage/wear
→
Replace.
Refer to “CHECKING THE TIRES” on page
3-23 and “CHECKING THE WHEELS” on
page 3-24.
3. Check:
●
Spokes
Bends/damage
→
Replace.
Loose
→
Tighten.
Refer to “CHECKING THE FRONT WHEEL”
on page 4-4.
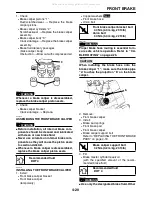
4. Measure:
●
Radial rear wheel runout
●
Lateral rear wheel runout
Refer to “CHECKING THE FRONT WHEEL”
on page 4-4.
EAS22120
CHECKING AND REPLACING THE REAR
WHEEL SPROCKET
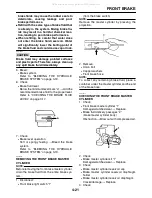
1. Check:
●
Rear wheel sprocket
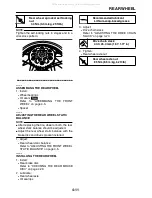
More than 1/4 tooth “a” wear
→
Replace the
drive chain, drive sprocket, and rear wheel
sprocket as a set.
Bent teeth
→
Replace the drive chain, drive
sprocket, and rear wheel sprocket as a set.
2. Replace:
●
Rear wheel sprocket
▼▼▼▼▼▼▼▼▼▼▼▼▼▼▼▼▼▼▼▼▼▼▼▼▼▼▼▼▼▼▼▼
a. Remove the self-locking nuts and the rear
wheel sprocket.
b. Clean the rear wheel drive hub with a clean
cloth, especially the surfaces that contact the
sprocket.
c. Install the new rear wheel sprocket.
2
1
3
Radial wheel runout limit
2.0 mm (0.08 in)
Lateral wheel runout limit
2.0 mm (0.08 in)
a. 1/4 wear
b. Correct
1. Drive chain roller
2. Rear wheel sprocket
1
2
a
b
All manuals and user guides at all-guides.com
Содержание XT250X 2008
Страница 2: ...All manuals and user guides at all guides com...
Страница 8: ...All manuals and user guides at all guides com...
Страница 50: ...CABLE ROUTING 2 31 A D C I H G 1 2 3 4 5 6 8 E L K M J B A A 7 F All manuals and user guides at all guides com...
Страница 54: ...CABLE ROUTING 2 35 All manuals and user guides at all guides com...
Страница 82: ...ELECTRICAL SYSTEM 3 27 a b All manuals and user guides at all guides com...
Страница 170: ...VALVES AND VALVE SPRINGS 5 24 All manuals and user guides at all guides com...
Страница 220: ...AIR INDUCTION SYSTEM 6 9 EAS27040 AIR INDUCTION SYSTEM 1 2 4 6 7 3 5 All manuals and user guides at all guides com...
Страница 224: ...AIR INDUCTION SYSTEM 6 13 All manuals and user guides at all guides com...
Страница 237: ...CHARGING SYSTEM 7 12 2 A C magneto 3 Rectifier regulator 4 Fuse 6 Battery All manuals and user guides at all guides com...
Страница 239: ...CHARGING SYSTEM 7 14 All manuals and user guides at all guides com...
Страница 243: ...LIGHTING SYSTEM 7 18 All manuals and user guides at all guides com...
Страница 249: ...SIGNALING SYSTEM 7 24 All manuals and user guides at all guides com...
Страница 253: ...CARBURETOR HEATING SYSTEM 7 28 All manuals and user guides at all guides com...
Страница 256: ...ELECTRICAL COMPONENTS 7 31 2 1 8 9 5 4 3 7 6 All manuals and user guides at all guides com a l l g u i d e s c o m...
Страница 279: ...All manuals and user guides at all guides com...
Страница 280: ...YAMAHA MOTOR CO LTD 2500 SHINGAI IWATA SHIZUOKA JAPAN PRINTED IN U S A All manuals and user guides at all guides com...

