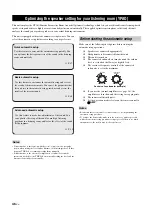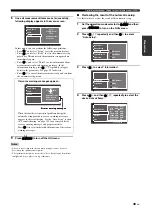
Optimizing the speaker setting for your listening room (YPAO)
51
En
Prepara
tion
3
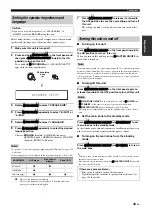
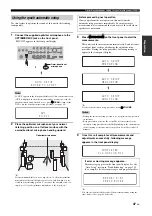
Press
I
MENU
on the remote control.
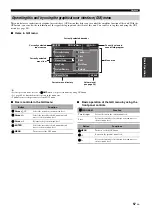
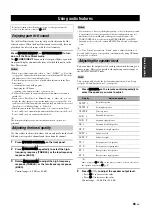
Following menu screen appears in the video monitor.
4
Press
9
k
to select “Setup Menu” and then
9
h
.
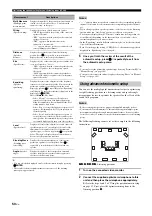
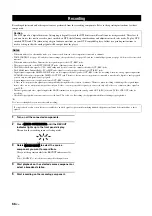
The list of the measurements in the automatic setup appears in
the screen.
5
Press
9
k
repeatedly to select “Multi Measure”.
6
Press
9
h
and then
9
k
/
n
repeatedly to set the
number of the listening positions you want to make
the measurement at.
Choices:
1
, 2, 3, 4, 5, 6, 7, 8
7
Press
9
l
to return to the previous menu level and
then press
9
n
repeatedly to select “Angle”.
8
Make sure that a check mark appears in the check
box of “Angle”.
If the check mark does not appears, press
9
ENTER
to select
the check box.
9
Once you have finished the settings, press
9
l
to
return to the previous menu level and then press
9
n
to select “Start”.
This unit starts the measurement procedure. See page 48 for
details.
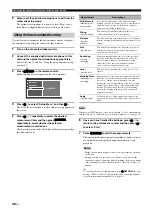
10
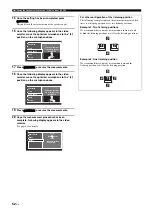
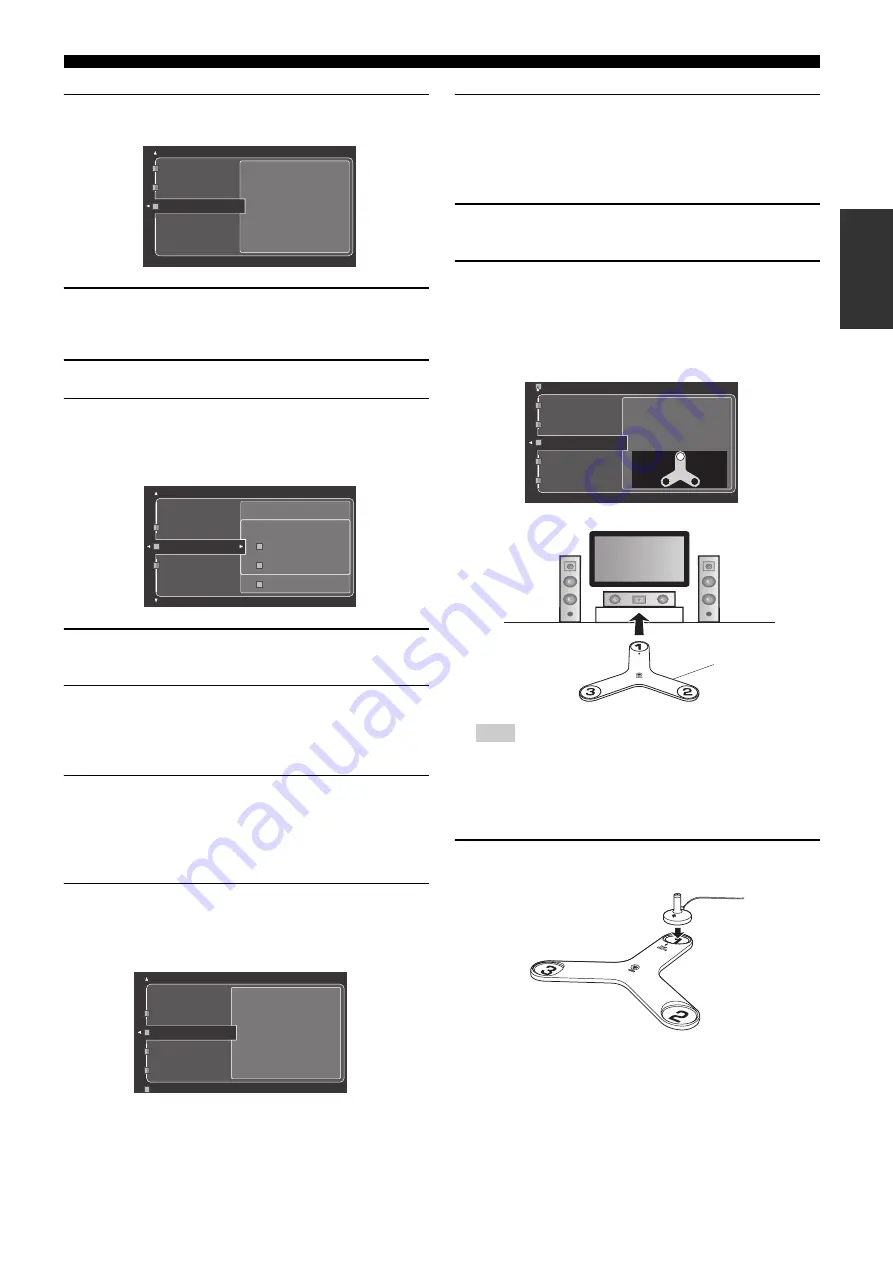
Once this unit pauses the automatic measurement
procedure and then “Put the microphone at 2nd
listening position” appears in the display, move the
optimizer microphone to the listening position
2
.
11
Press
9
ENTER
to start the measurement at the next
listening position.
y
To skip the measurements at the remaining listening positions, press
9
n
.
12
Repeat steps 10 and 11 until the measurements at all
listening points are completed.
13
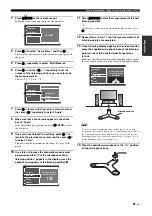
Once following display appears in the video monitor,
place the supplied microphone base at the listening
point you want to be seated most frequently as
follows.
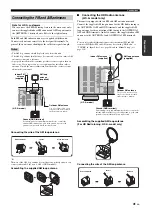
Make sure that the arrow mark on the microphone base points
the center speaker or between the front left and right speakers.
For the accurate measurements of the speaker angles, we strongly
recommend that you use a tripod (etc.) to affix the microphone base at
the same height as your ears would be when you are seated in your
listening position. You can use the attached screw of a tripod (etc.) to
fix the microphone base to the tripod (etc.).
14
Place the optimizer microphone to the “(1)” position
on the microphone base.
✓
✓
✓
3
Put the microphone at
2nd listening position
Skip:
Note
1
2
3
FRONT
DIRECTION
Microphone base

