PSR-SX600 Owner’s Manual
75
USB
Aud
io Pl
a
y
e
r/
R
ecor
de
r – R
e
cor
di
ng an
d Pl
a
y
in
g Au
di
o
F
ile
s –
4
Adjusting the Volume Balance Between the Song (MIDI) and Audio
playback
You can set this from the balance setting display (page 56).
Canceling the Vocal Part and Playing the Part with Backing (Vocal
Cancel)
This lets you cancel or attenuate the center position of the stereo sound. This lets you
sing “karaoke” style with just instrumental backing, since the vocal sound is usually
at the center of the stereo image in most recordings.
To turn Vocal Cancel on, after selecting an Audio file, press the [8
] (Setting)
buttons, and then use the [3
]/[4
] (Vocal Cancel) buttons. If you select
another audio file, this setting will be switched to off.
Adjusting the Playback Speed (Time Stretch)
These let you adjust the playback speed of an Audio file by stretching or
compressing it. The value can be adjusted from 75% to 125% and the default value is
100%. Higher values result in a faster tempo.
To adjust the playback speed, press the [8
] (Setting) buttons to call up the pop-
up display for audio settings, and then use the [6
] (Time Stretch) buttons. If you
select another audio file, this setting will be restored to the default value.
Adjusting the Pitch in semitones (Pitch Shift)
These let you shift the pitch of an Audio file in semitones.
To shift the pitch, press the [8
] (Setting) buttons to call up the pop-up display
for audio settings, and then use the [7
] (Pitch Shift) buttons.
If you select another audio file, this setting will be restored to the default value.
You can record your performance as an audio file (WAV format — 44.1 kHz sample
rate, 16-bit resolution, stereo) directly to a USB flash drive.
Sounds that can be recorded:
• Sounds that are generated via all the keyboard parts (LEFT, RIGHT 1, 2), Song
parts, Style parts, and Multi Pad (page 80) parts.
• Sounds of a vocal part that are input via the [MIC INPUT] jack (page 77).
• Sounds of a portable audio player that are input via the [AUX IN] jack (page 100).
• Sounds of the Audio File, etc. that are input via the [USB TO HOST] terminal
Maximum amount of recording time:
• 80 minutes per recording, though this may differ depending on the capacity of the
USB flash drive.
1
Connect the USB flash drive to the [USB TO DEVICE] terminal.
2
Make the necessary settings such as Voice/Style selection.
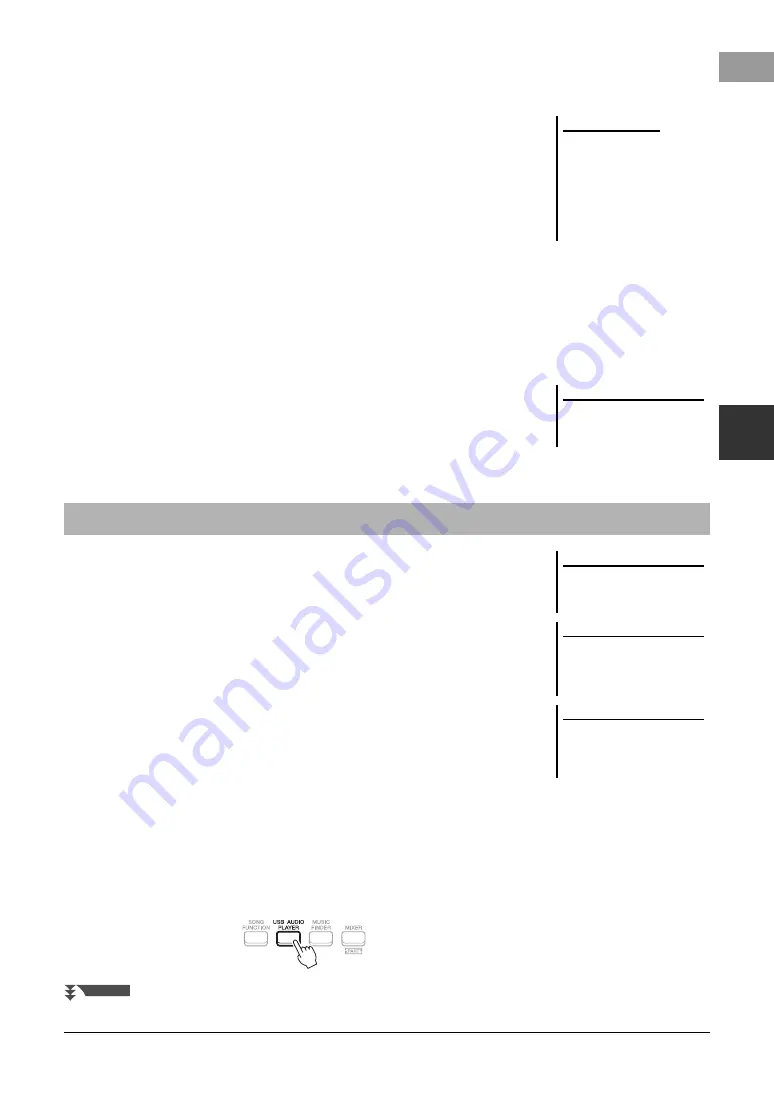
3
Press the [USB AUDIO PLAYER] button to call up the USB Audio
Player display.
NOTE
• Though the Vocal Cancel function is
highly effective on most audio
recordings, the vocal sound on
some songs may not be completely
cancelled.
• Vocal cancel does not affect the
Audio Input Sound (page 97 – 100)
from external devices.
NOTE
Changing the playback speed of an
Audio file may change its tonal charac-
teristics.
Recording Your Performance as Audio
NOTE
Before using a USB flash drive, be sure
to read “Connecting USB Devices” on
page 95.
NOTE
If you want to record various parts sep-
arately or edit the data after recording
on this instrument, record as MIDI
files (page 68).
NOTE
Data that cannot be recorded includes:
Songs protected by copyright (such as
Preset Songs), Audio Link Multi Pads
and the metronome sound.
NEXT PAGE


