MENU DESCRIPTION
GPIO Mode
This menu allows choosing the way the GPIO are handled by the NXAMP Powered
TDcontroller. There are currently 5 modes of GPIO which are described bellow.
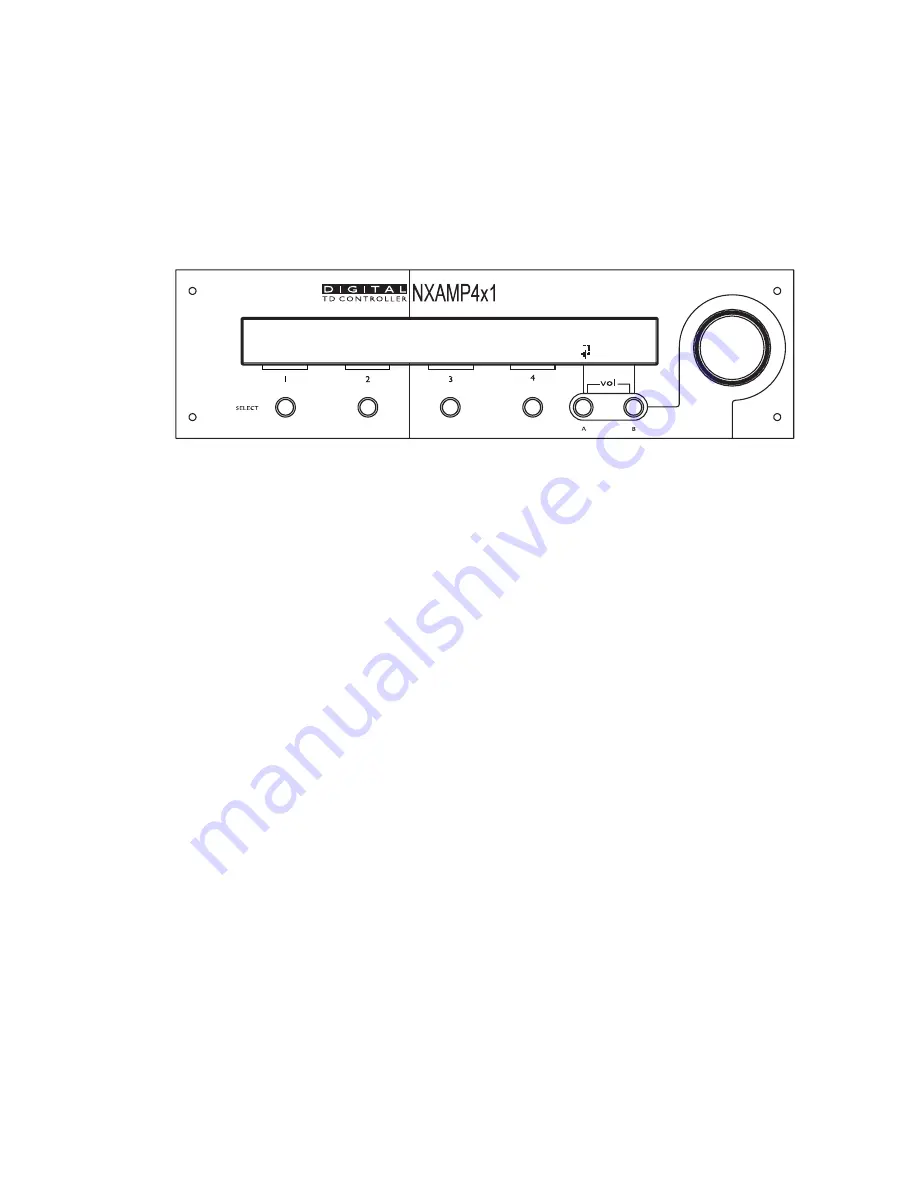
To change the current GPIO mode, press Edit (“Select 4” button) and turn the wheel up or
down to the selected GPIO mode. Once done, press OK (“Select 4” button) to validate you
choice.
GPIO is set to MODE 0 GPIO
Edit
To put a GPI pin in the "High" state, connect it to one of the "+5 Volts" output on the GPIO
DB-25 connector. See above in the user manual for proper pin-out. When nothing is
connected to a GPI, the state is "LOW" (internal pull-down). A switch can be directly
connected to this input, but if a GPIO output of another device should be connected, it is
mandatory to ensure a galvanic insulation between the two devices. Only direct connection
is authorized between NXAMP when they are located in the same rack.
GPIO mode 0 (OFF mode)
In this mode the GPIO port is turn off (this is the default mode). All the Outputs are set to
1 (+ 5 Volts), and all the Inputs are unused.
GPIO mode 1 (Basic remote control mode)
This mode is intended to be used with permanently "High" or "Low" state signals. There is
an action depending on the state of each GPI. A state is validated when the state of the pin
has changed and is stable for 1 second. Here is the detail:
GPInput1: Channel 1 Mute/Unmute
GPInput2: Channel 2 Mute/Unmute
GPInput3: Channel 3 Mute/Unmute
GPInput4: Channel 4 Mute/Unmute
GPInput5: ON/Stand-by function
GPOutput1: Channel 1 current out above thrs
GPOutput2: Channel 2 current out above thrs
GPOutput3: Channel 3 current out above thrs
GPOutput4: Channel 4 current out above thrs
GPOutput5: Channel 1 Protect/Peak
GPOutput6: Channel 2 Protect/Peak
GPOutput7: Channel 3 Protect/Peak
GPOutput8: Channel 4 Protect/Peak
PAGE 52 OF 91
Содержание Nexo NXAMP4X4
Страница 1: ...NXAMP4X1 NXAMP4X4 Powered TDcontrollers User Manual v1 7 LOAD2_52 ...
Страница 2: ......
Страница 90: ...ROHS CERTIFICATE ROHS certificate PAGE 90 OF 91 ...


