DM2000/02R96/DM1000 Version2 System Software Installation Guide
6
7
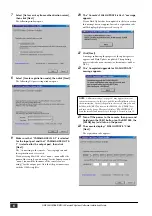
Select [Get access key from authentication server],
then click [Next].
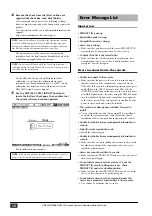
The following window opens.
8
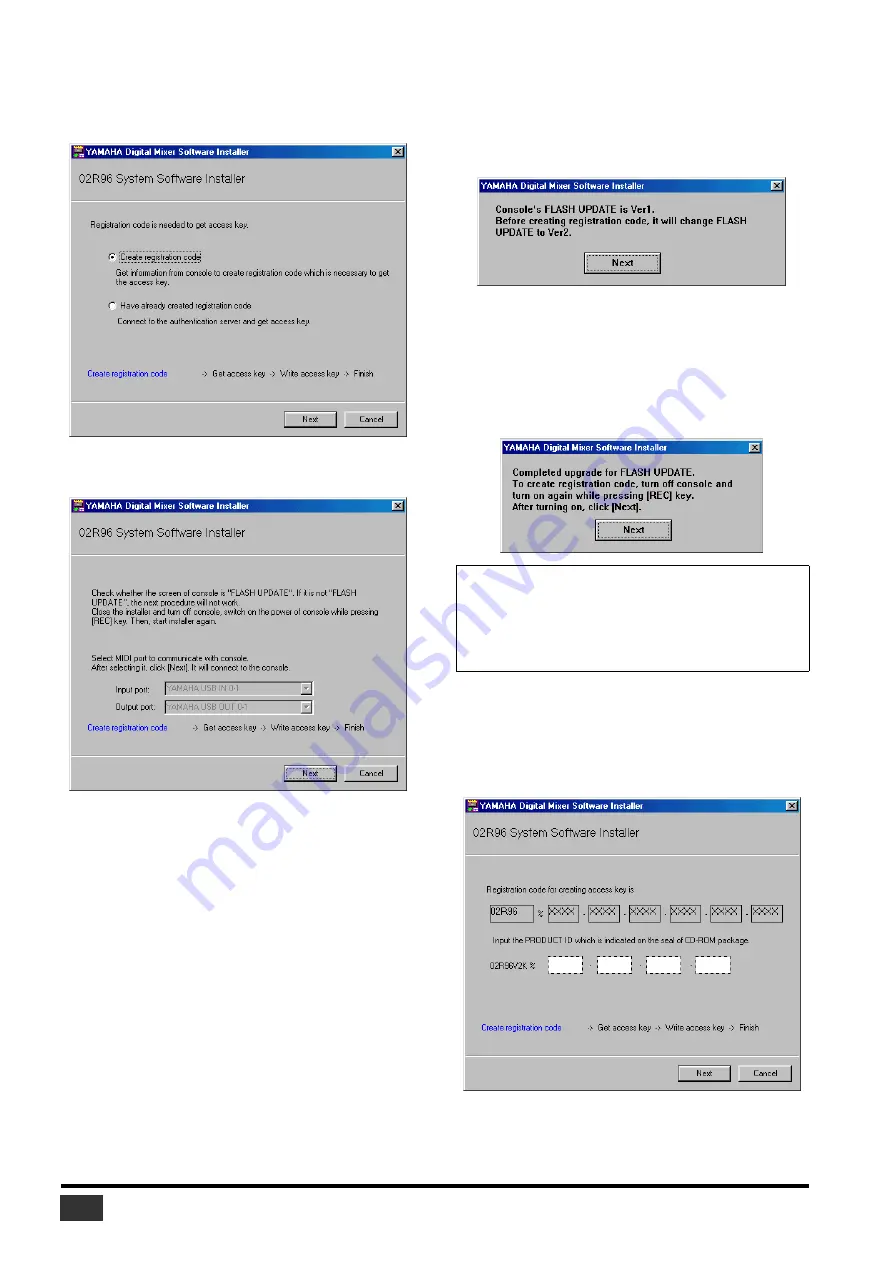
Select [Create registration code], then click [Next].
The following I/O port setting window opens.
9
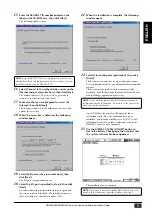
Make sure that “YAMAHA USB IN 0-1” is selected
for the Input port and that “YAMAHA USB OUT 0-
1” is selected for the output port, then click
[Next].
The “Connecting to the console...” message appears and
the registration code is created.
If you are using Mac OS 9, select “xxxx-1 (xxxx will be the
name of the console you are using)” for the Input port, and
“xxxx-1 (xxxx will be the name of the console you are
using)” for the output port. Note that the port names vary
with the OMS setup files.
10
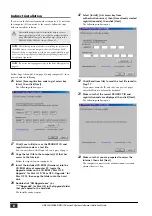
The “Console’s FLASH UPDATE is Ver1.” message
appears.
If your Flash Update has been updated to the latest version,
this message does not appear. Instead, a registration code
will be displayed; please proceed to step 14.
11
Click [Next].
A message indicating the progress of the update process
appears, and Flash Update is updated. The updating
process takes about one minute (or five minutes on Mac
OS X).
12
The “Completed upgrade for FLASH UPDATE.”
message appears.
13
Turn off the power to the console, then press and
hold down the [REC] button (on the DM1000, the
[CLEAR] key) and turn on the power.
14
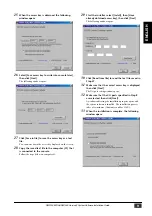
The console displays “FLASH UPDATE.” Click
[Next].
The registration code appears.
NOTE:
A different message (see page 10) may appear in various
system environments. In this case, quit the installer following the on-
screen instruction. Turn off the power to the console, then press and
hold down the [REC] button (on the DM1000, the [CLEAR] key)
and turn on the power. The console displays “FLASH UPDATE.”
Start the installer and repeat Steps 5 through 9. Proceed to Step 14.


