


57
Other Auto Accompaniment Functions
○ ○ ○ ○ ○ ○ ○ ○ ○ ○ ○ ○ ○ ○ ○ ○ ○ ○ ○ ○ ○ ○ ○ ○ ○ ○ ○ ○ ○ ○ ○
Chord Assist
This function uses the keyboard guide lamps to show you appropriate
fingerings for chords. (See page 92.)
The Chord Assist feature is essentially an electronic “chord book”
that shows you appropiate fingerings for chords, and is ideal when you
want to quickly learn how to play certain chords. Simply specify the
desired chord via the display, and the fingerings of the Fingered method
are indicated by the keyboard guide lamps.
Z
Set the Chord Assist function to ON.
.........................................
To do this, first press the
[ACMP ON]
button to call up the ACCOM-
PANIMENT MODE pop-up display, then use the PAGE
[
<
] [
>
]
buttons
to select the second page.
➾
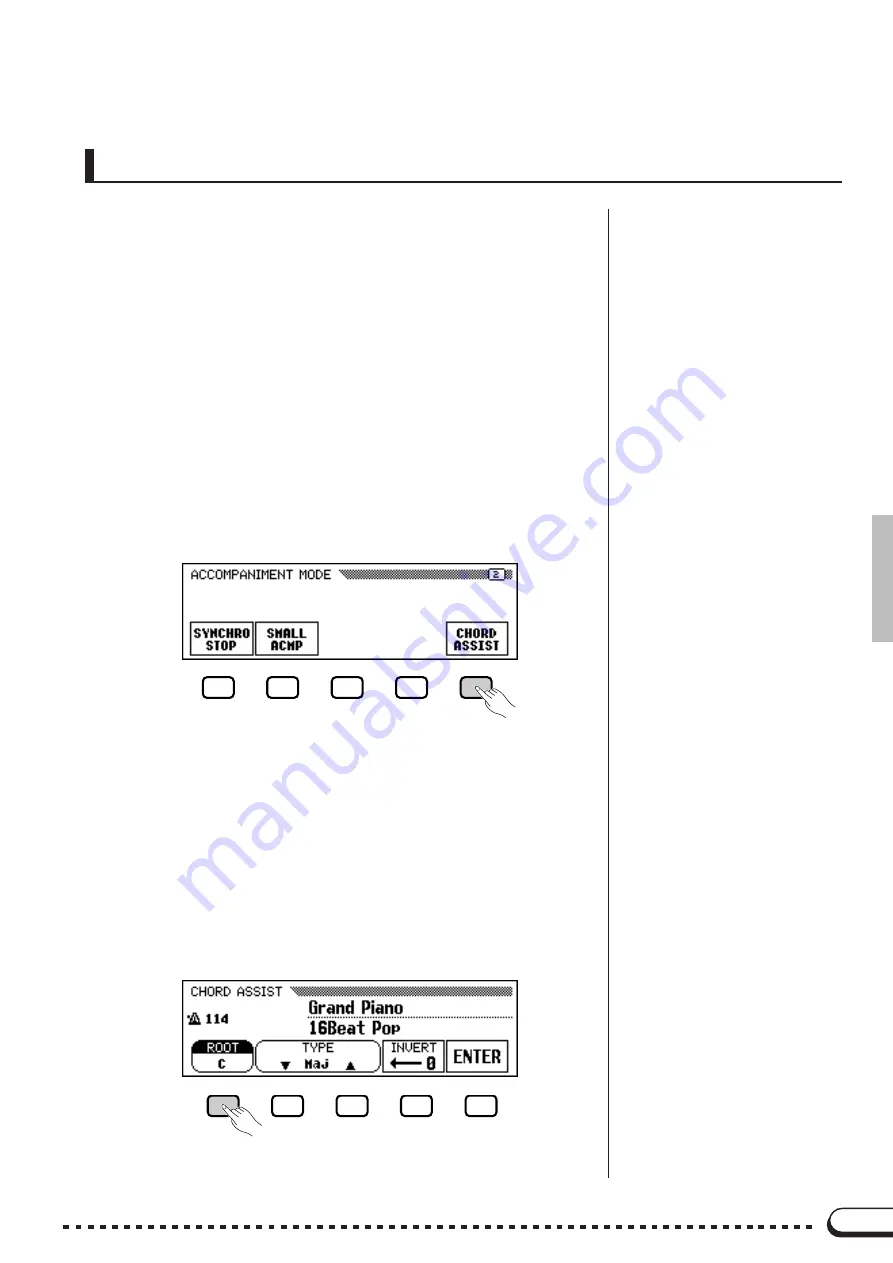
Press
CHORD ASSIST
to set the Chord Assist function to on. The
CHORD ASSIST display appears and the chord indication auto-
matically changes to Fingered.
X
Start the Auto Accompaniment.
.......................................................
Press
[START/STOP]
or use Synchronized Start (see page 42) to
start the Auto Accompaniment.
C
Enter the chord root.
.....................................................................................
Press
ROOT
(it is highlighted), then use the data dial or
[–/+]
buttons
to select the desired root note of the chord.
You can also select the root note by pressing
ROOT
.


