○ ○ ○ ○ ○ ○ ○ ○ ○ ○ ○ ○ ○ ○ ○ ○ ○ ○ ○ ○ ○ ○ ○ ○ ○ ○ ○ ○ ○ ○ ○ ○ ○ ○ ○ ○ ○ ○ ○ ○ ○ ○ ○ ○ ○ ○ ○ ○ ○ ○ ○ ○ ○ ○ ○ ○ ○ ○ ○ ○ ○ ○ ○ ○ ○ ○ ○
27
Performance Memory
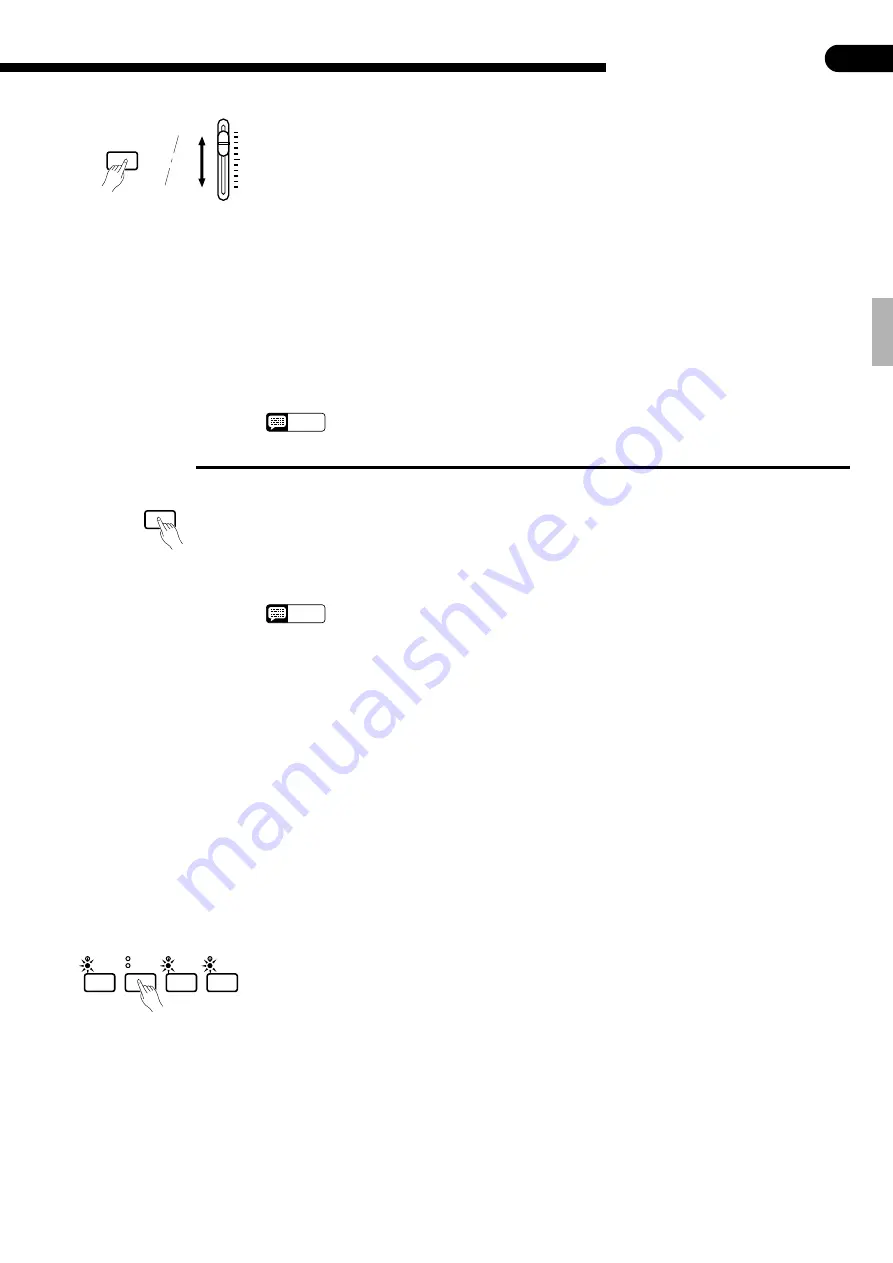
The BASS volume control can be used while holding the [MIDI/TRANSPOSE] button to
independently adjust the volume of track 1 or 2. The volume of the rhythm track is adjusted
via the RHYTHM volume control. Please note that volume settings can only be decreased.
Individual track reverb depth can be adjusted by using the BASS volume while holding the
[REVERB] button, and the overall reverb depth can be adjusted by using the TEMPO [
▲
]
and [
▼
] buttons while holding the [REVERB] button.
Also note that the tempo, reverb type, style, style variation, fill-in, and intro/ending settings
are common to all tracks and cannot be set independently for different tracks.
●
Erasing the Tracks
Individual tracks — except the rhythm track — can be completely erased by starting and
stopping recording without actually playing or changing any parameters (i.e. press the
[START/STOP] button twice). The same procedure can be used to erase the rhythm track if
the RHYTHM volume control is set to its minimum position.
Another way to erase data in individual tracks is to stop recording within two beats of start-
ing. In this case, any recorded data will be ignored and any previous data will be erased for
the selected track.
●
Playing Back only Specific Parts
The [1], [2], [ABC], and [RHYTHM] buttons can be used to select playback of specific
parts. When a part is on, the corresponding green indicator lights.
●
Volume Control
The RHYTHM, BASS, CHORD 1, and CHORD 2 volume controls can be used to adjust
the volume of the corresponding accompaniment parts when playng back data that was
recorded with ABC.
When playing back data that was recorded without ABC, however, these volume controls
have the following track assignments.
RHYTHM: RHYTHM track
BASS:
No assignment
CHORD 1: No assignment
CHORD 2: 1 & 2 tracks
MIDI/
TRANSPOSE
BASS
Volume of track 1 or 2
RHYTHM
ABC
2
1
Start playback by pressing either the PERFORMANCE MEMORY [START/STOP] button
or the ABC [START/STOP] button. The song will play through to the end and playback will
stop automatically. The current measure number will be shown on the TEMPO display during
playback.
Playback can be stopped at any time by pressing the PERFORMANCE MEMORY or ABC
[START/STOP] button.
NOTES
• The playback voice cannot be changed when playing back Performance Memory data (the voice
played via the keyboard can be changed).
• All Performance Memory data will be retained in memory for about one week after the power is
turned off. If you want to keep your recorded data for longer periods, turn the power on for a few
minutes at least once a week. It is also possible to store it to an external MIDI storage device
such as the Yamaha DOU-10 Disk Orchestra Unit by using the Performance Memory Data Send
function described on page 34.
• The track indicators will not light automatically when the power is turned on even if the Perform-
ance Memory contains data. It is therefore necessary to press the track buttons so that the corre-
sponding green indicators light before starting Performance Memory playback. It is also a good
idea to press the track buttons to check if the tracks contain data before recording (do this before
pressing the [REC] button). If the green indicator lights when the corresponding track button is
pressed, that track contains data which will be erased and replaced by the newly-recorded data.
• If the green indicator of the data-containing track is not lit (i.e. playback is turned off) before the
record ready mode is engaged, the track will remain off even after the record ready mode is
engaged. The data-containing track indicator is automatically lit only when the record ready
mode is engaged for the first time after the power is turned on (before any track buttons are
pressed).
• If the metronome is being used during playback, the metronome will stop when playback is
stopped.
START/STOP
NOTES
• All data in all tracks can be simultaneously erased by turning the power on while holding the
rightmost (G6) key on the keyboard.
■
Playback


