7
Tutorial
Overdubbing
The overdubbing procedure is basically the same as
when you recorded the rhythm section and vocal.
Record each of the backing tracks while you listen to
the previously-recorded tracks.
We recommend that during the recording stage, you
record all the parts you think you will ever want for
the song. You can always delete unneeded parts dur-
ing the mixdown, and you can (for example) record
several different guitar solos and switch between them
to see which one you like best. The AW2816 has 128
virtual tracks, so if you record and keep several takes
of the vocal, you will have more flexibility during
mixdown.
■
Switching virtual tracks
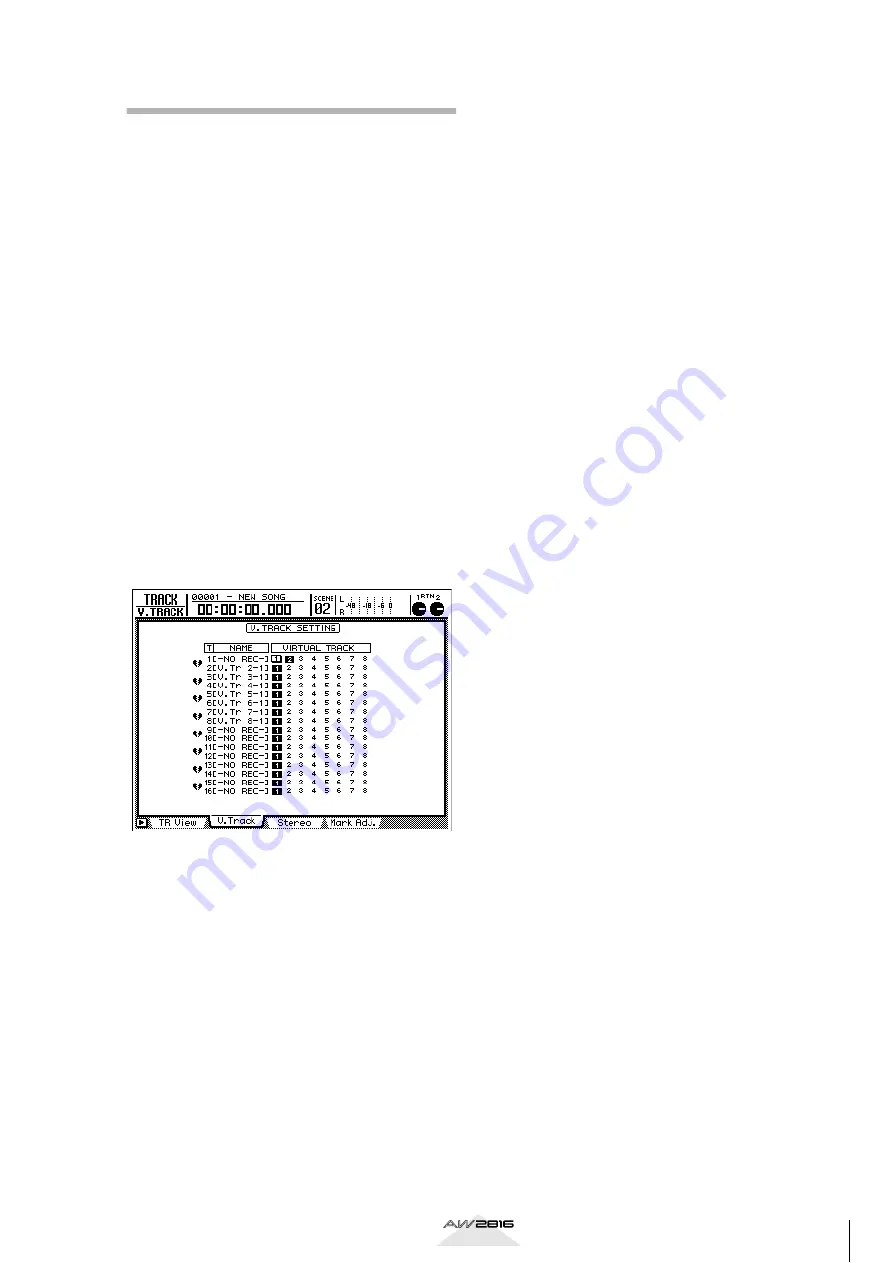
When you want to switch virtual tracks, press the
RECORDER section [TRACK] key, and then press [F2]
to access the V.Track screen. To try this out, go to the
virtual track area for track 1 (the top line), and press
[ENTER] on 2. The “2” will be highlighted. Now press
[F1] to return to the TR View screen. There is a column
labeled “V” at the right of the NAME column for each
track, and for track 1 this should indicate “2”. This
shows the virtual track that is currently selected for
each track.
■
Tips – is it good or bad to record
with effects?
The AW2816 provides a very wide range of effects,
but you should be aware that if you apply an effect
during recording so that the processed sound is
recorded, it will be impossible to make any changes
in that effect afterward. In particular, applying equal-
izer (EQ) or spatial-type effects during recording may
limit your freedom during mixdown.
In some cases, a limiter is used while recording drums
or bass to keep the sound from distortion, but this
requires a certain amount of technique, so until you
have some experience, we recommend that you actu-
ally watch the meter, and use the gain control or vol-
ume fader to adjust the level so that distortion is
avoided.
■
To apply effects only to the sound
being monitored
When recording a vocal, the vocalist often finds it
easier to sing if a spatial-type effect such as reverb is
applied. In this case, it is useful to apply the effect by
using AUX SEND from the input, so that the unproc-
essed sound is recorded and the effect applied only to
the monitored sound.
Referring to the methods that we have discussed so
far, input the sound from the mic into input channel 1,
and use [QUICK REQ] to prepare to record on track 1.
Next, press [AUX 5] in the FADER MODE section. The
faders should all move down, and the Eff.Edit screen
should appear. Here, raise the input channel 1 fader,
and listen to the sound from the mic on the AW2816.
If a reverb-type effect is selected, reverberation should
be applied to the sound. At this point, the effect sound
is being output to the stereo out (which is the final
output of the AW2816), but is not being recorded on
track 1. Actually record the input, and verify that the
effect is not applied to the recorded sound.


