


25
9. Adding and using accessories
•
Adding accessories to your
system
1.
From the programming menu of the Control
Panel, select the Set up, then Devices and press
3
, select ‘Add Device’ and press
3
again.
2.
Press the Learn button on the device when
prompted and confirm it is the correct detector by
pressing
3
.
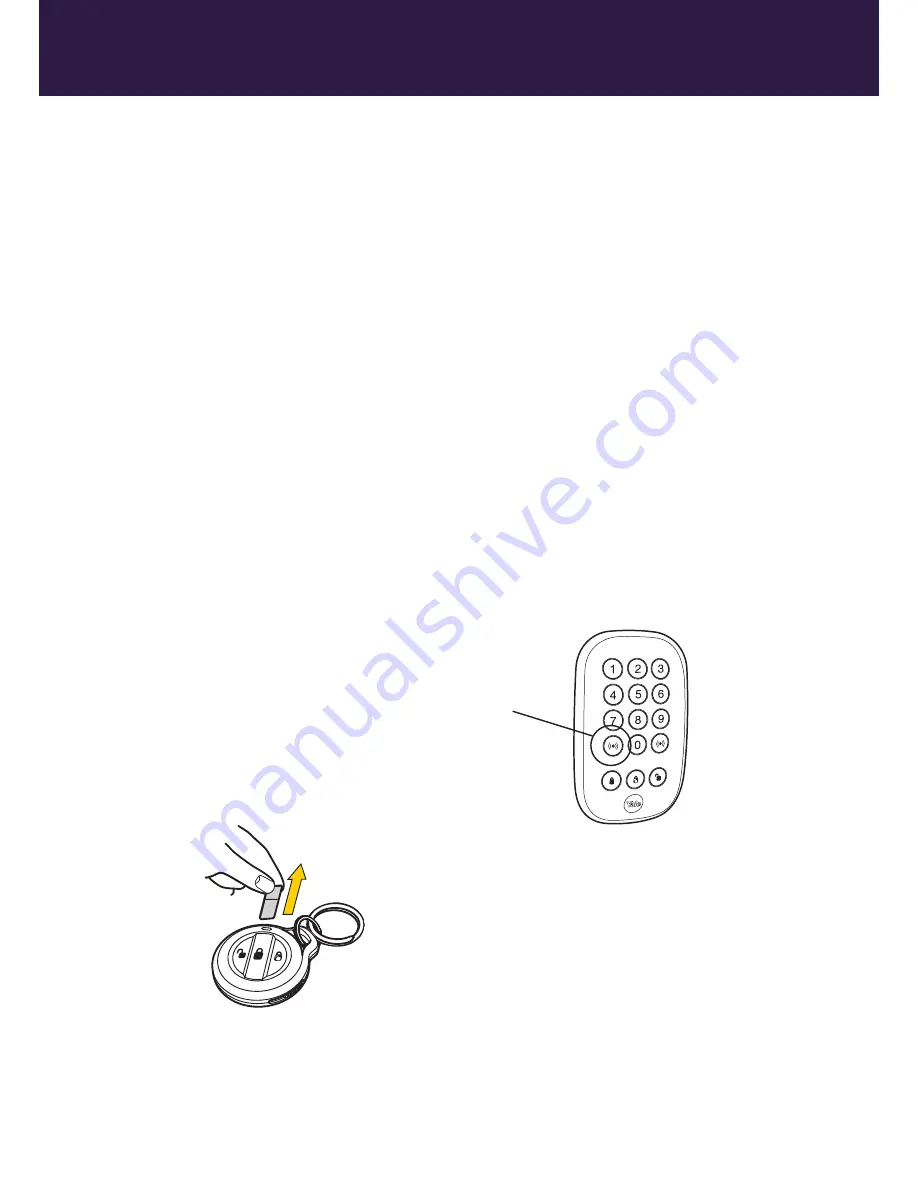
Learn buttons (see Chapter 2 for location):
• Key Fob: Press arm
• PIR Motion Detector: Press the test button
• Door/Window Contact: Press the test button
• Key Pad: Press 8+9 together. The Key Pad
needs initialising first, see Key Pad section on
the right.
3.
Depending on the device learnt in, finish the
programming as prompted.
Using your Key Fob
• The Key Fob can be used to Away Arm, Home
Arm, and Disarm the system using the buttons as
shown.
• An emergency alarm can be activated by pressing
the + button for 3 seconds until LED stops
flashing.
• An emergency alarm can only be stopped by using
a Key Pad.
• The system can only be disarmed after an entry or
away entry sensor is activated (in the entry period).
/
Key Pad
Key Pad initialisation
If you purchase a Key Pad as an accessory, you
will need to initialise it prior to use with the Control
Panel.
1.
Press the ‘Panic button A’ key followed by factory
default Key Pad code ‘0000’ (this is different to
your Control Panel PIN code).
2.
Press the ‘Panic button A’ key followed by the ‘7’
key to set the Key Pad into Control Panel system
mode (also known as slave mode).
3.
The LED will now flash slowly indicating it is in test
(programming) mode.
4.
Press the ‘Panic button A’ key followed by the ‘7’
key to set the Key Pad into Control Panel system
5.
Quit test mode by pressing the disarm key twice.
The Key Pad code and mode setting has been
completed. The Key Pad will now use the same
PIN code that is set for the Control Panel.
Forgotten Key Pad code (different to Control
Panel PIN code)
If the Key Pad code is accidentally forgotten, the Key
Pad can be reset to factory default (0000) using the
following steps:
1.
Unscrew the two Key Pad case screws and
remove Key Pad back cover (please disable
tamper first). Locate and remove the battery. (See
the battery change section page 23)
2.
Press the number ‘4’ key at the same time as
reinserting the battery.
3.
Screw the Key Pad case together and re-learn
the Key Pad into the system using the steps
described above in this section.
To provide additional protection you can add extra Door/Window Contacts, PIR Motion
Detectors, Key Fobs, Key Pads, Panic Buttons and Smoke Detectors. These are available
separately from your local stockist.
1
a
a
d
b
b
c
2
3
4
5
6
(14)
Ø 5mm
6
Device installation: Install the device in the desired location
Test your planned location of devices and check the signal strength on the panel screen.
Activate the devices by removing the battery strips. All devices in the kit are pre linked, If you have
purchased extra accessories in addition to the kit, you’ll need to pair them to the system, following
the instructions on page 18
Device Installation: Test device signal
(10)
PIR Zone03 E
T:9 PIR 1
If signal strength is below 2 please try
to move the device to a different
location and repeat connection test.
After all devices have been tested in the desired location -
Press to exit Test mode
Press or button and enter your
PIN code to access the main menu
Scroll down using button and select
“Test” and press
Select “Device” and press to enter the
panel into learning mode
Press button to test connection
4
5
8 9
A Button
25


