Apr. 2017
P 11
da Vinci
Jr.1.0A
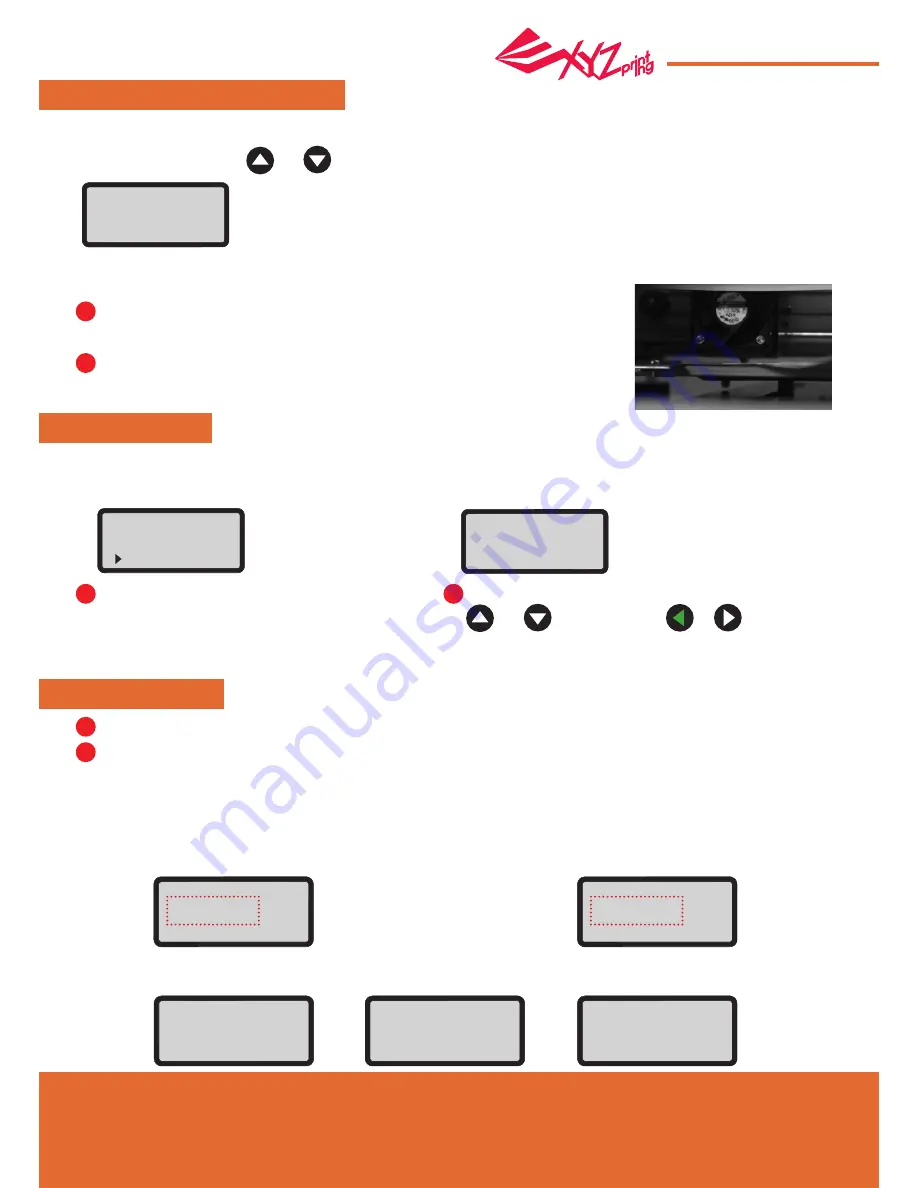
JOG MODE
“JOG MODE” is used to manually move the extruder and the print bed.
Before you carry out this function, move the printing module back to its original position (HOME AXIS).
The product has been tested and adjusted with precision at factory. We suggest that
you write down the default Z OFFSET value before performing adjustment.
The recommended distance between the nozzle and print bed(with bed tape securely
fastened) is 0.3mm. This should allow two sheets of copy paper to be drawn out
smoothly but six sheets of copy paper cannot be passed.
Note:
Select the direction of the module or the print bed
to be moved.
Note: "X-AXIS": left and right movement of
the printing module, "Y-AXIS": front and back
movement of the print bed, "Z-AXIS": up and
down movement of the printing module.
Select desired increment of travel with
and buttons, and press or
button for desired direction to move the extruder.
How to move the extruder:
JOG MODE
X-AXIS
Y-AXIS
Z-AXIS
Z-AXIS [ OK ] >> EXIT
[
-
]
▲
[ 0.1mm ]
▲
[
+
]
1mm
10mm
CALIBRATE
Calibration is enabled for this new extruder module. Please update printer firmware via XYZware before using the new extruder.
Note: Please remove print bed tape before you activate the calibration function on your printer.
Results displayed after the print bed calibration:
A. If the printer shows "CALIB COMPLETED", and
"AUTO-LEVELING IS DISABLED NOW" is displayed
on the 3rd line, it indicates that the levelness of the print
bed is good. Press "OK" to exit and print.
B. If "AUTOLEVELING IS ENABLED NOW" is displayed under
"CALIB COMPLETED", it indicates that the print bed is tilted
slightly. The printer has enabled the auto-leveling function.
Note: The auto-leveling function can improve the printing quality,
but the printing time will be longer. You can disable this function in
Settings depends on your needs.
Note: If the detection result is "FAIL", press "OK" continuously to exit. Select "INFO" > "LEVELING INFO" to check the
print bed levelness data, and contact our customer service to inform the measurement data.
After adjusting, press "OK" to exit.
[ ^ ]
Z OFFSET 0.91 mm
[ v ]
[ OK ] WHEN FINISH
Z OFFSET
The user may use the Z OFFSET function to adjust the gap between the printing nozzle and the printing bed.
When adjusting the gap, use and keys to increase or decrease it (the minimum adjustment scale is 0.05mm).
1
1
1
2
2
2
UTILITIES
CALIB COMPLETED
AUTO-LEVELING
IS DISABLED NOW
[OK] TO FINISH
CALIB COMPLETED
AUTO-LEVELING
IS ENABLED NOW
[OK] TO FINISH
A 0317 0320 0313
B 0318 0323 0308
C 0312 0300 0440
[OK] TO RETURN
CALIB FAILED
[OK] TO CONTINUE
PLEASE CONTACT
CUSTOMER SERVICE
FOR LEVEL ISSUE
[OK] TO RETURN


