XtendLan SDOME4802201 Скачать руководство пользователя страница 18


8.   Press 

Shift+MON 

to


move


the


cursor


back


to


1.Position:001


9.   Press CLR to delete 0006 

10. Input 02, press Enter 

11. Press the  

Shift+MON 

key


to


move


the


cursor


to


Speed:64


12. Press CLR to delete 64 

13. Input 10, press Enter 

14. Press the 

Shift+MON 

key


to


move


the


cursor


to


Time:05


15. Press CLR to delete 05 

Input 10, press Enter 


4.2.2


Sequence Setting 

This function can realize that camera can scan from No.1 preset position to No.16 preset position, 
every 16 preset positions are treated as one sequence, there are 128 preset positions for speed dome 
camera, so there are 8 sequences. 

4.3


Auto Scanning (2points scanning, 360° scanning) 

Setup sequence: 

First, you need to setup preset position (shift + call + Preset No.) and give every position a number and 
name them, such as  No.1, No.2.....No.128, every 16 preset position as one sequence. 

When sequence is ok, to press "call+ preset Number" will pick up preset position, 
 press "call+ 98" to pick up sequence of "No1-No16"; 
 press "call+80" to pick up sequence of " No17-No 32  preset position"; 
 press "call+81" to pick up sequence of "No 33- No 48"; 
press " call+82" to pick up sequence of "No49-No64"..... 
press " call +86 " to pick up sequence of "No 113-No 128 preset position. 


The operator can also run a simple point-to-point scan (also called back-and-forth scanning). To do 

this, set Preset Point A first (at the  same  time  set the dwell  time at Point A), and  then set Present 

Point  B  (at  the  same  time set  the  dwell  time  at  Point).  Finally execute  an outer  command  to  scan 

between points A and B. 

4.3.1


2 Points Scan 

 1. To set Point A. Move the joystick to the desired position. 

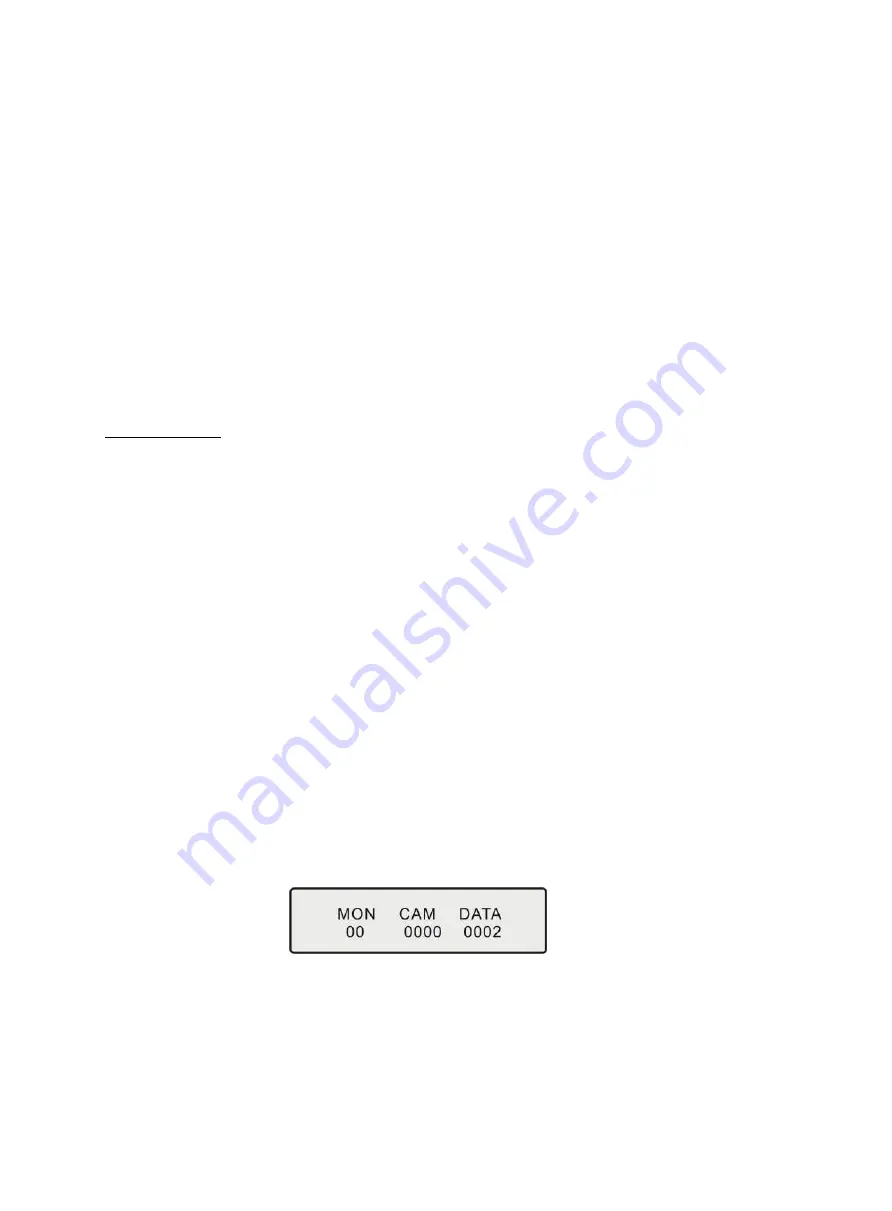
  2. In the Main Menu enter a dwell time for Point A.  Example: If Dwell time is 2 seconds the control 

keyboard displays: 


3. Press PAN A. 

4. To set Point B. Move the joystick to the desired position. 

5. In the Main Menu enter a Dwell time for Point B. 

6. Input the grade Speed (1-64) and Press AUTO 

Example: Set dwell time of Point A as 2 seconds, dwell time of Point B as 3 seconds. Make the 

scanning at 32-grade speed between the two points 

a) Move control joystick to Point A of scanning 

b) Input 02, then press Pan-A on the keyboard after two seconds c) 

Move control joystick to Point B of scanning 

d) Input 03, then press SHIFT+Pan-A on the keyboard after two seconds e)     

Содержание SDOME4802201

Страница 1: ...SDOMEO4802701 Outdoor Day Night Speed Dome with built in Sony CCD 27x optical zoom camera SDOME4802201 Indoor Day Night Speed Dome with built in Sony CCD 22x optical zoom camera User s Guide...

Страница 2: ...gnals such as lightning strikes or surges under 500W power Allow for enough distance between the RS 485 and video signals and high voltage equipment or cables during the transmission process Please do...

Страница 3: ...5 Bus Matching Resistance 8 3 2 Installation Connection 9 3 2 1 Installation Requirement 9 3 2 2 Outdoor Speed Dome Camera Wall Hanging Installation 9 3 2 3 Indoor Hemisphere Dome Camera Recessed Inst...

Страница 4: ...2 Focus Control 20 4 5 3 Iris Control 20 4 5 4 Auto Backlight Compensation 20 4 5 5 Auto White Balance 20 5 Camera Menu Setting 21 6 Protocol Order Chart 23 6 1 PELCO D PELCO P Protocol Order Chart 2...

Страница 5: ...h speed dome camera fit for a wide range of applications such as intelligent building bank street of city airport station etc 2 Technical Data 2 1 Technical Parameter of Intelligent High speed Dome Mo...

Страница 6: ...44 wide 2 Tele 52 wide 2 Tele Backlight compensation Backlight compensation Backlight compensation White balance Auto Auto Gain Auto Auto Signal PAL NTSC PAL NTSC S N ratio 55dB 55dB Video signal outp...

Страница 7: ...dome address code and keyboard relative screen display mode is represented in the chart below see the following figure and the address digits in following chart SW 2 switch Address settings for PELCO...

Страница 8: ...he baud rate see following figure The default baud rate setting is 9600 SW1 switch 3 1 4 RS 485 Bus Matching Resistance For central controlling the matching resistance should be set for the device tha...

Страница 9: ...h or similar products to clean its outer surface If the dust is heavy you can use a neutral cleanser Any advanced furniture cleanser can be used to clean the dome exterior Installation Preparation 3 2...

Страница 10: ...ng c Put power communication and video lines through bracket hole leaving enough wire length Maneuverability d Fix the bracket to the wall with 4 M8 bolts and mounting tray Housing Installation a Remo...

Страница 11: ...deo interface of outdoor speed dome camera with video wire BNC Connect power supply line with set power line AC24V Should not connect positive and negative polarity of RS485 contrarily A RS485 positiv...

Страница 12: ......

Страница 13: ...s the total weight of the camera assembly dome camera mounting bracket and mounting base to avoid in shaken images Installation ceiling must be strong and has no peeling phenomenon A Draw out center s...

Страница 14: ...n power supply off prior to installation Loosen the two M5 screw on the bracket which are located in the inner housing Take the camera module from the packing carton and check if connecting wire plugs...

Страница 15: ...starting point After the dome stops completely the self inspection is completed and dome is ready to be controlled Dome Mounting Use soft cloth to wipe off dust and smudges of transparent dome cover a...

Страница 16: ...eset Position Number 1 128 3 Adjust the speed camera to the desired position including location camera zoom focus and iris 4 Press Shift Call for final confirmation 4 1 2 View Preset Position Use the...

Страница 17: ...ome Address 1 1024 3 Now the control Keyboard displays Preset position 1 128 Running speed 1 64 Dwell time 1 60 Press Shift MON key key on the keyboard to move the cursor up and down 4 Press CLR key t...

Страница 18: ...ress call 81 to pick up sequence of No 33 No 48 press call 82 to pick up sequence of No49 No64 press call 86 to pick up sequence of No 113 No 128 preset position The operator can also run a simple poi...

Страница 19: ...p down left and right to view objects through the field of vision using the control keyboard In addition a user can adjust focal length to change the angle of view or the size of the objects When in a...

Страница 20: ...h auto detecting the beam change User can adjust iris size manually through control keyboard to get required image brightness User can renew auto iris after moving the joystick or sending additional c...

Страница 21: ...99 preset postion Menu data confirm V 3 Camera Menu Sony Camera Matri protocol 1 Press MPX or Auto control keyboard displays Press Enter key 2 Press MPX or Auto control keyboard displays Displays Spe...

Страница 22: ...OR OFF Color display Press down PAN_A key status from OFF ON change 8 FREEZE ON Picture Freeze Press down PAN_A key status from OFF ON change 9 DISPAY OFF Screen display Press down PAN_A key status fr...

Страница 23: ...Digital zoom ON 96 360 Scan slow speed Cursor up 85 Start the seven group preset 100 112preset Digital zoom OFF 97 360 Scan middle speed Cursor down 86 Start the eight group preset 113 128preset Auto...

Страница 24: ...Replace Image is dim Focus in manual state Operate the machine or adjust a preset position Dome is dirty Clean it VIII Address Binary code chart Matri Matri Matri Binary System Code PELCO D PELCO P B...

Страница 25: ...01001 106 10010010 147 01000001 66 01101010 107 10010011 148 01000010 67 01101011 108 10010100 149 01000011 68 01101100 109 10010101 150 01000100 69 01101101 110 10010110 151 01000101 70 01101110 111...

Страница 26: ...0110101 182 11010010 211 11101111 240 10110110 183 11010011 212 11110000 241 10110111 184 11010100 213 11110001 242 10111000 185 11010101 214 11110010 243 10111001 186 11010110 215 11110011 244 101110...

Отзывы: