


26
We recommend replace battery regularly (such as one-year) to guarantee system time
accuracy.
Important!
Before replacement, please save the system setup, otherwise, you may lose the data
completely!
4.2 Manual Record
4.2.1 Live Viewing
After you logged in, the system is in live viewing mode. You can see system date, time and
channel name. If you want to change system date and time, you can refer to general settings
(Main Menu->Setting->General). If you want to modify the channel name, please refer to the
display settings (Main Menu->Setting->Display)
In live view window, you can see system date, time and channel name.
In multiple-window display mode, double click one window or click the corresponding channel
number in the remote control, you can go to full-screen display mode. In one-window display,
double click the vide window or click the multiple-channel preview button in the remote
control you can go back to multiple-window display mode.
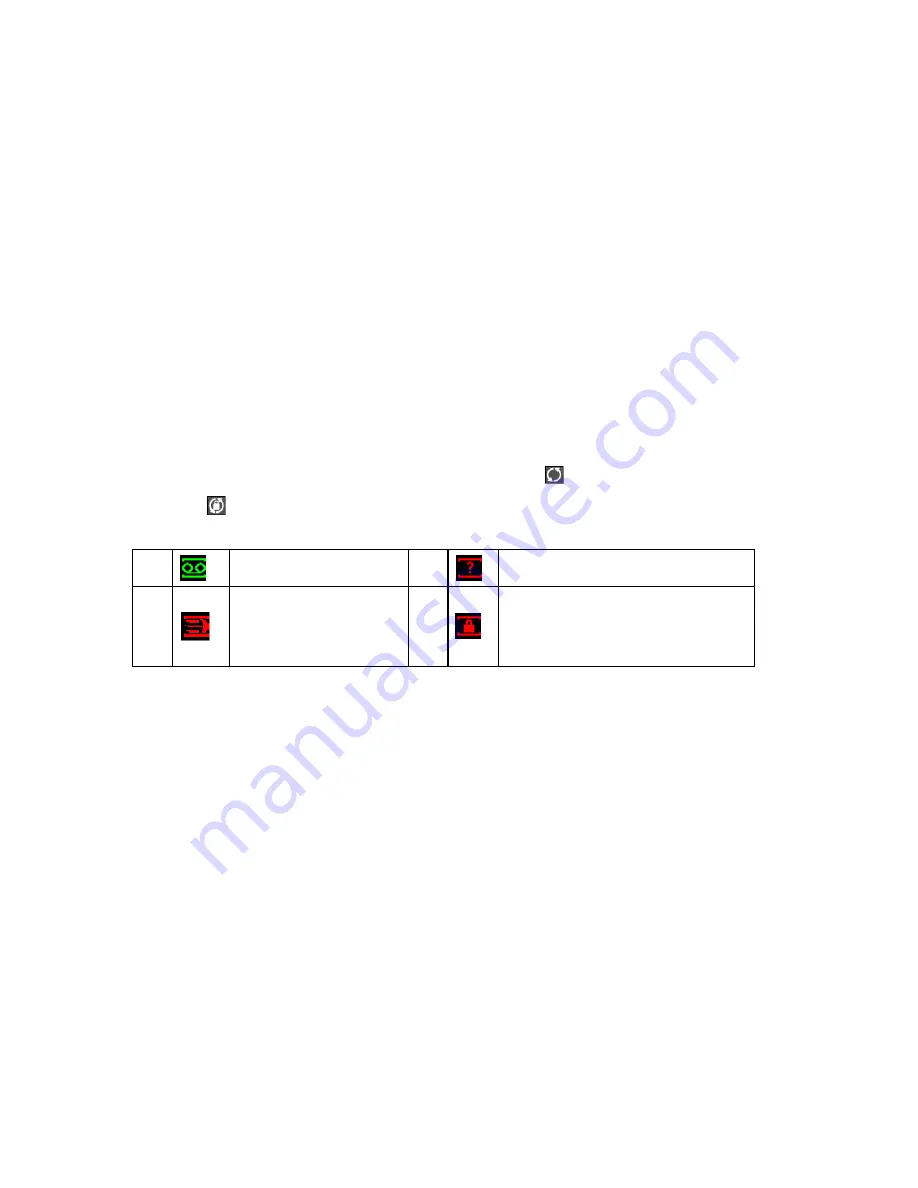
Note: Please refer to the following sheet for channel status.
stands for opening switch
function,
stands for closing switch function.
1
Recording status
3
Video loss
2
Motion detection
4
Camera lock
4.2.2 Manual record
Note:
You need to have proper rights to implement the following operations. Please make sure the
CF card has been properly installed.
4.2.2.1 Manual record menu
There are two ways for you to go to manual record menu.
Right click mouse or in the main menu, Advanced->Manual Record.
In live viewing mode, click record button in the front panel or record button in the remote
control.
Manual record menu is shown as in
X295H295H295H
Figure 4-5.
X
.
4.2.2.2 Basic operation
There are three statuses: schedule/manual/stop. Please highlight icon
“○”
to select
corresponding channel.
Manual: The highest priority. After manual setup, all selected channels will begin ordinary
recording.
Schedule: Channel records as you have set in recording setup (Main Menu->Setting-
>Schedule)
Stop: All channels stop recording.


