background image


Universal Remote

User’s Guide

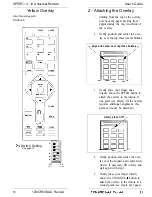
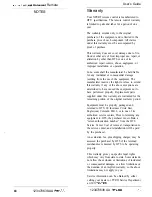
Gently press here

6.

Remove the paper backing

completely from the overlay.

7 .

Gently position and center the over-
lay over the VOLUME and 
pher buttons. If necessary, lift
overlay and start again with step 2.

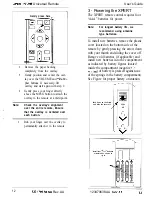
8.

Gently press your finger directly
above the MESG button to attach the
overlay to the remote at a third point.

Note:

Check the overlay’s alignment

over the entire remote, Ensure
that the overlay is centered over

each button.

9.

Rub your finger over the overlay to
permanently attach it to the remote.

12

 Rev.AA

3   Powering the XPERT

The XPERT remote control requires four
“AAA” batteries for power.

Note:

For longest battery life, we
recommend using alkaline

type batteries.

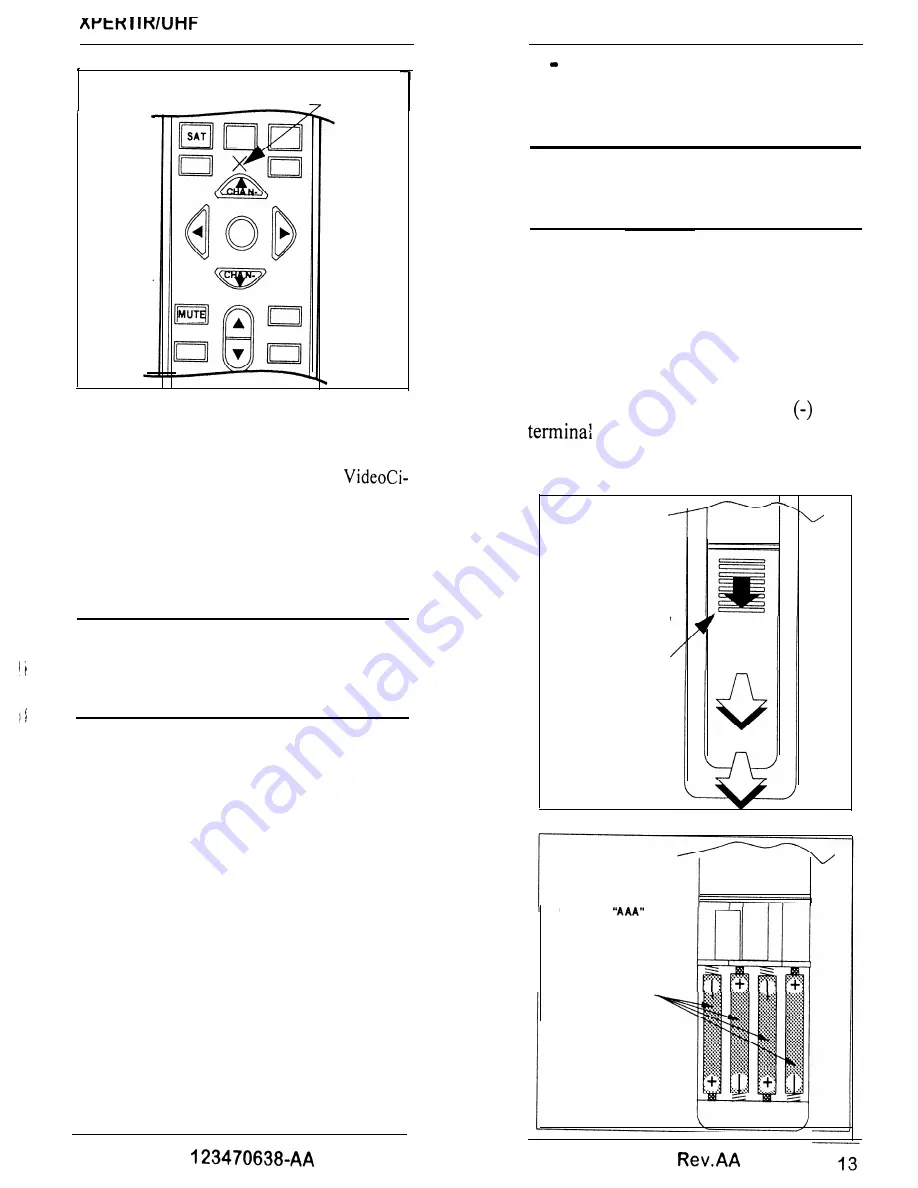
To 

install new batteries, remove the plastic

cover located on the bottom side of the
remote by gently pressing the arrow down
with your thumb and sliding the cover off.
Remove old batteries (if applicable) and
install new batteries into the compartment
as indicated by battery figures located
inside the compartment (negative 

 of battery is pressed against one

of the springs in the battery compartment).

See Figure for proper battery orientation.

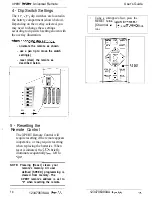
Push down on the Arrow

and slide the cover off.

Slide

Off

Install four 

 batteries

orientated as shown at

rig ht.

123470638.AA 

Содержание IR

Страница 1: ...ect to change without notice Revisions may be issued to advise of such changes and or additions Correspondence regarding this publication should be addressed directly to HTS Technical Publications 90 Inverness Circle East P O Box 6552 Englewood Colorado 80155 Tracker HTS and XPERT are trademarks of Houston Satellite Systems Incorporated Echostar Is a registered trademark of Echophere Corporation 0...

Страница 2: ...nsult the dealer or an experienced radiom technician for help Unauthorized equipment changes may void FCC Important Safety Instructions For your protection please read and observe all safety instructions before operating your XPERTTM remote control Keep these and any additional instructions for future reference Installation Observe Warnings Heat Care and Use Cleaning When Not In Use Carefully foll...

Страница 3: ... an Overlay The XPERT Universal Remote comes with an assortment of different colored remote keypad overlays one of which you will attach to the remote Each overlay has been designed to be compatible with one or more HTS or EchoStar satellite receivers On the following pages the provided overlay colors are shown with a list of compatible receivers the required internal dip switch settings for the r...

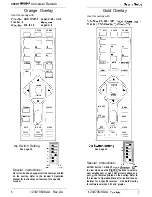
Страница 4: ... a specific receiver 6 123470638 AA Rev AA Gold Overlay Use this overlay with EchoStar ES 400 I600 I500 IRIUHF I710 Tracker 20 30 40 50 70 Elite HDTV TV DISH SPEED POWER k i r VIEW 1 CANCEL I I TEREO II TUNING _ I T PRG II Q 0 MENU 0 VOL JELP _ _ M E S G STORE 1 L__J 0 iETUP TEXT ADDR Dip Switch Seeing See page 14 Special Instructions OFF ON ENTER button SELECT button k40O Ts In view mode use the ...

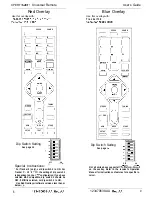
Страница 5: ...t on your IRD configuration If you have selected MAX compatible dip switch 4 should be OFF if MINI is selected set dip switch 4 to ON Use Red Overlay w software versions less than or below I 91 Blue Overlay Use this overlay with Tracker718 EchoStar SPEED POWER II Lzl El G T F 1 L J L J Ku E l II VIEW 1 FAVOWTE STEREO II _ __ IXT PRG I i HELP _ __ MESG 0 I SETUP TEXT I 0 TUNING El STORE I 1 I 1 Dip...

Страница 6: ...p three remote buttons Align and center over top three buttons 7 3 Gently press your finger once directly above the SPEED button to attach the overlay to the remote at one point see below If the overlay requires additional alignment this point can easily be detached Gently press here7 4 Gently position and center the over lay over the keypad and center arrow cluster If necessary lift overlay and s...

Страница 7: ...3470638 AA Rev AA 3 Powering the XPERT The XPERT remote control requires four AAA batteries for power Note For longest battery life we recommend using alkaline type batteries To install new batteries remove the plastic cover located on the bottom side of the remote by gently pressing the arrow down with your thumb and sliding the cover off Remove old batteries if applicable and install new batteri...

Страница 8: ...e as shown l use a pen tip to move the switch setting s l reset clear the remote as described below L OFF ON 5 Resetting the Remote Control The XPERT Remote Control will require resetting if the remote appears inoperative or may require resetting when replacing the batteries When reset is initiated the LEDs briefly illuminate sequentially from left to right NOTE Pressing Reset clears your remote s...

Страница 9: ...EDs flash twice Enter a button sequence up to a maximum of 6 keystrokes If you entered less than 6 key strokes press m Other wise the system will automatically store and terminate the instruction set The LEDs flash twice indicating the success ful programming of the speed button To use a programmed speed button 1 press mm 2 Press the desired programmed numeric buttons The receiver will auto matica...

Страница 10: ... caused the equipment not to have performed properly Replacement parts supplied under this warranty are warranted for the remaining portion of the original warranty period Equipment must be properly packaged and returned to HTS 90 Inverness Circle East Englewood Colorado 80112 or to one of its authorized service centers Prior to returning any equipment to HTS the purchaser must obtain a return aut...

Отзывы: