background image

1

2

Internal (10 GB left) 

Internal (10 GB left) 

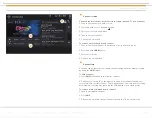
Copy, Paste, Delete, Select, Select All, File View

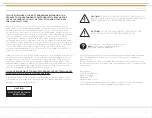
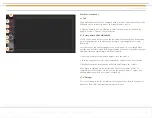
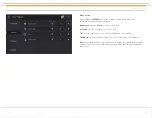
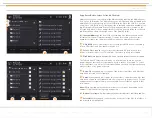
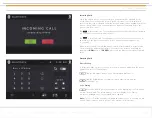
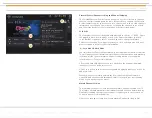
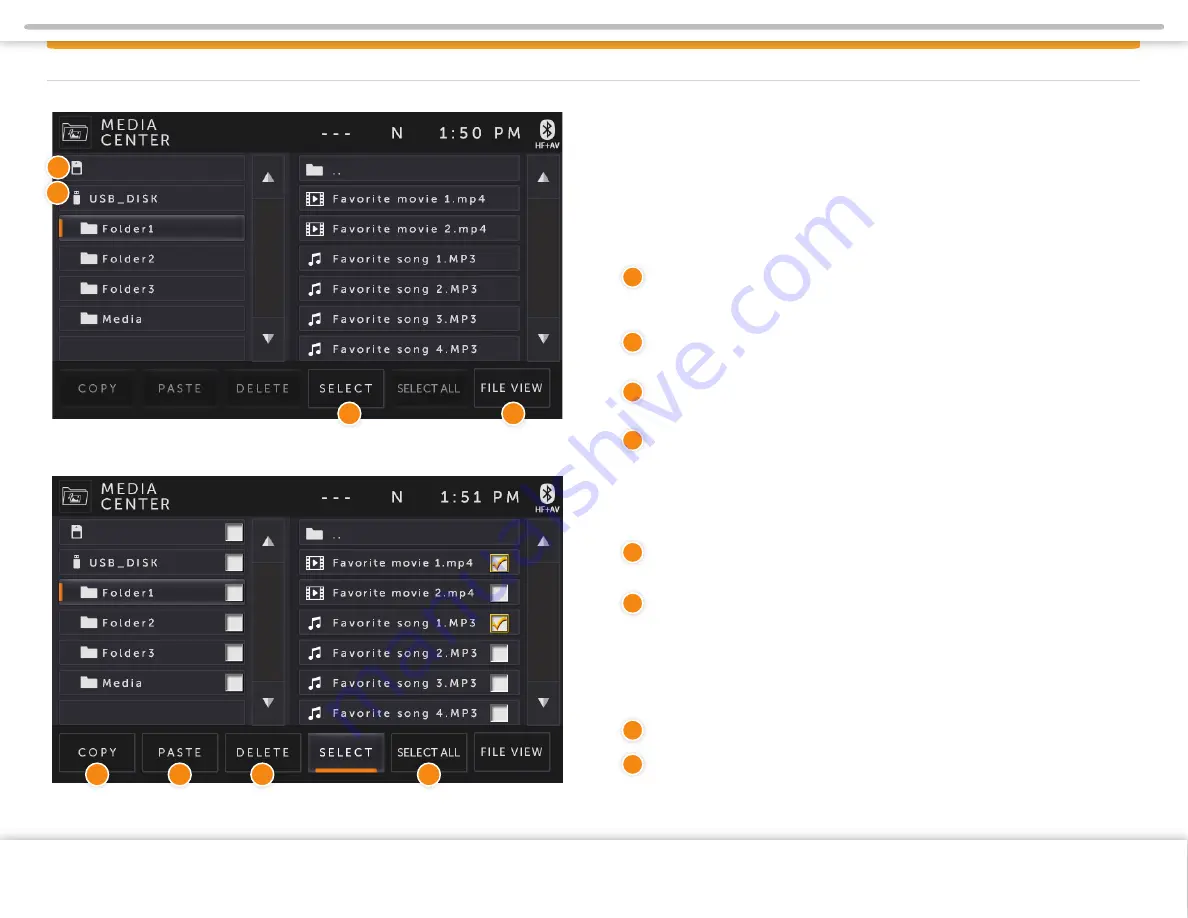
Media center can be selected from the Main Menu by tapping the Media Center 
icon on the LCD display. The Media Center can be left at any time by tapping the 
Media Center icon at the top left of the LCD display. Once the USB is connected, 
you will see USB_DISK root folder and all the folder and subfolders available (see 
top left image) in the Media Center. Folders and subfolders are located on the 
left side, and music, videos, and picture files that are located inside the selected 
subfolder will be listed on the right side of the Media Center.

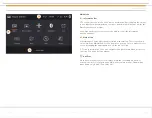
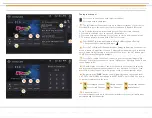
Internal Memory

 is the local folder containing files that are saved on the 

Infotainment System’s internal storage. It can be selected in order to either 
expand or collapse the subfolders and files inside the Media Center folder.

USB_DISK

 is the USB master folder of the inserted USB device containing 

folders, subfolders and files that are saved on it.

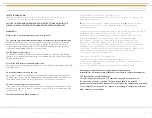
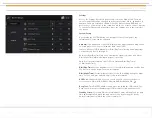
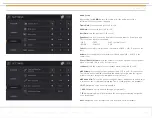
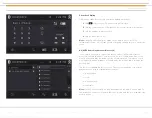
Select.

 When tapped, every folder, subfolder and file gets a check box 

beside it (bottom left screen). To exit from check box, just tap Select again.

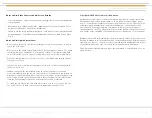
File View.

 When tapped, it displays file name, size, and the date the file was created.

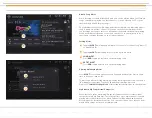
The Infotainment Center comes with an on-board memory, where you can 
download your favorite files to permanently store them on the radio. To select 
folder, subfolder, or a file, press Select button and check off everything that you 
want to either copy, paste, or delete.

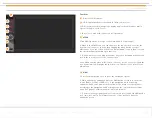
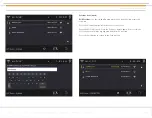
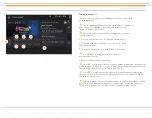
Copy.

 When tapped, it will copy all of the folders, subfolder, and files that 

have been selected to the clipboard.

Paste. 

When tapped, it will paste all of the folders, subfolders, and files that 

have been copied to the clipboard into the location of your preference. To copy 
and paste onto internal memory, choose Media Center folder as a paste folder 
destination.

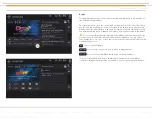
Note:

 Paste operation may take a few minutes to complete depending on the 

number of files that are being copy and pasted.

Delete. 

When tapped, it will permanently delete selected folder, subfolders and files.

Select All.

 When tapped, it will check box select all of the files in a folder or 

subfolder that is highlighted.

MEDIA CENTER

4

3

1

2

3

4

5

6

7

8

5

6

7

8

Page 14

Copyright © 2020 Xite Solutions North America. All Rights Reserved | XSG4NA-X4S User Manual Version 102220.01

Содержание XSG4NA-X4S

Страница 1: ...purposes only XSG4NA X4S INFOTAINMENT USER MANUAL X S G 4 N A X 4 S G e n e r a l I n f o r m a t i o n S e t u p G u i d e Before using this product please read this manual fully to ensure correct op...

Страница 2: ...ubscribing to SiriusXM 21 Operating SiriusXM 21 Tuning to a channel 22 23 Parental Control Channel Locking and Skipping 24 Lock Code 24 Lock Mode Unlock Mode 24 Mature Channel Locking 24 Channel Locki...

Страница 3: ...on with it while driving Instead pull off the road in a safe and legal manner and then adjust its settings or deal with any malfunction In the event of serious malfunction disable the unit turn power...

Страница 4: ...he FCC Rules Operation is subject to the following two conditions 1 this device may not cause harmful interference and 2 this device must accept any interference received including interference that m...

Страница 5: ...k properly Do not use the unit while these symptoms are in evidence but leave the unit standing for about an hour and then resume or start use To clean the monitor wipe only with a dry silicone cloth...

Страница 6: ...een Note When viewing video in full screen touch the screen once to bring up the icon header which will display the function icon Tap the icon to return to the Main Menu NAVI 1 Press the NAVI button o...

Страница 7: ...standby your vehicles graphics together with date time and temperature will be ndisplayed 3 Press and hold the rotary button again to turn the unit on 4 Turn the rotary button left right to adjust th...

Страница 8: ...own on the left is the MAIN MENU screen From here you can choose what source to access by tapping the appropriate icon on the touch screen 2 For more information on how to navigate through the Main Me...

Страница 9: ...is present and it uses Dim Night Time when illumination signal is present Auto GPS uses information from GPS to determine Dim Day Time vs Dim Night Time Dim Day Time Set the brightness level of the LC...

Страница 10: ...avorite mode that can be accessed from the FAV button on front of the monitor Available selections are SXM Bluetooth AUX HDCAM Camera HDMI Media center iPod PIP picture in picture and Radio not all op...

Страница 11: ...ss the Connect button at the bottom of the screen Enter the Wi Fi Password Press the Connect button again If successful the Wi Fi network should be highlighted and show Connected Press the Exit button...

Страница 12: ...the tint level 10 to 10 not available on all models Sharpness Sets the sharpness level 0 to 8 not available on all models Note The Infotainment Center has a factory default for optimal LCD settings h...

Страница 13: ...ts the volume level of speaker when connected 0 to 10 NAV Volume Sets the gain of navigation volume 10 to 10 0 is the center This feature will help balance the navigation audio prompts with the system...

Страница 14: ...fine tuning or manual searching for radio stations Tap to start automatic searching for the next radio station Tap LO DX to switch between LO and DX DX means long distance signals and when selected it...

Страница 15: ...casts to improve reception of local radio stations PTY means Program Type Some radio stations broadcast their program type When the PTY button is pressed use the TUNE and SEEK buttons to select the pr...

Страница 16: ...ox beside it bottom left screen To exit from check box just tap Select again File View When tapped it displays file name size and the date the file was created The Infotainment Center comes with an on...

Страница 17: ...on the USB device 1 will play one track over again and Folder will play all the tracks within a specified folder This is the random option that will allow random playback Tap it to turn it either On...

Страница 18: ...ess the Bluetooth settings is by going to the Main Menu from the Bluetooth source and selecting Setup In addition to standard buttons System Video and Audio there will be a Bluetooth button Bluetooth...

Страница 19: ...ill be recognized as XSG4NA X4S Select XSG4NA X4S on your mobile phone to begin pairing 7 If your mobile phone supports phonebook transfer tap PHONEBOOK DOWNLOAD will appear on the screen This will do...

Страница 20: ...Profile in user s mobile phone OPP Object Push Profile can also be used with older phones to push the contacts to the phonebook via Bluetooth 2 To update changes to the phonebook of a paired mobile p...

Страница 21: ...done automatically after 5 seconds or can be done manually by tapping the NOW button If CANCEL is pressed the Bluetooth mode will remain active Outgoing Calls Direct Dialing To place an outgoing call...

Страница 22: ...ransfer protocol The Infotainment Center uses this protocol to find audio files on the mobile phone and play the audio over the normal speakers Some phones will also support the audio playback of cert...

Страница 23: ...make sure your tuner is installed correctly as described in the tuner Installation Guide 2 After you can hear the Preview channel tune to Channel 0 to find the Radio ID of your tuner You will need th...

Страница 24: ...de of screen Category Browsing allows you to directly enter a Category by selecting it from the list If you do not see CAT button press FUNC key to make that option available Press CAT to add the curr...

Страница 25: ...er and press Press CAT to display All Channel Mode or Category Browsing on channel list which is found on right side of screen Category Browsing allows you to directly enter a Category to enter by sel...

Страница 26: ...ck Mode This will prevent the accidental tuning to channels that have been automatically locked under the optional Mature Channel Locking feature or user applied locked channels To enter Unlock Mode 1...

Страница 27: ...Skip Channels can be ignored from certain channel tuning methods without locking by using the SKIP feature To Skip a channel 1 Press SKIP when tuned to the specific channel 2 Channel now has an S to...

Страница 28: ...ying song ARTIST ALERT Press ADD to add an alert for a current playing artist Viewing Managing Alerts Press ALERT to cycle through your saved Song and Artists alerts Press a third time to return to ch...

Страница 29: ...ing the LIVE button when in Replay Mode will return you to the Main SiriusXM screen and live playback The top entry of your Replay list is Go Live Select this to list to the current live audio but rem...

Страница 30: ...t be erased Metadata Display Choose to display Artist name Song name in your channel guide or choose off and list only the channel names Mature CH Lock Mature CH Lock to turn ON parental lock press OF...

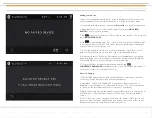
Страница 31: ...ehicle tuner installation manual for more information on antenna installation Page 2 SIRIUSXM SATELLITE RADIO Subscription Updated The radio has detected a change in your SiriusXM subscription status...

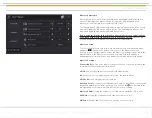
Страница 32: ...track list Play or pause current playback Go to previous track Press and hold to fast rewind current track Go to next track Press and hold to fast forward current track Off Single Track All Track repe...

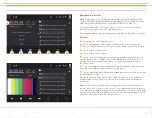
Страница 33: ...r Horizon Normal and Hitch modes top left image HD Camera View Options Horizon This mode provides the driver with the ability to see the entire area behind the motorhome up to the horizon This is espe...

Страница 34: ...vigation voice prompts and audio alerts played as per the settings you have selected in the System Audio Set Up page 11 If you are using the Premium Remote Control accessory to operate your navigation...

Страница 35: ...date on any enhancements to the Infotainment Center It will also help us expedite any service or support needs you may have River Park Inc 21953 Protecta Drive Elkhart IN 46516 1 800 442 7717 www rive...

Страница 36: ...Page 2 Page 34 NOTES 4 Copyright 2020 Xite Solutions North America All Rights Reserved XSG4NA X4S User Manual Version 102220 01...

Страница 37: ...Page 2 NOTES Page 35 4 Copyright 2020 Xite Solutions North America All Rights Reserved XSG4NA X4S User Manual Version 102220 01...

Страница 38: ...Page 2 NOTES Page 36 4 Copyright 2020 Xite Solutions North America All Rights Reserved XSG4NA X4S User Manual Version 102220 01...

Отзывы: