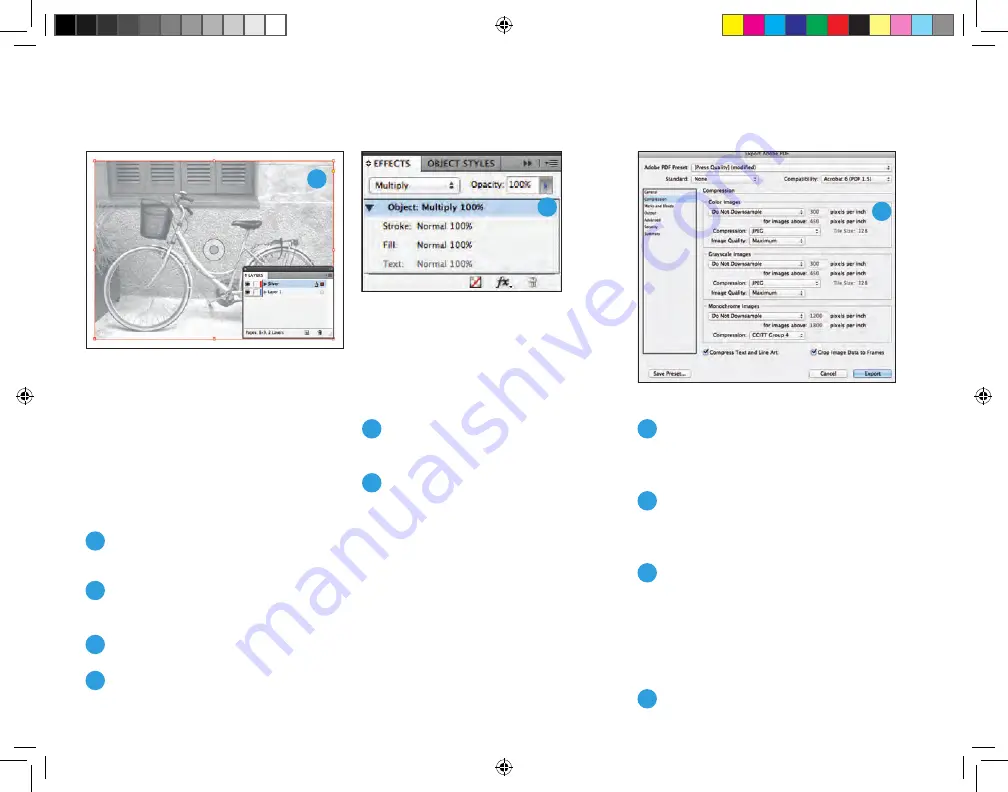
Creating your files.
Pulling it all together in
Adobe
®
InDesign
®
Now that you have created your raster
mask for metallic, you are ready to put
it together.
1
Follow the set up instructions for
InDesign
®
on page 12.
2
Place your color image on a layer
below your metallic layer.
3
Copy the image.
4
Paste in Place on the metallic layer.
5
Relink the file to your raster file
“filename_Metallic.psd”.
6
With your graphic still selected,
go to Window > Effects and choose
Multiply. This will enhance the
metallic color you are highlighting.
Exporting as a high-res PDF
from InDesign
®
It’s important to choose the correct
settings when saving a PDF for printing
with Metallic Dry Inks. Follow the steps
below to create a PDF preset for saving
high-res PDFs right out of InDesign
®
.
1
From the main menu, select: File >
Adobe PDF Presets > Press Quality,
and click Save.
2
Select General: Compatibility > and
choose Acrobat 6. On the lower-right
side, check: Create Acrobat Layers.
3
Select Compression: Color Images >
Do Not Downsample. Compression
> JPEG, Image Quality > Maximum.
Choose the same for Grayscale
Images. Monochrome Images >
CCITT Group 4.
4
Set up Marks and Bleeds if desired.
18
3
2
6
Xerox_MetallicDryInksDesignGuide_4c_030915_SPG_FINAL.indd 18
3/9/15 11:55 AM


