


Jobs
J O B S OV E RV I E W
You can use Jobs to view current jobs, print saved and secure jobs, and view details
about completed jobs. You can pause, delete, print, or view job progress or job details for
a selected job.
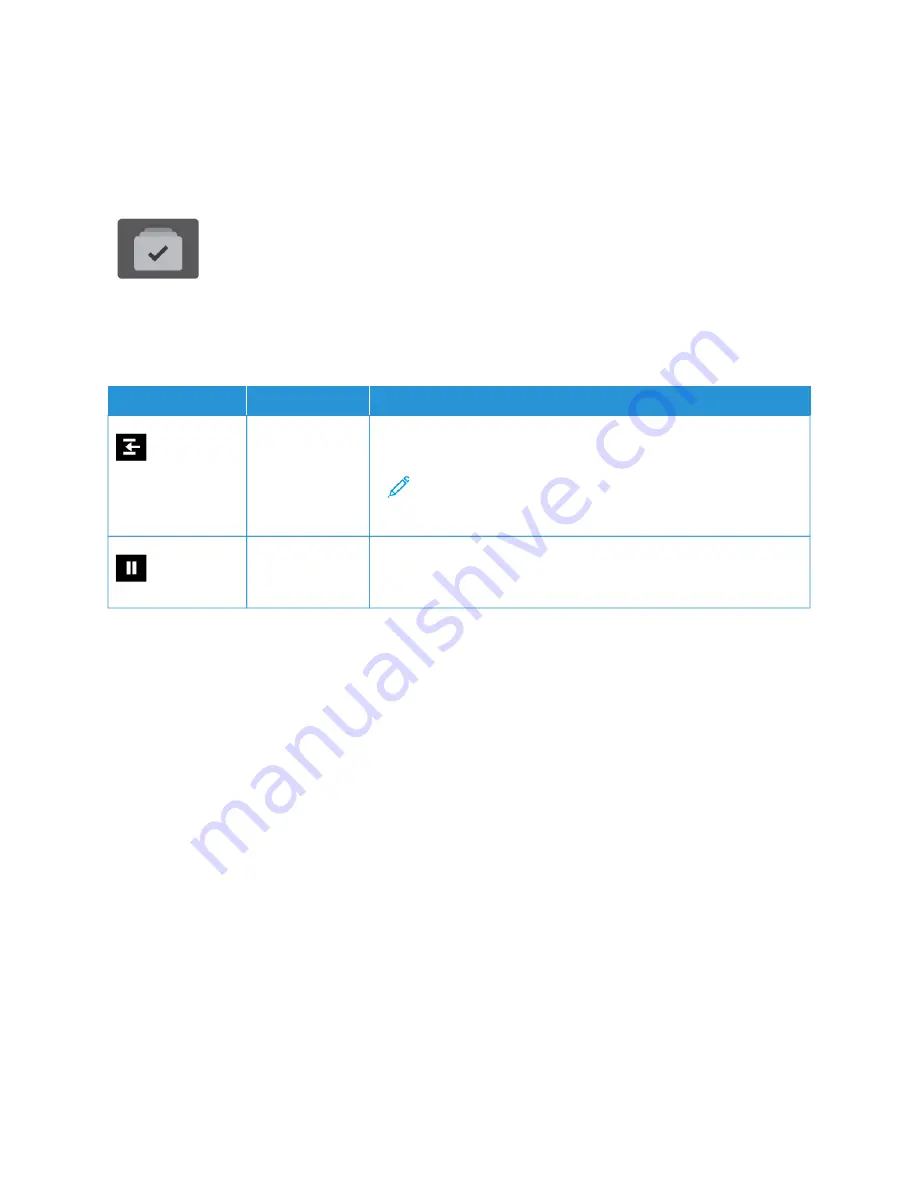
J O B O P T I O N S
The following job options are available:
O
OPPTTIIO
ON
N
D
DEESSC
CRRIIPPTTIIO
ON
N
Interrupt Button
When enabled by the System Administrator, pressing the IInntteerrrruupptt
button allows you to pause the current job to run a more urgent job.
Note: Sometimes this option is hidden from view. To enable
the Interrupt function, refer to the
System Administrator Guide
at
www.xerox.com/office/ALC81XXdocs
.
Pause Button
Pressing the PPaauussee button allows you to temporarily pause an active
print job. The job pauses with the option to resume printing or to
delete the job.
M A N A G I N G J O B S
From the control panel Jobs menu, you can view lists of active jobs, secure jobs, or completed jobs. You can
interrupt, pause, or delete jobs that are printing. You can also view job progress or job details for a selected job.
A print job can be held by the printer when it is unable to complete the job. For example, if the printer needs
attention, paper, or supplies. When the condition is resolved, the printer automatically resumes printing. When you
send a Secure Print job, the job is held until you release it by entering a passcode at the control panel. For more
details, refer to
.
From the Jobs window in the Embedded Web Server, you can view a list of active and saved print jobs. For more
details, refer to
Managing Jobs using the Embedded Web Server
Imaging Security
Imaging Security uses infrared light to track and manage sensitive documents.
If the IInnffrraarreedd SSeeccuurriittyy option is enabled in the Embedded Web Server, the device detects concealed security
marks applied by a Xerox
®
AltaLink
®
C81XX Series printer. This method of detection can prevent the accidental
disclosure of confidential documents.
The system administrator can configure infrared mark detection for jobs. When D
Deetteecctt M
Maarrkk is enabled, the device
detects security marks on documents that are scanned. When a security mark is detected during scanning,
depending on the settings configured, the device inhibits the job, sends an email alert and continues the job, or
96
Xerox
®
AltaLink
®
C8130/C8135/C8145/C8155/C8170 Series Color Multifunction Printer User Guide
Содержание C8130
Страница 20: ...20 Xerox AltaLink C8130 C8135 C8145 C8155 C8170 Series Color Multifunction Printer User Guide Safety...
Страница 66: ...66 Xerox AltaLink C8130 C8135 C8145 C8155 C8170 Series Color Multifunction Printer User Guide Getting Started...
Страница 232: ...232 Xerox AltaLink C8130 C8135 C8145 C8155 C8170 Series Color Multifunction Printer User Guide Paper and Media...
Страница 402: ...402 Xerox AltaLink C8130 C8135 C8145 C8155 C8170 Series Color Multifunction Printer User Guide Product Symbols...
Страница 419: ......
Страница 420: ......


