6. To select Network Features, press the
Down Arrow
button twice, then press the
OK
button.
7. To select a
Background Suppression
option, press the Down Arrow button as many times as
necessary to access the option, then press the
OK
button.
Note:
For details about each Background Suppression option, refer to
.
•
OFF
•
Auto
•
Enhance Level 1
•
Enhance Level 2
•
Erase Level 1
•
Erase Level 2
•
Erase Level 3
•
Erase Level 4
A Saved message appears with a check mark for the selected background suppression option.
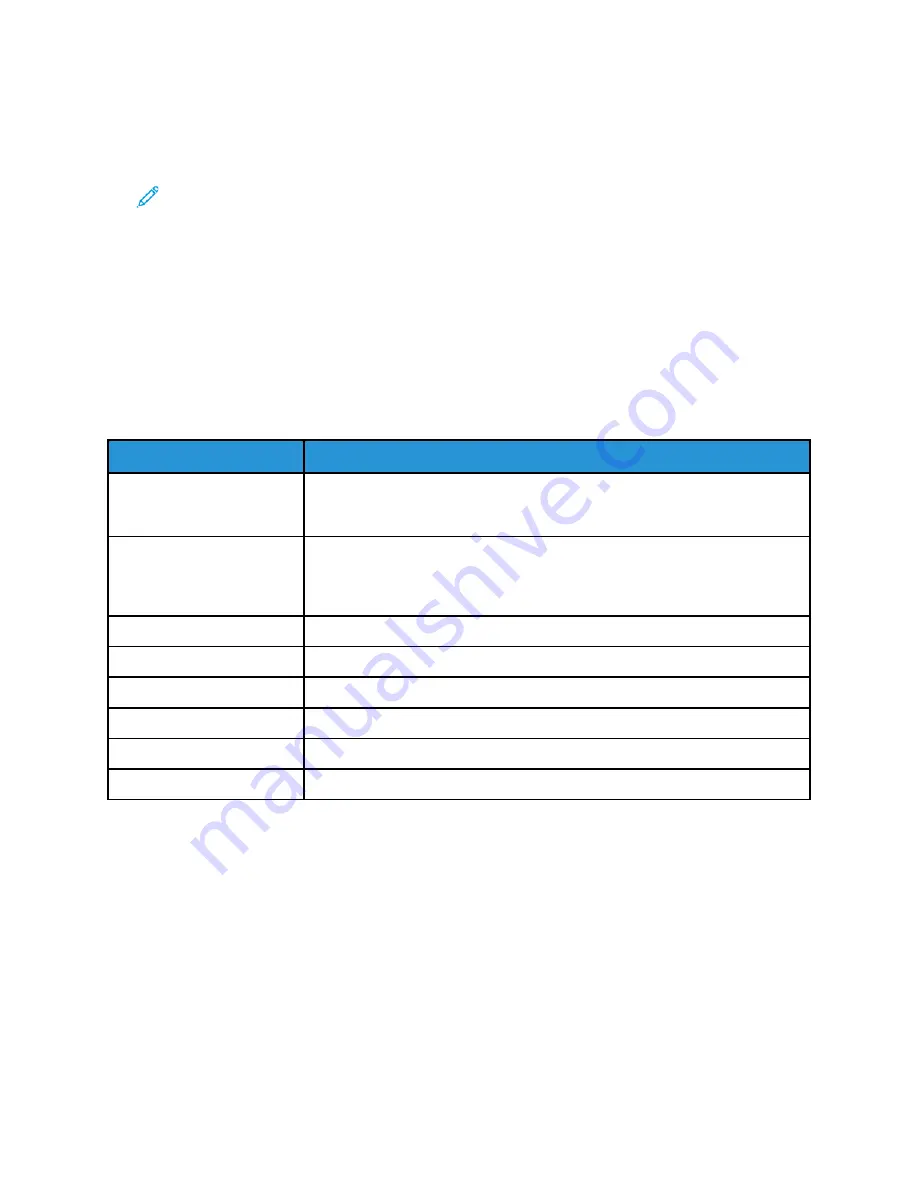
Background Suppression Options
Options
Description
OFF
Indicates that the Background Suppression feature is not activated. When this
feature is OFF, the printer adjusts the image quality according to the Enhance
and Erase settings.
Auto
The printer examines a sample of the document that you are scanning
automatically, then adjusts the image quality. This setting can produce a
document of good quality, even when your original document is of poor
quality.
Enhance Level 1
Provides the lowest level of background enhancement.
Enhance Level 2
Provides the highest, vivid level of background enhancement.
Erase Level 1
Provides the darkest possible background.
Erase Level 2
Provides the highest, vivid level of background enhancement.
Erase Level 3
Provides a lighter background than Level 2.
Erase Level 4
Provides the lightest background of all the levels.
SSeettttiinngg tthhee O
Orriieennttaattiioonn ooff tthhee O
Orriiggiinnaall D
Dooccuum
meenntt
This procedure applies only if you are using a printer that has an optional document feeder. If you
are loading the document on the document glass, the orientation depends on the direction in which
you load the document.
To set the orientation of the original document:
1. At the printer, load the original document on the document glass.
2. At the printer control panel, press the
Clear All
button.
3. Press the
Scan To
button.
4. To select Network, press the
Down Arrow
button, then press the
OK
button.
Xerox
®
B1022 Multifunction Printer
User Guide
65


