


1-16 Introduction and Installation
bb
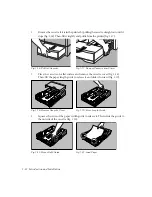
2.
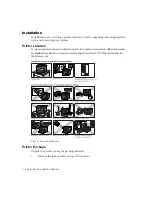
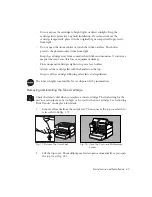
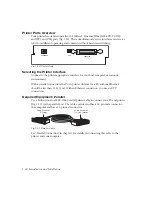
Connect the power cable’s female connector to the back of the printer and the
male connector to a standard electrical outlet (fig. 1.28).
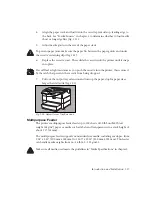
Plug the printer into a dedicated, properly grounded AC outlet. Do not use an
extension cord. Use a surge protected outlet to help prevent power source fluctuations
from damaging your printer.
Fig. 1.28 Connect Power Cord to Printer
Never use a damaged power cord. Check the cord and plug monthly and replace
immediately if you find any damage.
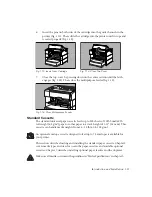
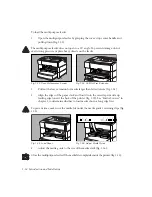
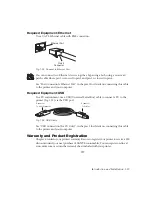
Turning the Printer On
Press the
|
on the power switch to turn on the printer (fig. 1.29).
Fig. 1.29 Turn Printer On
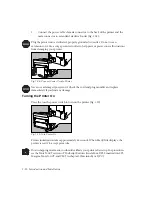
Printer initialization takes approximately 60 seconds. When Ready/Idle displays, the
printer is ready to accept print jobs.
Due to shipping movement, you should calibrate your printer after setup. For procedures,
see the More X-ACT section of “PostScript Features (AccelaFont, DPI, Linearization, LPI,
Margins, More X-ACT, and VM)” in chapter 2 (Macintosh) or 3 (PC).
Содержание PlateMaker 4
Страница 20: ...1 20 Introduction and Installationbb...


