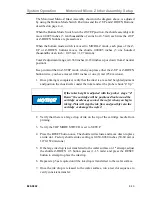
Cartridge Priming
System Operation
820-0332
4-10
Cartridge Priming
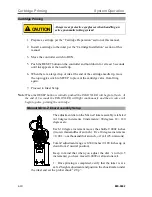
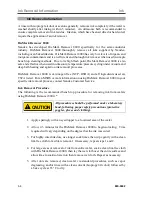
Always wear protective eyeglasses when handling an
active pneumatic inking system!
1.
Prepare a cartridge per the “Cartridge Preparation” section of this manual.
2.
Install a cartridge to the inker per the “Cartridge Installation” section of this
manual.
3.
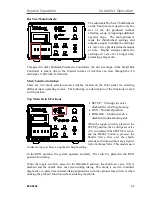
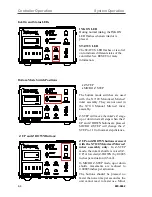
Move the controller switch to RUN.
5.
Push the RESET button on the controller and hold down for at least 3 seconds
until ink appears at the needle tip.
6.
When there is a large drop of ink at the end of the cartridge needle tip, move
the top toggle switch to SETUP to prevent the cartridge valve from firing
again.
7.
Proceed to Inker Setup
Not
e:
When the RESET button is initially pushed the INK ON LED will begin to flash. At
the end of 3 seconds the INK ON LED will light continuously and the air valve will
begin to pulse, priming the cartridge.
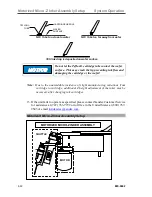
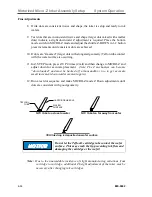
Manual Micro-Z Inker Assembly Setup
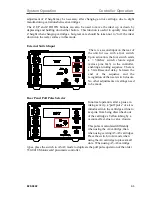
The adjustment dial on the Micro-Z inker assembly is labeled
in 10 degree increments. 9 increments = 90 degrees, 18 = 180
degrees etc.
Each 10 degree increment moves the shuttle 0.0002 inches
(two ten thousandths of an inch). Five 10 degree increments
= 0.001 = one thousandth of an inch, or 1 mil (25.4 microns).
Total Z adjustment range is 0.360 inches (0.180 inches up or
down from Z neutral position).
Keep in mind that when you adjust the dial
1
/
8
turn (4.5
increments) you have moved 0.0009 or almost one mil.
1.
Once priming is completed, verify that the inker is at a
safe Z height adjustment and position the chuck/wafer under
the inker and set the prober chuck “Z Up”.
CAUTION
Содержание 340-7110
Страница 10: ...1 2 820 0332 This page is intentionally left blank...
Страница 18: ...Controller Installation Installation 3 6 820 0332 This page is intentionally left blank...
Страница 34: ...Cartridge Priming Tips System Operation 820 0332 4 16 This page is intentionally left blank...
Страница 40: ...Ink Removal Information Ink 820 0332 5 6 This page is intentionally left blank...


