6
Using the “Play To” feature in Windows 7 to
stream media
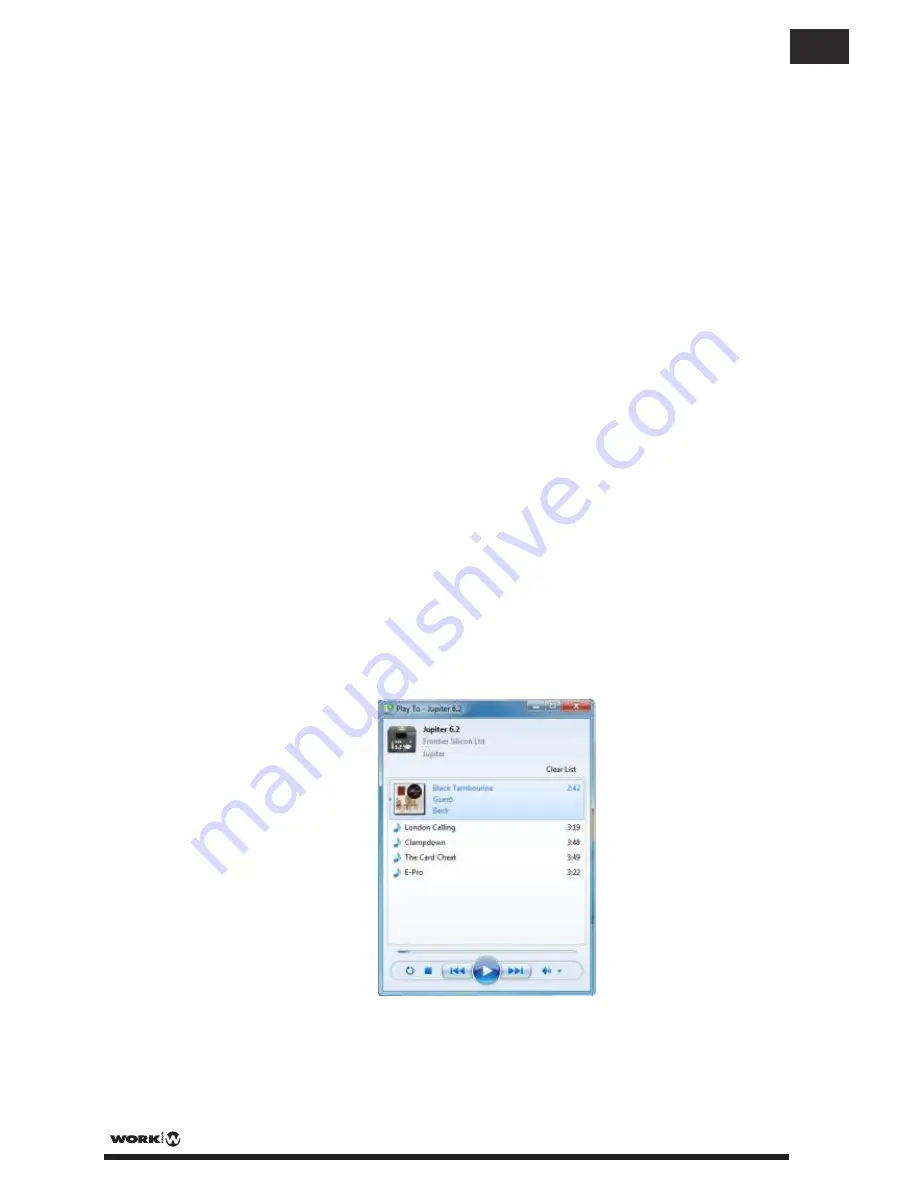
One of the new Windows 7 features includes a feature called “Play To” and this lets your
PC running Windows 7 control the unit to push media and use as a universal remote
control for your media collection.
Jupiter 6.2 supports the industry standard DLNA (Digital Living Network Alliance) 1.5
digital media render. This allows you to "Play To" other devices around your home and
combine media streaming with controlling a connected media receiver while streaming
content to it from another Windows 7 PC on a home network.
Before you can use the “Play To” feature you need the set-up Jupiter 6.2 for Windows 7
streaming media.
6.1
Use “Play To” in Windows Media Player
Windows Media Player makes it easy to manage your media, find items that you want to
play, and open Play To. To select items that you want to play, follow these steps:
1. Click the
Start
button, click
All Programs
, and then click
Windows Media
Player
.
If the Player is currently open and you’re in Now Playing mode, click the
Switch
to Library
button in the upper-right corner of the Player.
2. If the list pane is closed or if the
Burn
or
Sync
tabs are exposed, click the
Play
tab.
3. Find the items that you want to play in the Player Library, and then drag those
items from the details pane into the list pane.
4. Click the
Play to
button at the top of the list pane, click the device on your
network that will receive the media.
5. In the
Play To
dialog box, use the playback controls to play, pause, or stop the
media stream, and to change to the next or previous item in the list.
6.2
Use “Play To” elsewhere in Windows 7
Outside of Windows Media Player, you can stream media to the unit with “Play To” by
right-clicking music files. To select music files and stream them to the unit, follow these
steps:
1. Click the files you want to stream to the unit.
PAG. 22
User Manual/Manual de Instrucciones MULTIPLAYER 12 WEB
EN


