


17
Ready to view, edit, print or transfer your data to a computer or from the computer to the
ESP
, simply connect the
ESP’s
USB cable (provided) mini jack into the
ESP
USB port
and the other jack to any computer USB port.
Connect directly to USB ports that are attached to the computer’s motherboard.
Do not use USB ports from hubs, Docking stations or Front USB ports
Turn on the
ESP
by pressing and holding the power button for 2-3 seconds. At initial
usage the computer system will cycle through installing three new drivers (in windows
XP a message that the hardware is ready for use will appear indicating that the device is
installed and ready).
•
In Windows double click on “My Computer”. For Mac. The
ESP
drives will appear
on the Desktop screen
•
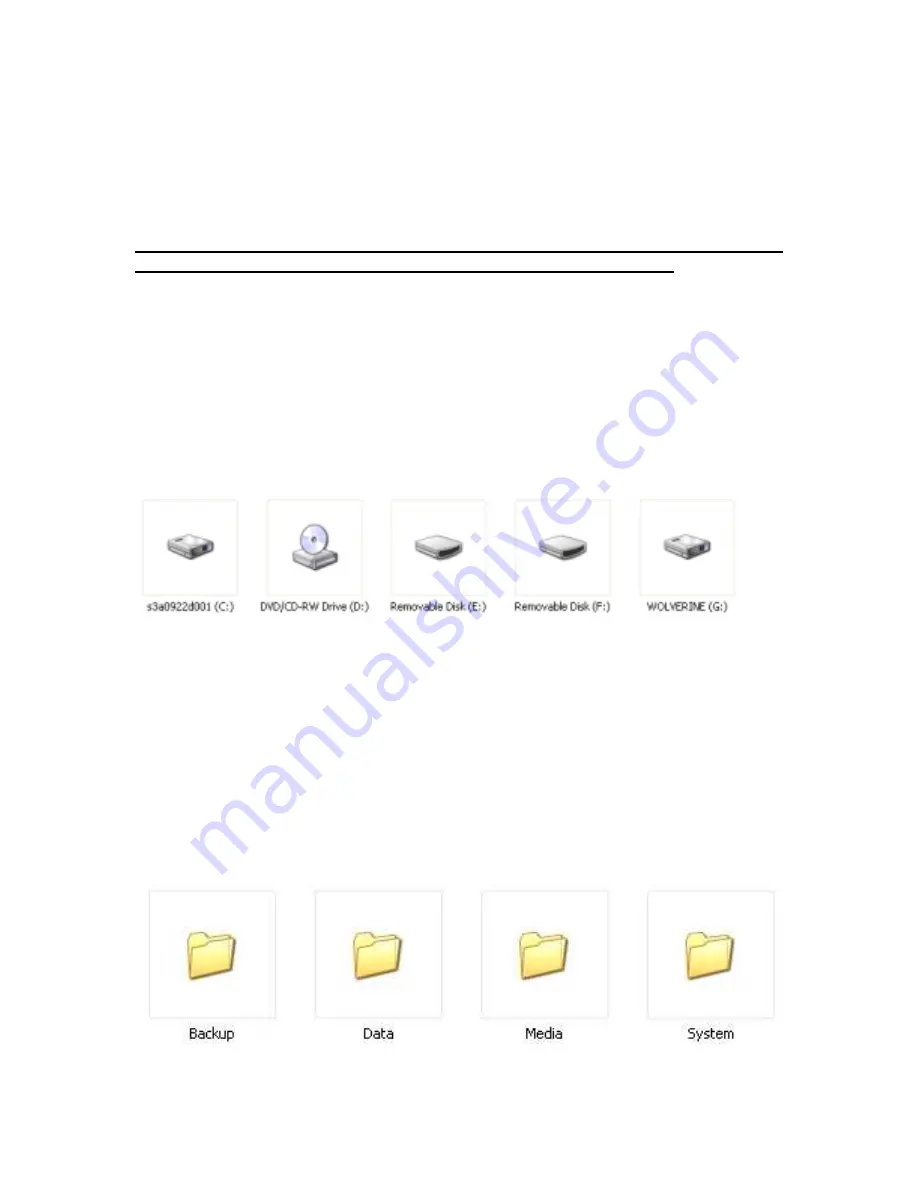
Under “My Computer” the
ESP
will show three new drives as shown below
Please, note that drive letters are assigned by your computer operating system and are
dependent on the next available unused driver letter.
Example above shows the
Wolverine labeled as drive (G:) represents the
ESP’s
internal hard drive and the
Removable drives (E:) and (F:) represent the two built-in memory card slots.
•
Double Click on the Wolverine Drive to access the contents of the
ESP
hard drive
•
The
ESP
hard drive is organized in the following folders structure (NEVER DELETE
THESE FOLDER):


