28
3062880_0910
B) CO
2
adjustment at the lower load
(soft start)
• Restart the gas condensing boiler by pressing the
"Reset button".
• Check and if necessary correct the CO
2
content
approx. 30 s after burner start using the CO
2
tester,
by fine adjusting the
zero point adjusting screw
in
accordance with the table. Make this adjustment within
120 s of the burner start. If necessary, repeat the start
phase for setting procedures by pressing the reset
button.
•
Turn clockwise - raises CO
2
content
•
Turn anti-clockwise - lowers CO
2
content
Appliance open
(without casing) at
lower
load
Natural gas H
9.0% ± 0.2%
Changing the gas type / CO
2
settings
A) CO
2
setting at the upper load
(emissions test mode)
• Undo the four screws from the front casing and
remove the casing.
• Remove the screw from the "flue gas" test port.
• Insert the test probe of the CO
2
test instrument into
the "flue gas" test port.
• Turn the temperature selector to
"Emissions test"
.
(Illuminated status indicator ring flashes yellow.)
• Check the CO
2
content at full load, and compare the
actual values with those in the table below.
• Correct the CO
2
setting as required using the
gas throughput adjusting screw
on the gas
combination valve in accordance with the table.
• Turn clockwise - lowers CO
2
content
• Turn anti-clockwise - raises CO
2
content
• Terminate the emissions test mode by returning the
temperature selector to its original position.
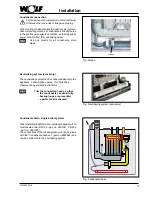
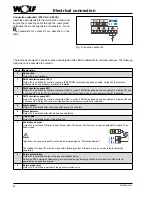
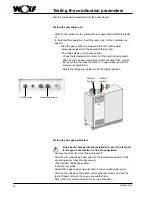
Fig.: Flue gas test at the integral test port
Test port, flue gas
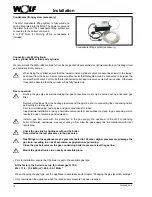
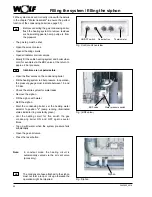
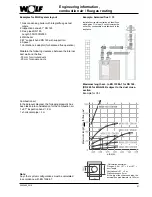
Fig.: Gas combination valve
Gas throughput adjusting screw (under cover)
Allen screw 3 mm for the MGK-170 - MGK-300)
Slotted screw for the MGK-130
MGK-170/210/250/300
MGK-130
Appliance open
(without casing) at
upper
load
Natural gas H
9.2% ± 0.2%
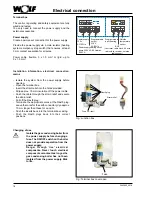
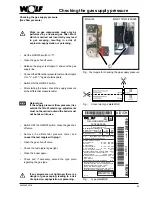
Fig.: Gas combination valve
Zero point adjusting screw, Tx40 Torx (under the
cover)
MGK-170/210/250/300
MGK-130


