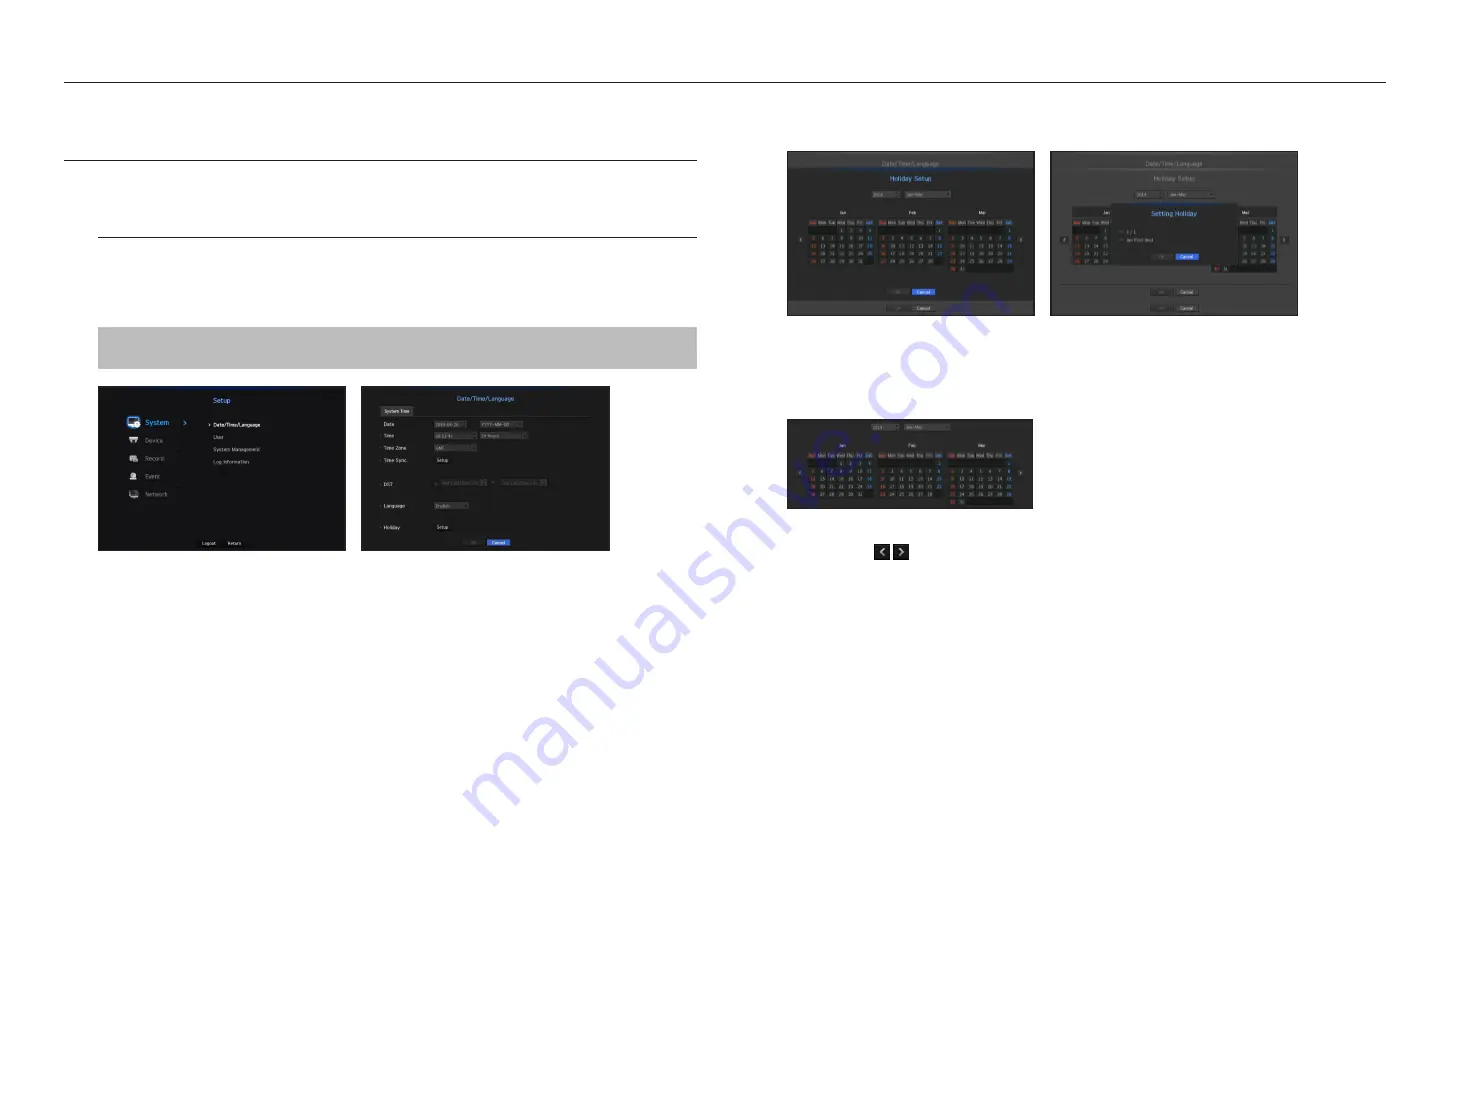
You can setup the system, devices, and options for recording, event and network.
SYSTEM SETUP
You can setup Date/Time/Language, User, System Properties and Log.
Date/Time/Language
Setting the Date/Time/Language
You can check and setup the current Date/Time and time related properties, as well as the language used for
the interface on the screen.
[
MENU
]
Ö
[
ENTER
]
Ö
▼
Ö
<
Menu
>
Ö
[
ENTER
]
Ö
<
System
>
Ö
►
Ö
<
Date/Time/Language
>
Ö
[
ENTER
]
Ö
▲▼◄►
Ö
[
ENTER
]
• Date : Sets the date and its format that will appear on the screen.
• Time : Sets the time and its format that will appear on the screen.
• Time Zone : Sets the time zone of your area based on the Greenwich Mean Time (GMT).
`
GMT (Greenwich Mean Time) is standard World Time and the basis of world time zone.
• Time Sync. : Specify the use of synchronization with the time server.
Click the <
Setup
> button to display time synchronization setup screen.
If you select to use the <
Time Server
>
, the current time will be synchronized on a regular basis by the server
defined as <
Time Server
>.
If this is the case, you cannot change the time setting manually.
- Synchronization : Specify the use of synchronization with the time server.
- Time Server : Enter an IP or URL address of the time server.
- Last Sync Time : Displays the most recent synchronization time from the selected time server.
- Activate as Server : Set to <
Use
> to allow the NVR to act as a Time Server for other NVRs.
• DST : Set up Daylight Saving Time with its period to make the time earlier than the GMT of its time zone by 1
hour during the set period.
• Language : Select your language. Sets the language for the interface.
English, French, German, Spanish, Italian, Chinese, Russian, Korean, Polish, Japanese, Dutch, Portuguese,
Turkish, Czech, Danish, Swedish, Thai, Romanian, Serbian, Croatian, Hungarian, Greek, Finnish, and
Norwegian are supported.
• Holiday : A user can select specific dates as holidays according to their own preferences.
Holidays are applied in the <
Recording Schedule
> or <
Alarm Schedule
> setting too.
`
e.g. every first day of a year is set to be a holiday if you select January 1 and check <
1/1
>, and every first day of a year and every
first Wednesday of January are set to be holidays if you check <
1/1
> and <
Jan First Wed
>.
To use the calendar
1.
Select year and month.
Select the <
> key on both ends of year and month to move back/forward to the previous/next year
or previous/next three month.
2.
Select a date and click on the <
OK
> button.
`
A date is marked in gray if there exist data for search for system log, event log, time search and event search.
24_
menu setup
menu setup


