11
9). Exchanging words on printing wheel (see diagram12):
Rotate the holding latch on the printing wheel cover by an angle to take the traverse pin out
of the groove from the end cover of printing wheel shaft, the printing wheel cover will bounce
by itself and types can be exchanged after removing its cover, then press the silicone bar on
it and install printing wheel cover. At last, insert the traverse pin back into the groove, and
rotate by an angle for fastening.
1. holding latch 2. end cover of printing wheel shaft 3.tranverse pin 4. type 5. fixed pin 6.
fastening screw for printing wheel 7. printing wheel
Diagram 12
10). The adjustment of the clearance between ink roller and types:
Adjust the adjusting screw (5) for the ink roller’s swing pole, rotate the printing wheel,
and make the types’ surface touch the ink roller’s (1 )surface slightly. When you use your
hand to touch printing wheel, if the ink roller can be easily be driven, it should be ok.
(see diagram 13)
1. ink roller 2. heating block of ink roller 3. swing pole 4.adjusting strut 5. adjusting screw
Diagram 13
Содержание FRM-1120L
Страница 7: ...6 Diagram 4 FR 1370LD Continuous band sealer with two sets of heating blocks Diagram 5 ...
Страница 16: ...15 VIII Breakdown Drawing of Machine Body FRM 1120L Diagram16 ...
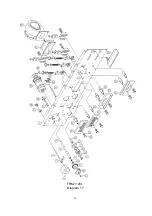
Страница 19: ...18 FRM 1120L Diagram 17 ...
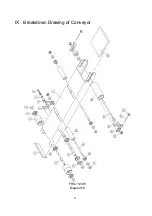
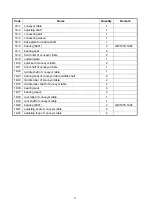
Страница 21: ...20 IX Breakdown Drawing of Conveyor FRS 1120W Diagram18 ...
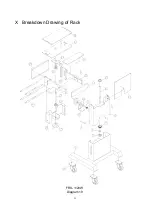
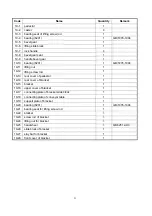
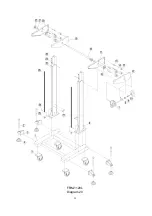
Страница 23: ...22 X Breakdown Drawing of Rack FRS 1120W Diagram 19 ...
Страница 25: ...24 FRM 1120L Diagram 20 ...


