Page 7
TimelapseCam User Guide
Setting Options
When you press the Right button from the Setup Mode screen, the LCD Display will
automatically display the different features within Options. Using the navigation
process, set the features you desire. Press the
Right
button to begin setting the user options.
Setting Date and Time
Press the
OK
button. Use the
Left/Right
buttons to move from one value to the next and the
Up/Down
buttons to adjust each value. Press the
OK
button to lock in selections. When all your
selections have been made, and the date and time has been set, press the
Right
button to
move to the next option.
DATE & TIME
11/11/11 11:11pm
SETUP MODE
<
OPTIONS
>
Page 14
TimelapseCam User Guide
Setup and Programming
Memory & Storage
Your camera supports external SD memory card ONLY and will accept up to a 32GB card.
Using large memory cards can slow the camera response. The camera cannot capture any
photo or video without external memory. Please insert an SD memory card to operate camera.
Estimates are based on the most common types of memory cards that can be purchased at
electronic stores, office supply stores, or online. Estimates may vary based on camera settings
or environmental conditions.
Important
Always turn the unit off when inserting or removing an SD memory card to avoid damage and
ensure that the camera properly updates the memory information.
Auto Mode
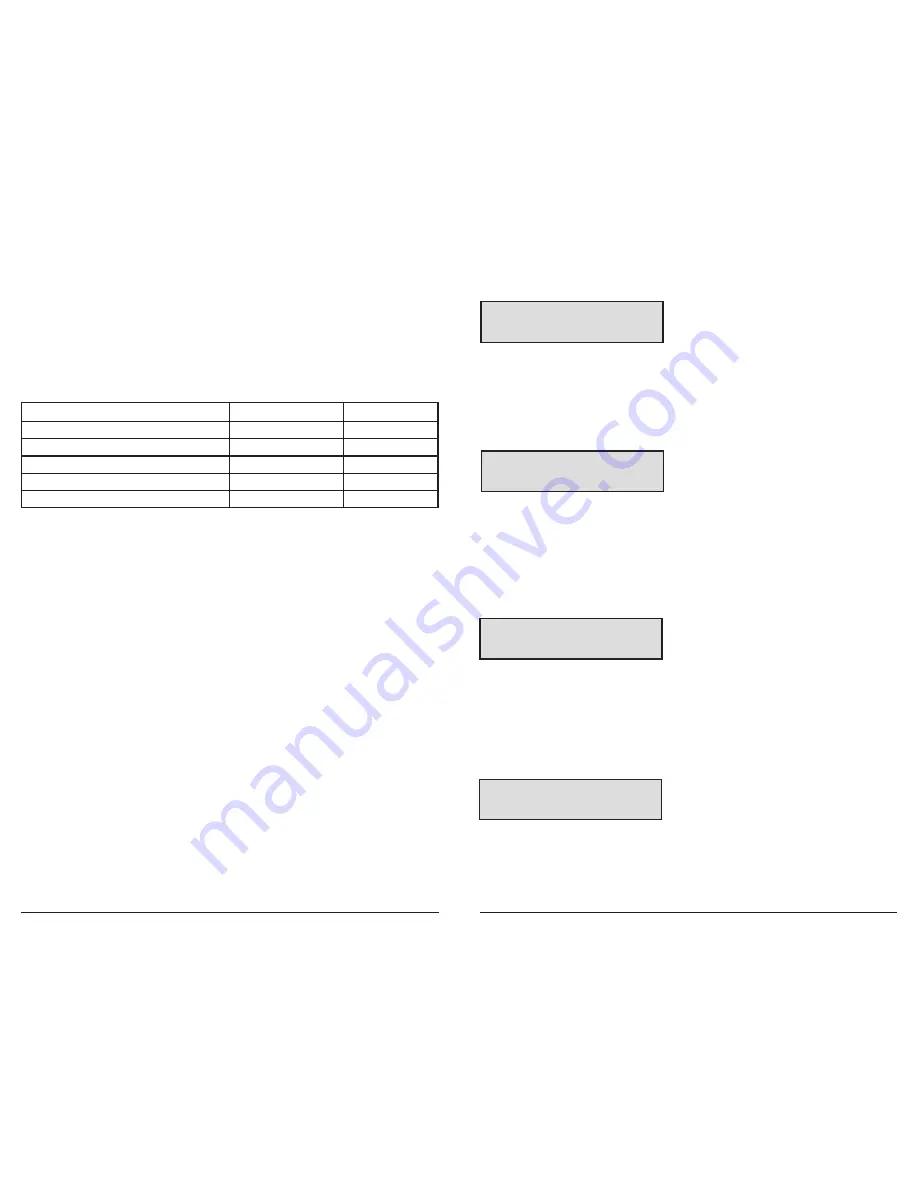
SD Card Size:
2 GB
16 GB
ENHANCED 3264 x 2448
740
5920
HIGH 2592 x 1944
1100
8800
MED 1600 x 1200
3000
24000
LOW 640 x 480
17950
143600
Actual capacity will vary based on image properties.
Warnings & Regulations
Wingscapes, a division of Plastic Research and Development Corporation
TimelapseCam
FCC Statements
Note:
changes and modifications not expressly approved by the party responsible could void
the user’s authority to operate this device.
This device complies with Part 15 of the FCC Rules. Operation is subject to the following two conditions: (1) This device may
not cause harmful interference, and (2) this device must accept any interference received, including interference that may
cause undesired operation.
NOTE: THE MANUFACTURER IS NOT RESPONSIBLE FOR ANY RADIO OR TV INTERFERENCE CAUSED BY UNAUTHORIZED
MODIFICATIONS TO THIS EQUIPMENT. SUCH MODIFICATIONS COULD VOID THE USER’S AUTHORITY TO OPERATE THE
EQUIPMENT.
NOTE: This device complies with the limits for a Class B digital device, pursuant to Part 15 of the FCC Rules. These limits are
designed to provide reasonable protection against harmful interference in a residential installation. This device generates,
uses, and can radiate radio frequency energy and, if not installed and used in accordance with the instructions, may cause
harmful interference to radio communications. However, there is no guarantee that interference will not occur in a particular
installation. If this device does cause harmful interference to radio or television reception, which can be determined by turning
the equipment off and on, the user is encouraged to try to correct the interference by one or more of the following measures:
- Reorient or relocate the receiving antenna.
- lncrease the separation between the equipment and receiver.
- Connect the equipment into an outlet on a circuit different from that to which the receiver is connected.
- Consult the dealer or an experienced radio/TV technician for help.
This product may not comply with California Proposition 65 standards, known to the state of California to cause
birth defects or other reproductive harm.
TIMELAPSE
INTERVAL 10 SEC
Interval Time Setting
Press the
OK
button. Use the
Up/Down
buttons to choose between 10, 30 seconds / 1, 5, 10, 15, or
30 minutes / 1, 2, 3, 6, 12 hours or 1 day. When your selection has been made, press the
Right
button
to go to the next option.
T.L. PROGRAMS
PER DAY
2
Setting Multi-Program
Press the
OK
button. Use the
Up/Down
buttons to choose between 2 available settings:
1 PROGRAM or 2 PROGRAM. This indicates the number of cycles the camera will operate within a
24 hour period. Press the
OK
button. Press
Right
button to go to the next option.


