s
e C T i o n
1 . 2— C
o n n e C T i n g
T h e
a
C T i v
X
o
—M
u s i C
s
y s T e M
7
W i l s o n A u d i o S p e c i a l t i e s
2. Locate the “Processor In” section of the ActivXo on the right
rear of the unit. Use the Processor Input of the ActivXo in
conjunction with the LFE (Low-Frequency Effects) outputs of
a surround processor. Balanced (XLR) or single-ended (RCA)
connecting cables may be used, depending on the connector
type used on your surround processor. Select either “UNBAL”
or “BAL,” depending on your connection type. Connect the LFE
output of your surround processor to the ActivXo via the input
labeled “PROCESSOR IN.”
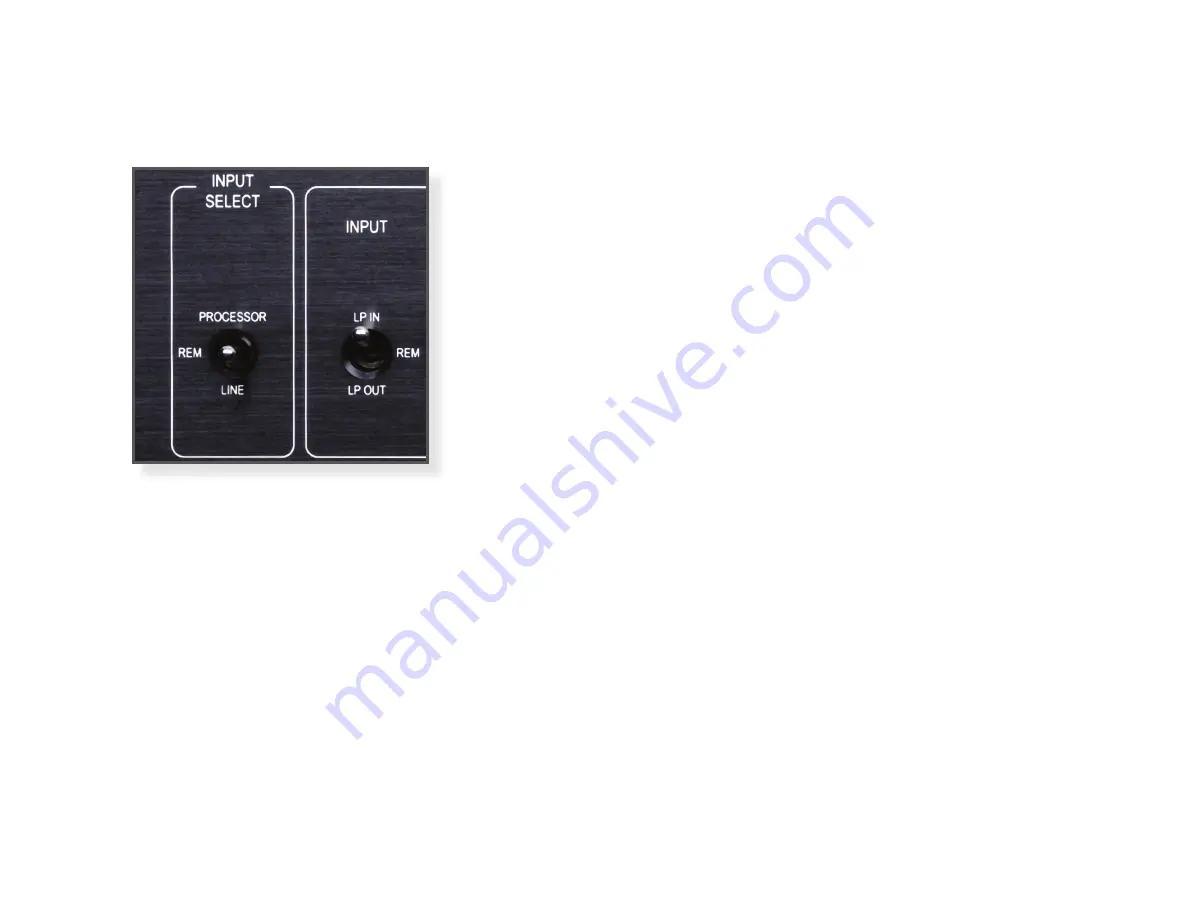
3. On the front panel, locate the switch labeled “PROCESSOR,”
“REM,” and “LINE.” Select the “PROCESSOR” input.
4. On the front panel, locate the switch labeled “HP IN” and “HP
OUT.” Select “HP OUT”. On the front panel, locate the switch
labeled “LP IN” and “LP OUT.” Select “LP OUT”.
5. Proceed to Section 2, “Setup and Final Tuning,” to continue the
setup of your unit.
Section 1.2—Connecting the ActivXo—Music System
Connect the ActivXo to the Subwoofer Amplifier
The “LOW PASS OUT” connectors labeled Left and Right are the output
signal connectors for the subwoofer amplifier. There is a single-ended and a
Содержание Activ XO
Страница 4: ......
Страница 5: ...S e c t i o n 1 I n i t i a l S e t u p W i l s o n A u d i o S p e c i a l t i e s...
Страница 12: ......
Страница 13: ...S e c t i o n 2 F i n a l T u n i n g W i l s o n A u d i o S p e c i a l t i e s...
Страница 26: ......
Страница 27: ...S e c t i o n 3 T w e lv e V o lt T r igg e r s W i l s o n A u d i o S p e c i a l t i e s...
Страница 30: ......
Страница 31: ...S e c t i o n 4 S p e ci f ic at i o n s W i l s o n A u d i o S p e c i a l t i e s...
Страница 38: ......
Страница 39: ...S e c t i o n 5 W a r r a n t y W i l s o n A u d i o S p e c i a l t i e s...


