Installation and maintenance manual
Ethernet module
DDNN004MHGB/03-2020/Rev.3
6
5 Setting up the TCP server of the MiiNePort E1
The following steps explain how to set up the TCP server on the MiiNePort E1, which is embedded on the
Ethernet module. When delivered by Wigersma & Sikkema B.V., the settings for Plug & Play use are already
preconfigured.
Step 1:
Install Moxa’s
Device Search Utility
(DSU), this program can be downloaded free of charge at:
https://www.moxa.com/getmedia/60d99361-a3fc-4f51-b49a-dcbc5876a629/moxa-device-search-
utility-v2.3.zip
This program can be used to identify Moxa devices on a network.
Step 2:
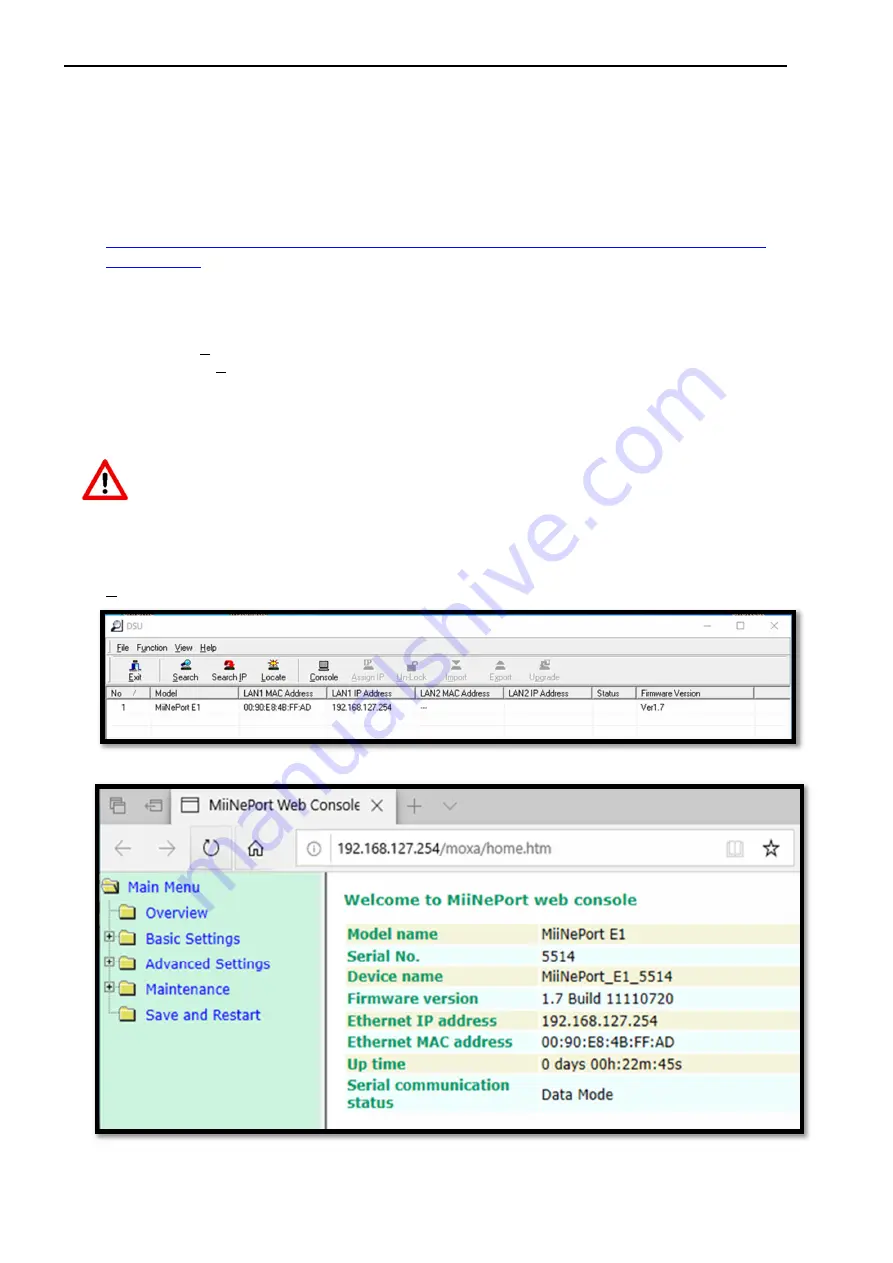
In DSU press
Search
(ctrl+B), a window will appear in which all found (Moxa) devices will be listed
(see fig. 3). The
Stop
button could be pressed after the MiiNePort E1 has been found, to stop
searching (searching will automatically stop after 10 seconds).
The search window will disappear once searching has finished, this will bring you back to DSU’s main
window.
When delivered by W&S, the MiiNePort E1 is not password protected. When a reset is
performed to factory settings, it is very likely that the MiiNePort is password protected.
The password is "
moxa
". The password can be disabled in the MiiNePort Web Console.
Step 3:
In the main window, double click the line of the MiiNePort. This will bring you to the embedded web
console of the Ethernet module (see fig. 4). It is also possible to select the MiiNePort E1 and press the
Console
button in the main window.
Figure 2: DSU’s Search window
Figure 3: The MiiNePort web console


