Kunststoffschweißtechnik
Starting and operating
Chapter 5
26/04/11
Working Instructions WIDOS HRG 10, Segment
Page 23 of 49
•
The heating time starts now. Press the stop-watch and compare the actual time with the
nominal time taken from the table.
•
Quickly drive the slide apart after the heating time has expired, control lever with pressed
button on: „BACKWARDS“. Remove the heating element as quickly as possible, put it into
the protection box and close the slides smoothly, control lever on: „FORWARDS“.
The maximum time frame for this process is predetermined by the value for the change
over time taken from the table.
•
When the welding pressure is built up, press the stop-watch and keep the control lever for
approximately 10s on position „pressure“ so that the hydraulic accumulator can be filled.
During the cooling time re-adjust pressure if necessary (the pressure for cooling is the
same as the set adjustment pressure).
•
After expiration of the cooling time release pressure, valve lever on: “Pressure release”.
•
Open the clamping tools and remove the welded part.
•
Open the slide, valve lever on: „BACKWARDS“.
W elding is completed.
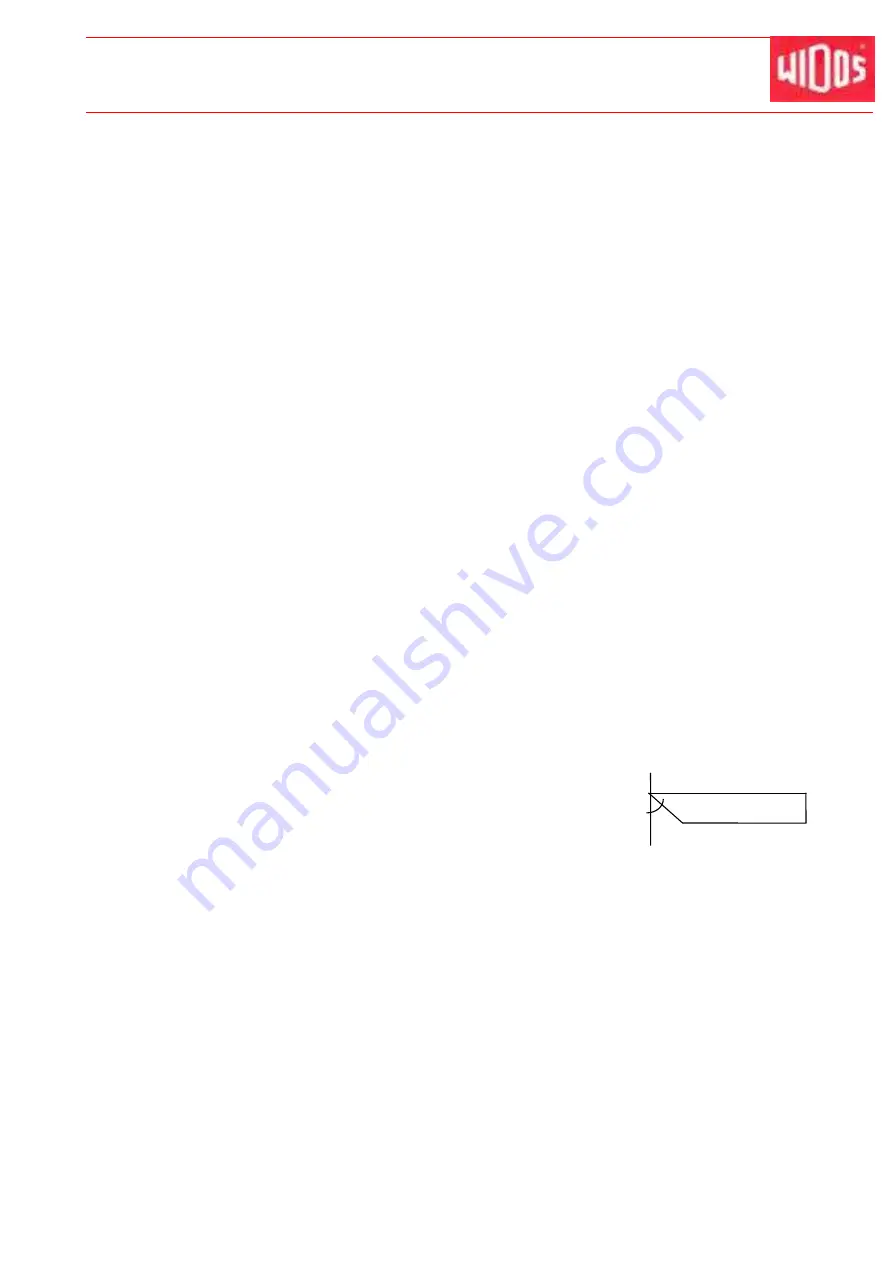
5.5 Welding angles
When angles have to be welded, the welding surface of the pipes and thus the necessary
pressure is changing.
The necessary pressure is calculated as follows:
•
Gather the prescribed value for adjusting or cooling pressure from the table.
•
Multiplicate the pressure value with factor 1/cos (angle).
This produces the following factors:
Welding 15°
(Pipes chamfered for 7.5°):
1.01
Welding 22.5°
(Pipes chamfered for 11.25°): 1.02
•
Add the movement pressure as usual.
The other welding parameters remain as noted in the table.
Angle


