


G E N E R A L I N F O R M A T I O N
page 1 – 7
E-6 / Dec 2007
G E N E R A L I N F O R M A T I O N
Log-In
When the surface boots, it enters the log in level that was last accessed. Look
in the lower left corner of the VGA screen to see the current ACCESS AUTHO-
RIZATION level. Pressing the PASSCODE switch on the Master panel opens the
PASSCODE ACCESS window. Select a user level - Intern, Operator, Production,
or Engineering- with the mouse or touchpad, then enter a numeric pass code and
press the OK button. All default passcodes are ”111.” Please see the Master Panel -
Control Modes section of this manual for detailed information regarding passcodes.
Tabbed Navigation
The E-6 features a “tabbed” navigation architecture to easily access features
with a minimum number of mouse clicks. There are a few subtleties you need to
be familiar with to efficiently get around the tabbed software screens. This section
introduces you to the tabs; detailed function information is included in the Input
and Master panel sections.
The E-6 VGA monitor is vertically divided into two halves with a METER-
ING PANE on the left side and a FUNCTION PANE on the right side. The Main
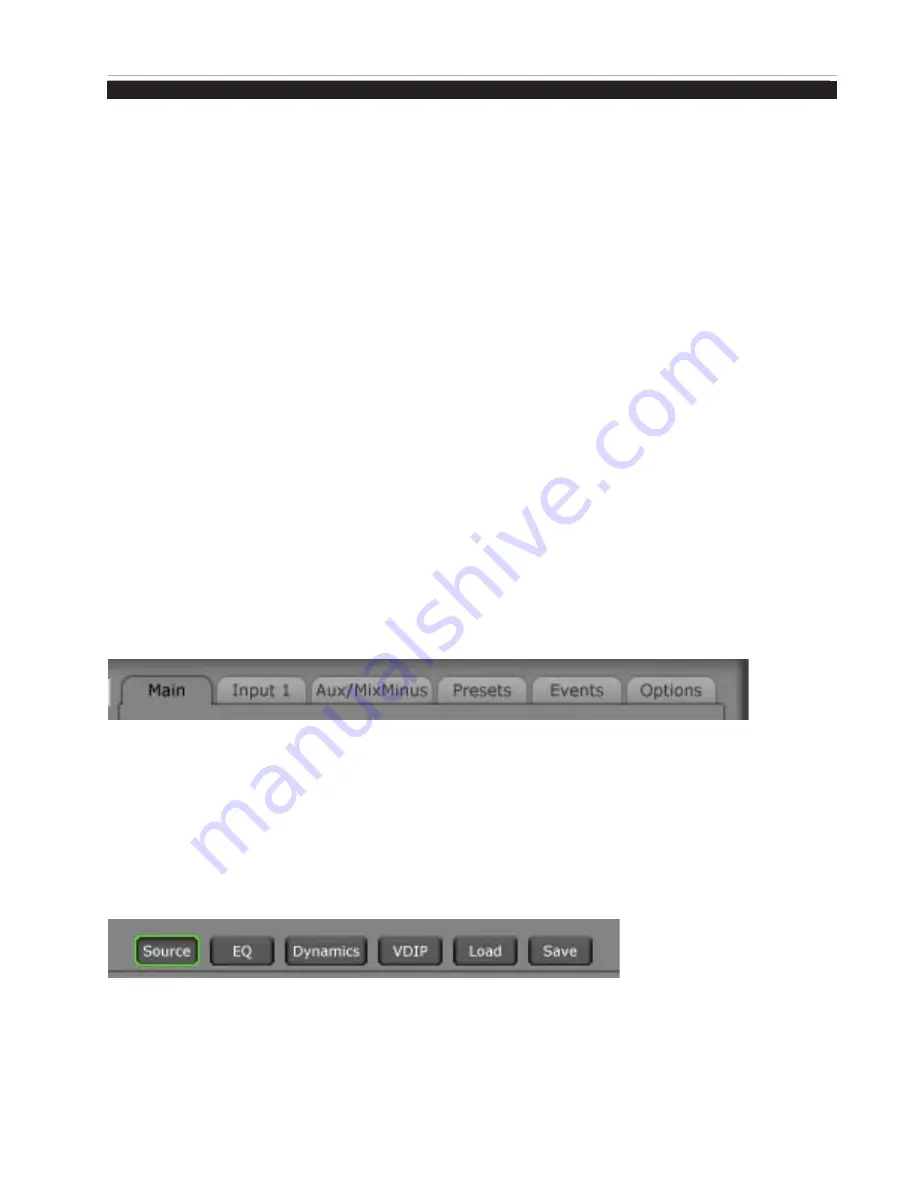
Menu Tab buttons are located across the top of the function display area. You may
access any of the Main menu Tabs by simply clicking on them. To access Input
functions, press an Input SET button and the Function Pane will jump to settings
for that input fader strip.
Notice the “Button Bar” at the bottom of the Input screen. You can access the
powerful DSP and programmable features here.
Main Tab - displays Timer/Clock, Current Event, Switched Meter, and the External
Sources for monitors.
Input Tab - displays interactive Source & Programmable button windows, Mode,
Pan, and Aux Send settings for the selected channel. Note you must press an
Input fader’s SET button to show the settings for that channel, or click on a
CHANNEL STATUS button in the lower left side of the VGA to access any fader.
Input Button Bar - click on Source, EQ, Dynamics, VDip, Load, and Save to ac-
cess these features, described Later.
Aux/MixMinus Tab - displays controls for the four Aux Master outputs and the
Mix-Minus Outputs.
Presets Tab - the E-6 includes the ability to save, copy, and paste individual EQ,
dynamics, and even whole channel strip settings. Settings for each category are
stored as Presets. The Preset Pane allows you to manage and apply presets to
Sources and faders.
E-6 / June 2011
Содержание E-6
Страница 1: ...E 6 Digital Control Surface TECHNICAL MANUAL 600 Industrial Drive New Bern North Carolina USA 28562 ...
Страница 83: ...page 5 2 E 6 Apr 2007 S C H E M A T I C D R A W I N G S page 5 4 IPE 6 4 Inputs Panel Switch Card Load Sheet ...
Страница 90: ...page 5 11 MNE 6 Master Panel Switch Card Load Sheet E 6 Apr 2007 ...
Страница 95: ...page 5 16 HC 3 Host Controller Card Load Sheet E 6 Apr 2007 ...
Страница 97: ...page 5 4 E 6 Apr 2007 S C H E M A T I C D R A W I N G S PSE 1 Power Supply Load Sheet page 5 18 E 6 June 2011 ...


