20
Measuring Examples
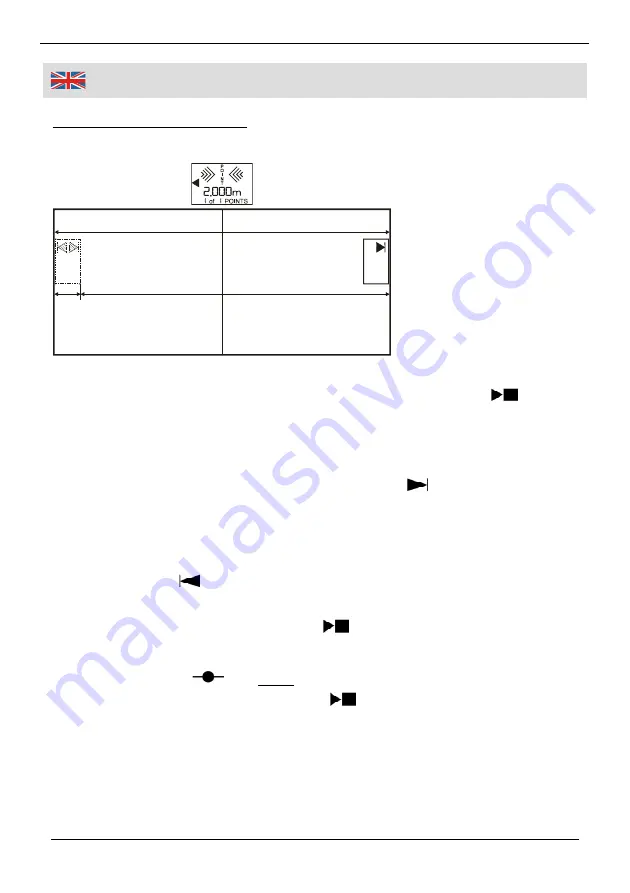
Detecting the Centre Point
Display:
Place the device on the right wall and press the button
(10) to
switch on. On the display the measuring value flashes (H). Select the
desired measuring unit (see switching over the measuring unit). Before
measuring, decide which point should serve as reference point (in the
example the “right edge“), by pressing the key
. On the display the
reference arrow (D) appears.
Roll the device over the distance to be measured up to the left side of
the wall. To achieve the overall length, add the width of the device by
pressing the key
. The width of 64 mm will be added to the sum and
the overall distance can be read on the display. To stop measuring and
to freeze the result, press the button
(10) and the result (e. g. 4.000
m) flashes on the display.
Press the button
(5) once and on the display “-- of 1 POINTS“
appears. After that, press the button
(10). Roll the device towards
the start position until the position display (A) does not flash anymore
and until you hear a signal sound. Now the point display (G) “1 of 1
POINTS“, that means measuring point 1 from one measuring point is
reached and the display “POINTS“ (B) flashes. Draw with a pencil a line
Total Length with width of the unit 4 m


