30
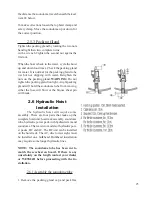
lengths, PN: 78.10015.1
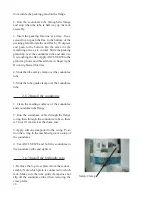
3. Hoist board voltage
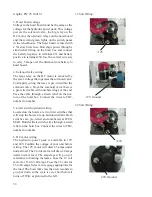
Voltage to the hoist board must be the same as the
voltage for the hydraulic power pack. This voltage
powers the solenoid valve, the big relay on the
DC motor, the up/down relays on the hoist board
and the red and green lights on the switch panel
in the wheelhouse. The hoist board is fused with
a 5A slow blow fuse. Run ships power through a
strain relief fitting on the hoist box and connect
the battery negative to terminal #31 and battery
positive to terminal #30. Use the correct wire size
to carry
5 amps over the distance from battery to
hoist board.
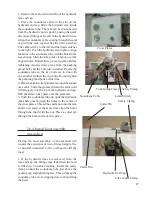
4. Solenoid valve wiring
The large relay on the DC motor is activated by
the same voltage that operates the solenoid valve.
To simplify wiring the relay is pre-wired into the
solenoid valve. From the solenoid valve there is
a pre-wired cable with numbered lugs at the end.
Pass the cable through a strain relief on the bot-
tom of the hoist box. Connect the wires to TB2,
number to number.
5. Limit switch up/down wiring
Located on the hoists are two limit switches that
will stop the hoist at its up and down limits. Both
switches are pre-wired and numbered at WES-
MAR. Run the limit switch wires through a strain
relief on the hoist box. Connect the wires to TB2,
number to number.
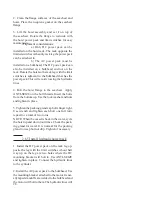
6. DC motor wiring
The hydraulic power pack is available in 12V
and 24V. Confirm the voltage of your unit before
wiring. The 12V motor will draw 65 amps under
normal load. The 24 volt motor will draw 40 amps
under normal load. The amperage will go up if
resistance in hoisting increases. Fuse the 12 volt
motor for 130 to 140 amps. Fuse the 24 volts for
55 to 60 amps. Select a wire guage appropriate for
the load. The hoist takes less than ten seconds to
go up or down so the cycle is very short before it
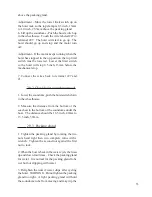
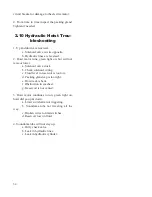
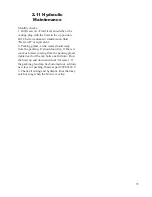
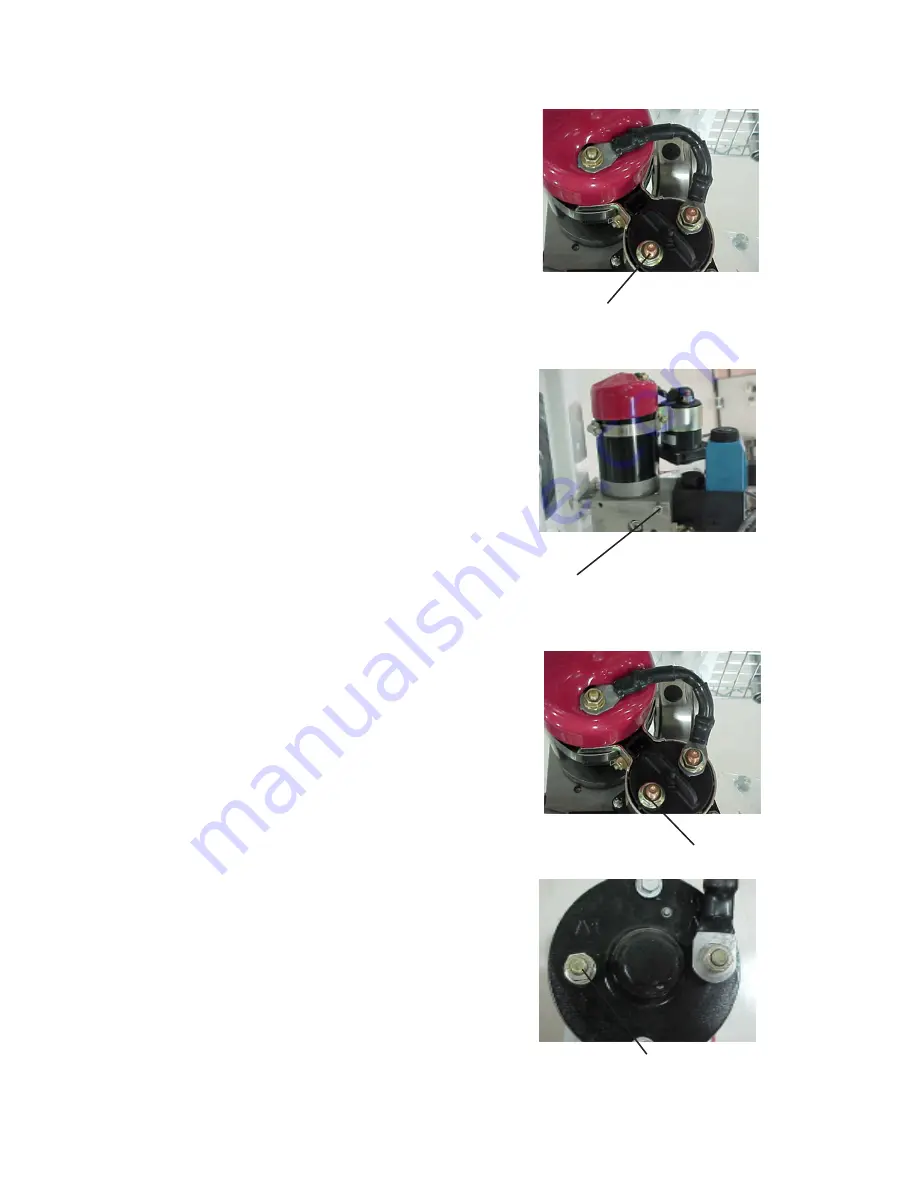
turns off. Wire as pictured to the left.
+12V
12V Ground
+24V
24V Ground
12 Volt Wiring:
24 Volt Wiring:
Содержание SS395
Страница 36: ...36...

