INSTALLATION & OPERATIONS
IOM-013
Page 10 of 18
CP2 & CP5GM
Rev: D
Last updated: 4/14/2011
5.
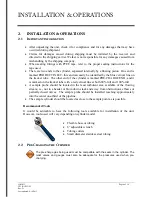
Turn the sampler off when the cylinder is at 80% capacity. This allows a 20% margin for
possible expansion due to temperature changes.
6.
When the desired amount of sample is extracted, close all valves on the cylinder.
7.
Close the sampler outlet valve.
8.
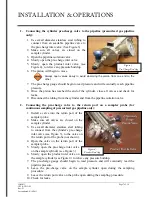
Carefully disconnect the cylinder from the sampler, allowing the trapped product between
the sampler outlet valve and the product inlet valve to vent.
9.
Plug or cap all valves on the cylinder.
10.
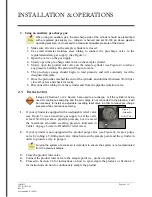
Record pressure, locations, etc., on the information tag according to company policy.
Check all fittings for leaks.
11.
The cylinder is now ready for product removal.
2.6 M
IXING
T
HE
C
OLLECTED
S
AMPLE
12.
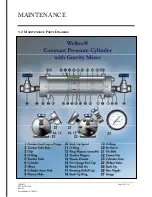
Prior to the analysis of the sample, hold the
cylinder vertically so the pre-charge end is up
and the product end is down.
13.
Allow a moment for gravity to pull the
mixer, which will slide down the mixing rod.
14.
Invert the cylinder so that the product end is
up and the pre-charge end is down.
15.
Allow a moment for gravity to pull the
mixer, which will slide down the mixing rod.
16.
Repeat this process several times (5-10) to
mix the contents of the product end of the
cylinder.
Figure 7 – Mixing the Product


