


RECORD AN ECG
Page | 57
Capturing ECGs from Full Disclosure
Click anywhere in the full disclosure display at the bottom of the screen to capture an ECG retrospectively from the
buffer. A green rectangle will appear highlighting the selected 10-seconds of ECG data. You can navigate through
the window with the mouse, or use the page up/down buttons to the right. Use the ECG icon
to capture the
12-lead ECG. The complete full disclosure data can be printed as a single lead by using the Print Full Disclosure
icon. Waveform data reviewed on the screen can be selected and printed as a single lead of up to 60
minutes of data, depending on the amount of ECG data that has been acquired.
NOTE: ECG size and gain will automatically adjust to allow all data to fit on one page.
NOTE: The full disclosure data cannot be accessed once the acquisition session has ended.
Timed ECG Recording
RScribe automatically acquires ECGs at preset time intervals for future review and processing on the full disclosure
screen. Automatic acquisition is based on the amount of full disclosure time set by the administrator. It may be set
as frequent as every 20 seconds or as infrequently as once per a 60-minute period.
The ECGs captured for the current patient are presented as white rectangles in the full disclosure window. As the
waveform data on the screen refreshes, additional ECGs can be acquired as necessary. Previously acquired data will
be retained in the buffer until the full disclosure buffer has been filled.
See the description of the Menu Item "ECG Timed Capture" on page 39 for instructions how to initiate and set up
timed capture of ECGs. To begin, manually capture an ECG to start timed collection.
NOTE: When the full disclosure buffer duration set by the administrator is reached, RScribe automatically
ends ECG capture and will display the last captured ECG.
Captured ECG Display and Icons
Once captured, the ECG is displayed with global measurements and the VERITAS automatic interpretation. Icon
button selections are located at the right of the captured ECG and actions are described below.
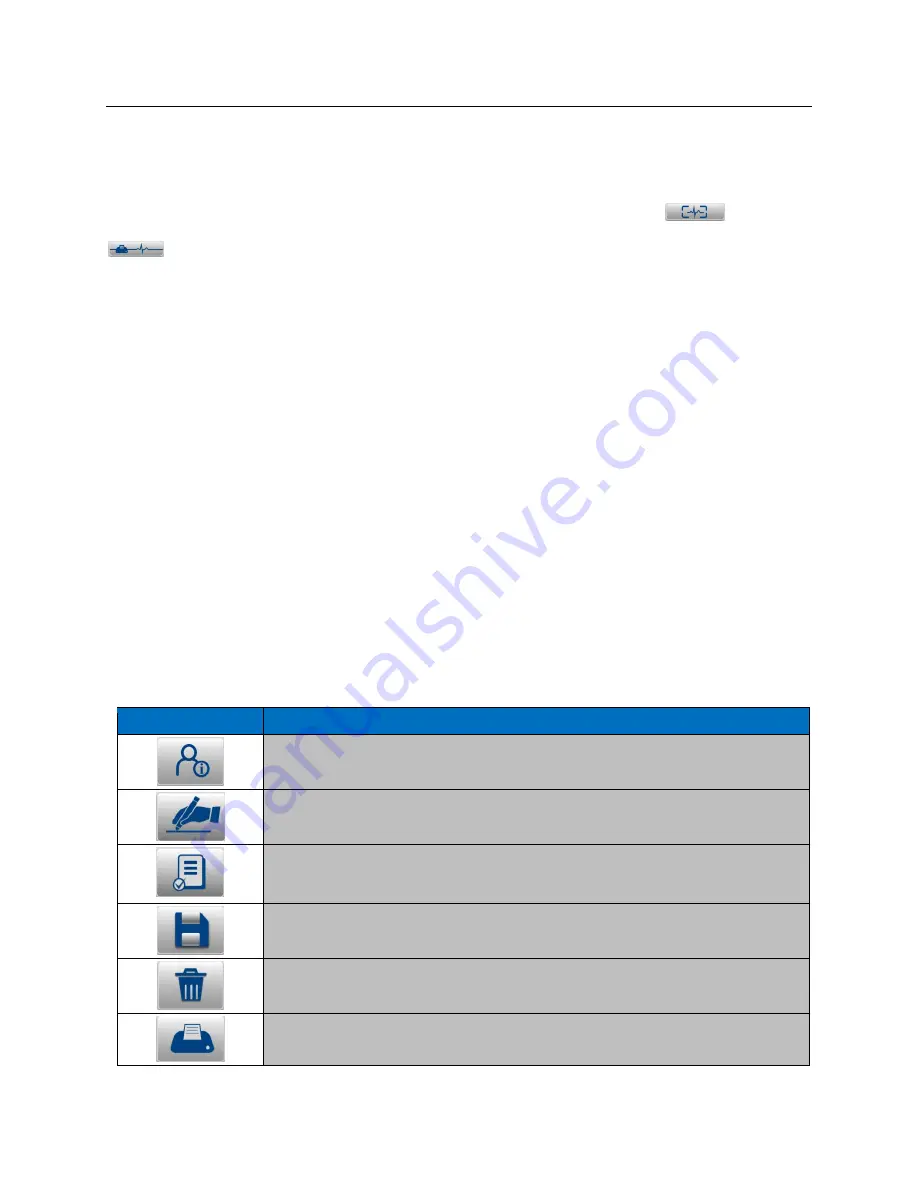
Icon
Description
ID
allows editing of existing and entry of new patient information. Only height, weight,
admission ID, medications, notes, referring physician and location can be edited.
Sign
the displayed ECG. Icon is only available for those logged in with signing
authority.
Mark the displayed ECG with a
Review
ed status. Icon is only available for those
logged in with permission to Edit and Review exams. User is prompted to enter the
Reviewer’s name and select OK. Start a Resting Exam is then displayed.
Save
the ECG. ECG is saved with an “Acquired” status. Start a Resting Exam is then
displayed.
Delete
the ECG. User is prompted to select Yes or No and is then returned to the real-
time ECG display.
Print ECG
will send the displayed ECG to the default printer.


