Wavecom Instruments Thermal Transfer Bar Code Printer User Manual
19
Set Black Mark Sensor as Media Sensor and Calibrate the Black
Mark Sensor
Please follow the steps as below.
1. Turn off the power switch.
2. Hold on the button then turn on the power switch.
3. Release the button when LED turns
green/amber
after 5 green blinks.
(Any
green/amber will do during the 5 blinks).
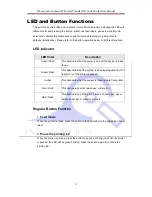
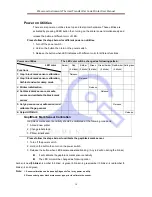
The LED color will be changed as following:
Amber
red (5 blinks)
amber (5 blinks)
green (5 blinks)
green/amber (5
blinks)
red/amber (5 blinks)
solid green
Set Gap Sensor as Media Sensor and Calibrate the Gap Sensor
Please follow the steps as below.
1. Turn off the power switch.
2. Hold on the button then turn on the power switch.
3. Release the button when LED turns
red/amber
after 5 green/amber blinks.
(Any
red/amber will do during the 5 blinks).
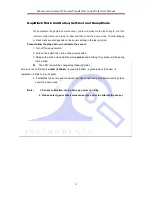
The LED color will be changed as following:
Amber
red (5 blinks)
amber (5 blinks)
green (5 blinks)
green/amber (5
blinks)
red/amber (5 blinks)
solid green
Skip AUTO.BAS (not applicable)
TSPL2 programming language allows user to download an auto execution file to flash
memory. Printer will run the AUTO.BAS program immediately when turning on printer
power. The AUTO.BAS program can be interrupted without running the program by the
power-on utility.
Please follow the procedures below to skip an AUTO.BAS program.
1. Turn off printer power.
2. Press the FEED button and then turn on power.
3. Release the FEED button when LED becomes
solid green
.
The LED color will be changed as following:
Amber
red (5 blinks)
amber (5 blinks)
green (5 blinks)
green/amber (5
blinks)
red/amber (5 blinks)
solid green
4. Printer will be interrupted to run the AUTO.BAS program.


