19
Visit our website at http://watt-age.globalhobby.com for information on other Wattage products
❑
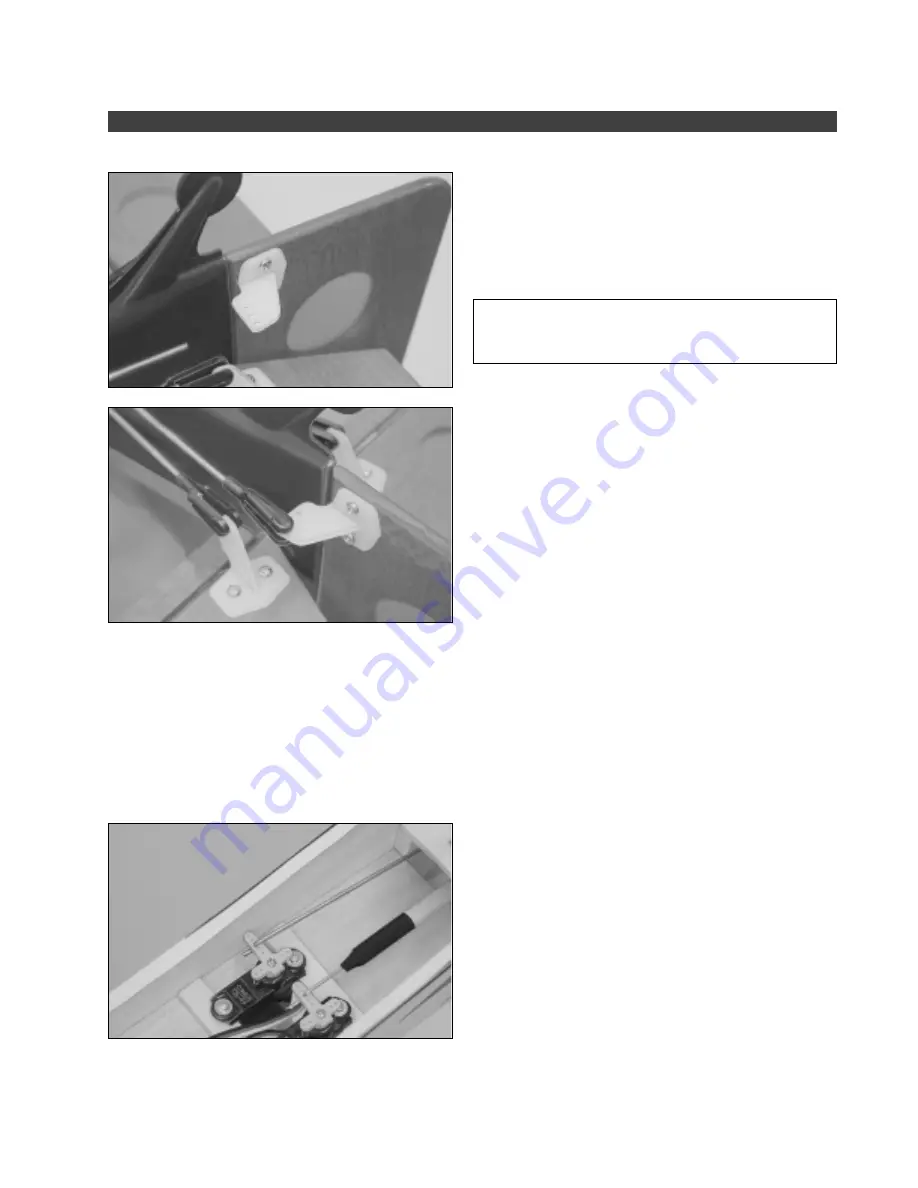
Carefully slide the rudder pushrod wire into the fuselage and guide it out through the pushrod exit slot.
❑
Install one control horn onto the right side of the rudder,
making sure that the centerline of the control horn is 1/2" up
from the bottom of the rudder (at the hinge line) and that the
front edge of the control horn is perpendicular to the rudder
hinge line.
✦
✦
✦
✦
✦
IMPORTANT
✦
✦
✦
✦
✦
Remember to apply a couple of drops of
thin C/A into the mounting holes to reinforce the sur-
rounding balsa.
❑
Carefully thread one clevis onto the pushrod wire. For
security, thread the clevis on completely.
☞
To make it easier to thread the clevis into place, hold the
pushrod wire with a pair of needle nose pliers.
❑
Carefully snap the clevis into the
outermost hole
in the
control horn.
❑
Use a couple of pieces of masking tape, taped between the vertical stabilizer and the rudder, to hold the rudder
centered.
❑
Plug the rudder servo into the receiver, then plug the ESC into the receiver and the flight battery into the ESC . Turn
on the radio system and center the servo using the trim lever on your transmitter.
❑
Attach a servo horn to the servo, making sure that it's centered and points toward the fuselage side.
❑
With the rudder and the servo horn centered, draw a mark on the rudder pushrod wire where it crosses the
third hole
out from the center of the servo horn.
STEP 2: INSTALLING THE RUDDER CONTROL SYSTEM
❑
Carefully make a Z-Bend in the pushrod wire at the mark
you drew.
❑
Attach the servo horn to the pushrod, then place the servo
horn onto the servo, securing it into place using the retaining
screw provided with your servo mounting hardware.
❑
Remove the masking tape from the rudder and double-check that the servo horn and the rudder are still centered. If
the rudder is not centered, adjust the clevis until the rudder is centered.
The servo position in your model may be
farther back than shown. This was a
late-term design change.


