11
Visit our website at http://watt-age.globalhobby.com for information on other Wattage products
❑
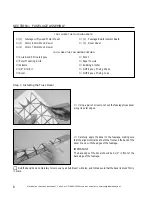
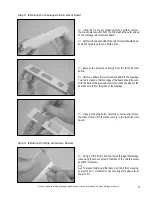
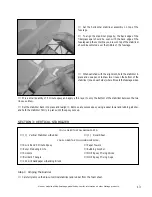
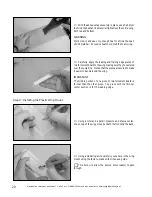
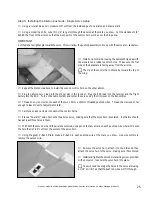
Line up the ends of the spar with the ends of the stabilizer
and carefully glue the spar to the trailing edge. Remove any
excess epoxy using a paper towel and rubbing alcohol, and
use small pieces of masking tape to hold the assembly in place
until the epoxy sets up.
IMPORTANT
When gluing the assembly into place it's important that
the spar be glued securely to the trailing edge and that the
stabilizer be perfectly flat during the drying process.
❑
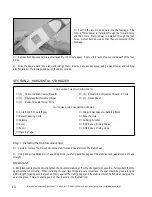
Mix a small quantity of 5 minute epoxy and apply a thin layer to the trailing edge of the horizontal stabilizer.
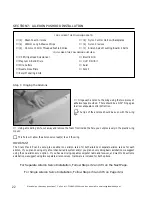
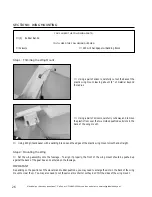
Step 2: Installing the Elevator Joiner Wire
❑
After the epoxy has cured, remove the pieces of masking tape and carefully sand the ends of the spar even with the
ends of the stabilizer.
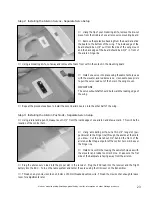
❑
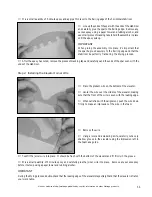
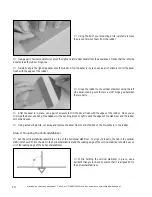
Place the prebent wire on the bottom of the elevator.
❑
Center the wire over the middle of the elevator, making
sure that the front of the wire is even with the leading edge.
❑
When satisfied with the alignment, push the wire down
firmly to make an impression of the wire in the foam.
❑
Remove the wire.
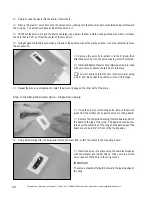
❑
Using a ruler and a modeling knife, carefully cut a very
shallow groove in the elevator using the impression left in
the foam as a guide.
❑
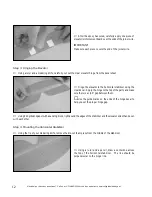
Test-fit the joiner wire into place. It should be flush with the bottom of the elevator and fit firmly in the groove.
❑
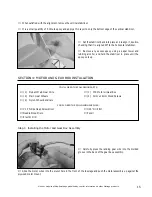
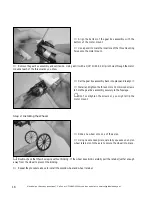
Mix a small quantity of 5 minute epoxy and carefully glue the joiner wire into place. Remove any excess epoxy
before it sets up using a paper towel and rubbing alcohol.
IMPORTANT
During the drying process, double-check that the leading edge of the elevator stays straight and that the elevator is flat on
your work table.

