27
Visit our website at http://watt-age.globalhobby.com for information on other Wattage products
❑
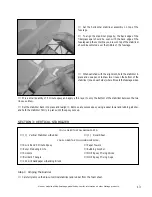
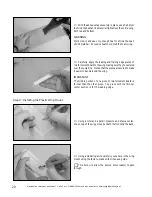
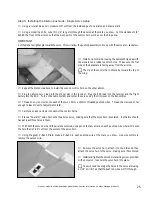
When satisfied with the alignment, secure the wing in
place using two rubber bands.
YOU'LL NEED THE FOLLOWING PARTS:
❑
{1} 7.5 x 5 Propeller
❑
{1} 3mm Flat Washer
❑
{2} 3mm Hex Nuts
SECTION 9: FINAL ASSEMBLY
❑
{1} 37mm x 50mm Sheet-Foam
❑
{1} Decal Sheet
❑
{1} Double-Sided Tape
YOU'LL NEED THE FOLLOWING SUPPLIES:
❑
Adjustable Wrench
❑
Excel Modeling Knife
❑
Scissors
❑
K&S 30 Watt Soldering Iron
❑
Kester Solder
❑
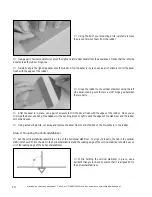
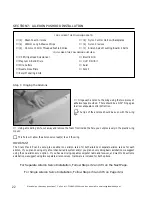
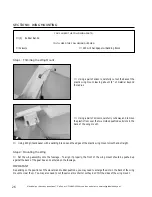
Thread one 3mm hex nut onto the propeller shaft and tighten it by hand until it will not thread on any further.
❑
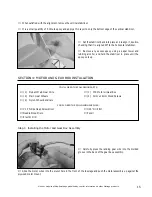
Slide the propeller onto the propeller shaft, making sure that the back of the propeller slides firmly over the hex nut.
☛
The back of the propeller is molded to fit over the hex nut.
Step 1: Installing the Propeller
❑
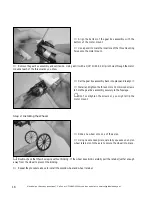
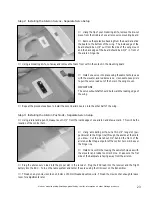
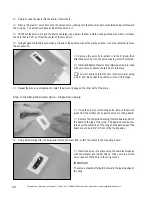
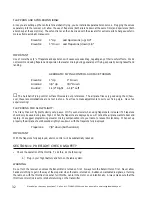
Slide the 3mm flat washer up against the propeller and
thread on the second 3mm hex nut. Tighten the hex nut,
using an adjustable wrench, to hold the propeller in place.
☛
Do not overtighten the nut or you might strip the prop
shaft.

