20
Need help or have any questions? Call us at 1-714-963-0329 or send us an email to [email protected]
❑
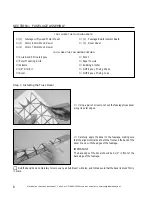
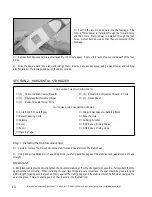
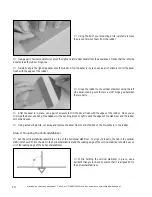
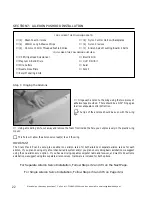
With the adhesive tape securely in place, use a hair dryer
to shrink the heat-shrink material tight across the entire wing,
both top and bottom.
WARNING
Work slowly and use only enough heat to shrink the heat-
shrink material. Excessive heat could melt the foam wing.
❑
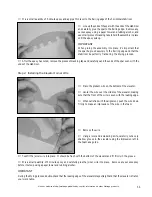
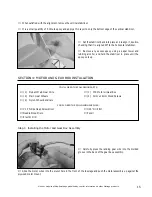
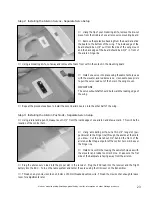
Carefully apply the leading and trailing edge pieces of
reinforcement board to the wing making sure they're centered
over the centerline. Notice that the pieces are scored to make
it easier to bend around the wing.
IMPORTANT
The middle portion of one piece of reinforcement board is
thinner than the other piece.
The piece with the thinner
center section is for the leading edge.
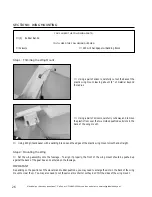
Step 2: Installing the Plastic Wing Mount
❑
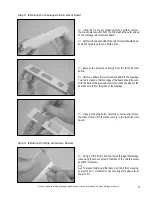
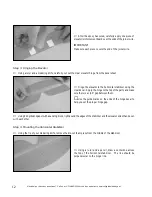
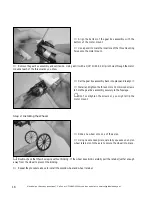
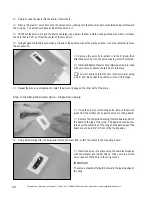
Using a ruler and a pencil, measure and draw a center-
line on top of the wing mount, at both the front and the back.
❑
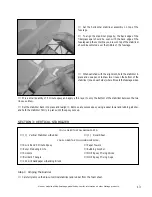
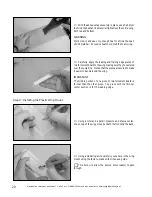
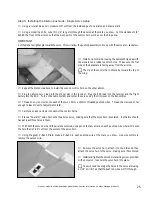
Using a modeling knife, carefully cut a hole in the wing
mount using the factory-made scribe lines as a guide.
☛
This hole will allow the aileron servo lead(s) to pass
through.

