Preparing the sample manager
2-17
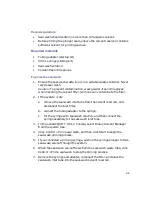
Tip:
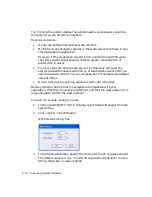
Using both a weak and strong wash solvent increases the wash time
and solvent consumption because the system must be fully cleansed of
the strong solvent before starting the next injection.
4.
In the Weak Wash box, specify the volume for the weak wash solvent.
The default value is 200.0
µ
L.
Caution:
If you do not use a sufficient quantity of weak wash solvent,
the strong wash solvent can contact the sample and contaminate it.
5.
Click OK. The needle wash begins.
6.
When washing is complete, the status returns to Idle. Click Close.
To stop a needle wash routine before it finishes:
From the sample manager information window, click Control > Reset SM.
Characterizing the needle seal
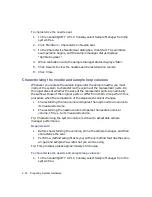
The seal calibration procedure finds the position at which the needle obtains a
seal within the wash station block. The sample manager must be primed
before starting this procedure.
Requirements:
•
Perform this procedure before calibrating the needle and sample loop
volumes.
•
Perform this procedure after priming the sample manager or after you
replace and/or adjust these items:
•
The needle
•
Any part of the needle assembly
•
The needle (Z) or piercing needle (Zp) flags (home and top-of-plate)
•
A home or top-of-plate sensor
•
The seal mechanism
•
The NVRam battery on the CPU2000
Содержание nanoACQUITY UPLC
Страница 7: ...vii ...
Страница 16: ...xvi ...
Страница 20: ...xx Table of Contents ...
Страница 32: ...1 12 System Overview ...
Страница 58: ...2 26 Preparing System Hardware ...
Страница 76: ...4 12 Verifying System Operation ...


