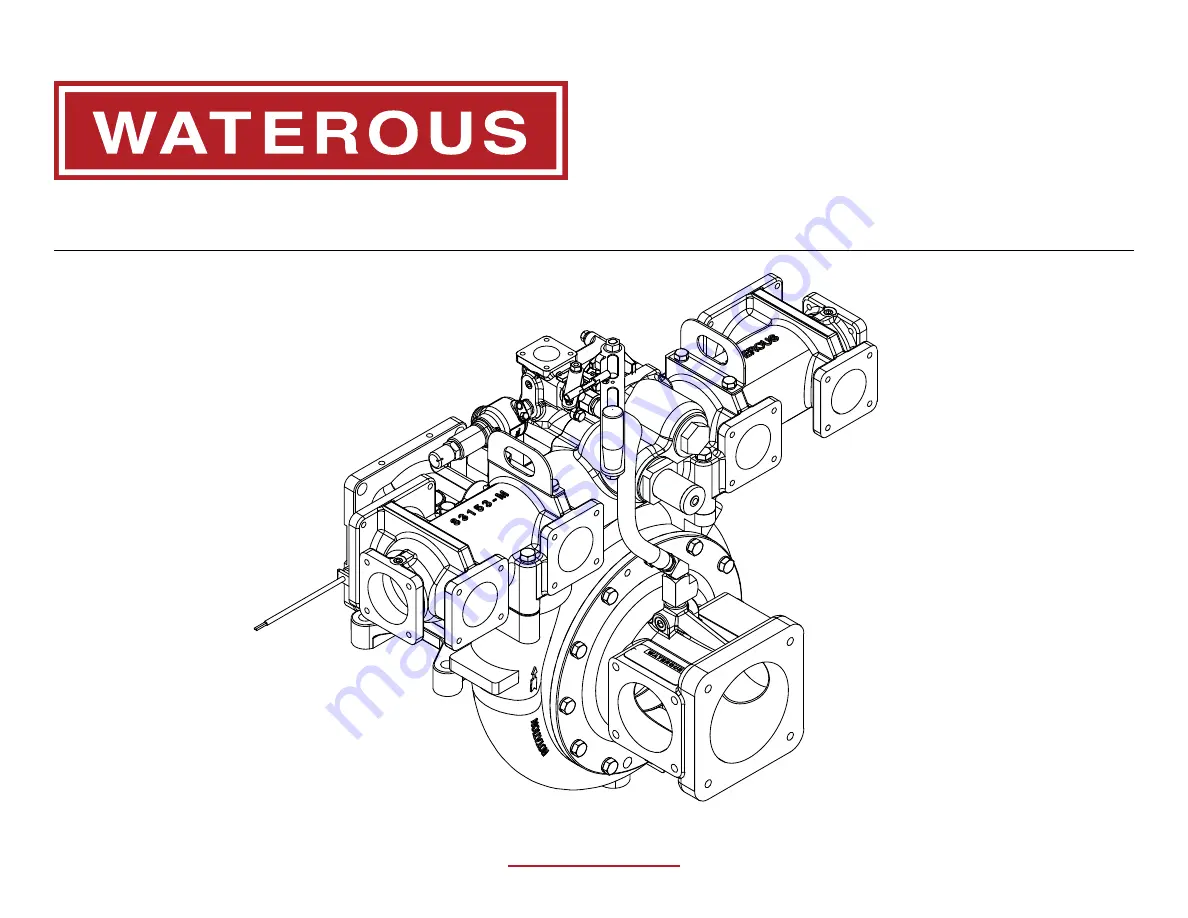
HLU Series Fire Pump
Installation, Operation, and Maintenance
Form Number: F-2868
Issue Date: Jan 30, 2020
Revision Date: Nov 30, 2022
Waterous Company • 125 Hardman Avenue South • South Saint Paul, MN 55075 • (651) 450-5000
www.waterousco.com
Страница 1: ...re Pump Installation Operation and Maintenance Form Number F 2868 Issue Date Jan 30 2020 Revision Date Nov 30 2022 Waterous Company 125 Hardman Avenue South South Saint Paul MN 55075 651 450 5000 www waterousco com ...
Страница 2: ......
Страница 3: ...Modifying the Equipment 25 Determining the Pump Location 25 Determining Cable and Wire Routing 25 Mounting Holes and Flange Cutout 26 Installing the Pump HLUD 27 Installing the Pump HLUK 28 Installing the Pump HLUPA 29 Installing the Pump Drain Lines Pump Body 30 Installing the Transmission Drain Lines K Transmission 31 Installing the Transmission Drain Lines PA Transmission 32 Connecting the Pump...
Страница 4: ...eded to safely perform the required procedures proper installation is the responsibility of the purchaser Do not operate the equipment when safety guards are removed Do not modify the equipment Regularly check for leaks worn or deteriorated parts NOTICE Modifying the equipment can damage components and void your warranty Do not modify the system or any of its components Modification NOTICE Before ...
Страница 5: ...tem beyond specifications Premature Failure Do not touch the surface during operation allow it to cool after operating Hot surface can burn you Hot Surface Drain the pump after use and before servicing Liquid ejected at high pressure can cause serious injury High Pressure Do not operate beyond recommended pressure Liquid ejected at high pressure can cause serious injury High Pressure ...
Страница 6: ...pment is operating Rotating parts can cause severe injury or death Moving Parts Direct discharge away from people and equipment Discharge ejected at high pressure can cause serious injury and damage High Pressure Purge all pressure before servicing Liquid ejected at high pressure can cause serious injury High Pressure ...
Страница 7: ...s that are in this document Introduction This section is an overview of the document Product Overview This section describes the components that make up the system Installation This section describes the installation and initial setup procedures Operation This section describes the equipment operation Maintenance This section describes maintenance procedures Using this Document Use the guidelines ...
Страница 8: ...hat diverts a portion of the incoming water into the high pressure discharge while simultaneously operating the remaining discharges The pump is available in several variations Pump variations include clockwise and counterclockwise rotation as well as direct drive or with a transmission Optional priming and foam generation systems are also available Clockwise Rotation Counterclockwise Rotation Wit...
Страница 9: ...er valve and closing the low pressure discharges Access simultaneous mode by opening both the crossover valve for high pressure discharge and the low pressure discharges You can open and close the crossover valve manually by using the handle or with the optional pneumatically actuated pressure mode control module Low Pressure Mode Access low pressure mode by opening only the low pressure discharge...
Страница 10: ...10 46 Safety Introduction Product Overview Installation Operation Maintenance Pump Components Intake Side 6 5 2 4 3 1 8 2 7 ...
Страница 11: ...tlets for 80 mm adapters You can install a blind flange or 1 to 3 inch tapped flanges to the outlets 3 Rotation indicator This indicates the impeller rotation 4 Serial number plate This displays the pump serial number 5 Intake manifold This is the inlet for the pump various intake configurations are available 6 Internal pressure relief valve This pressure relief valve opens when a predetermined pr...
Страница 12: ...w Installation Operation Maintenance Pressure Mode Controller Optional The pressure mode controller allows you to remotely actuate the crossover valve The pressure mode controller is available as a factory installed option 8 9 5 6 4 7 2 1 3 3 ...
Страница 13: ...ion speed of the cylinder 3 Flow control This controls the cylinder movement 4 Controller This houses the electronics and manages operation 5 Actuator switch connector This connects to the pressure mode switch DT04 6P 6 Power wire This connects to apparatus power 12 V 7 CANbus connector This connects to the apparatus CANbus DT06 3S 8 Solenoid valve This actuates the cylinder 9 Proximity sensors Th...
Страница 14: ...14 46 Safety Introduction Product Overview Installation Operation Maintenance Pressure Mode Switch 3 1 2 ...
Страница 15: ...eration Maintenance Pressure Mode Switch Feature Feature Description Description 1 Mounting holes This mounts the switch to the apparatus 2 Mode switch This operates the pressure mode controller 3 Connector This connects to the pressure mode controller DT06 6S ...
Страница 16: ...16 46 Safety Introduction Product Overview Installation Operation Maintenance Pump Components Underside 4 2 3 1 ...
Страница 17: ...derside Feature Feature Description Description 1 Tachometer This measures the impeller shaft rotational speed 4 pulses per revolution 2 Pedestal This mounts the pump to the apparatus 3 Pedestal drain plug This drains the oil from the pedestal 4 Pump drain plug This drains the water from the pump ...
Страница 18: ...18 46 Safety Introduction Product Overview Installation Operation Maintenance Pump Components Drive Side with Direct Drive 1 1 5 2 3 4 ...
Страница 19: ...ve with one with the same specifications as the valve supplied by Waterous or employ a speed governor system that limits the pump speed to 3450 rpm when the high pressure discharge is enabled Note The discharge plumbing for the external high pressure relief must be directed away from people to avoid injury and equipment to avoid damage It is the responsibility of the installer to make sure that a ...
Страница 20: ...20 46 Safety Introduction Product Overview Installation Operation Maintenance Pump Components Drive Side with K Transmission 1 4 1 2 3 1 5 6 7 ...
Страница 21: ...peed to 3450 rpm when the high pressure discharge is enabled Note The discharge plumbing for the external high pressure relief must be directed away from people to avoid injury and equipment to avoid damage It is the responsibility of the installer to make sure that a high pressure control system for the high pressure discharge is installed and operating properly before the pump is placed into ser...
Страница 22: ...22 46 Safety Introduction Product Overview Installation Operation Maintenance Pump Components Drive Side with PA Transmission 1 4 1 2 3 1 7 6 5 ...
Страница 23: ...ernor system that limits the pump speed to 3450 rpm when the high pressure discharge is enabled Note The discharge plumbing for the external high pressure relief must be directed away from people to avoid injury and equipment to avoid damage It is the responsibility of the installer to make sure that a high pressure control system for the high pressure discharge is installed and operating properly...
Страница 24: ...other parts this can cause premature component failure NOTICE Premature component failure occurs when operating beyond system specifications Do not operate the system beyond specifications Premature Failure Operating the system beyond the operating limits or system specifications will void your warranty Operating the pump beyond recommended maximum pressure can causes liquid to eject at high press...
Страница 25: ...ating levels before using the equipment NOTICE Before Operation Read and understand all the instructions provided Check all fluid levels and replenish if necessary Remove all shipping plugs and install the operation plugs or caps Modifying the Equipment This equipment is intended to operate as designed Do not remove modify or change the components in the system Doing so will void the warranty NOTI...
Страница 26: ...s and Flange Cutout Use the illustration to locate and drill the pedestal mounting holes the pump flange cutout and drain plug hole 10 500in 266 700mm 1 000in 25 400mm 4X 0 781in 19 837mm 5 250 in 266 700mm 6 500in 165 100mm 6 000in 152 400mm 1 875in 47 625mm 1 375in 34 925mm 1 57in 39 878mm ...
Страница 27: ...regular maintenance The pump location must comply with the drive shaft requirements Contact the drive shaft manufacturer for more information 1 Locate and drill the mounting holes and cut the flange cutout on the mounting plate Refer to Mounting Holes and Flange Cutout on page 26 2 Use the lift points to position the pump assembly into the install location 3 Locally source the appropriate hardware...
Страница 28: ...erform regular maintenance The pump location must comply with the drive shaft requirements Contact the drive shaft manufacturer for more information 1 Locate and drill the mounting holes and cut the flange cutout on the mounting plate Refer to Mounting Holes and Flange Cutout on page 26 2 Use the lift points to position the pump assembly into the install location 3 Locally source the appropriate h...
Страница 29: ...erform regular maintenance The pump location must comply with the drive shaft requirements Contact the drive shaft manufacturer for more information 1 Locate and drill the mounting holes and cut the flange cutout on the mounting plate Refer to Mounting Holes and Flange Cutout on page 26 2 Use the lift points to position the pump assembly into the install location 3 Locally source the appropriate h...
Страница 30: ...reezable fluids must be drained from the pump to prevent damage NOTICE Do not allow fluid in the lines to freeze Remove all freezable fluid from the lines before storing the apparatus Freeze Damage 1 Install a drain line to the pump by performing the following Locate the drain port on the pump bottom Remove the drain plug Install the appropriate fittings and hoses to drain the pump when required ...
Страница 31: ...e lines to freeze Remove all freezable fluid from the lines before storing the apparatus Freeze Damage 1 For applications with a vertically mounted transmission perform the following Locate the 4 drain ports on the case bottom Remove the appropriate drain plug Install the drain line to the transmission 2 For applications with a right mount transmission perform the following Locate the 2 drain port...
Страница 32: ...freezable fluids must be drained from the transmission to prevent damage NOTICE Do not allow fluid in the lines to freeze Remove all freezable fluid from the lines before storing the apparatus Freeze Damage 1 Install a drain line to the PA transmission by performing the following Locate the drain port on the cooler plate Remove the drain plug Install the appropriate fittings and hoses to drain the...
Страница 33: ...rnal high pressure relief valve Direct discharge away from people and equipment Discharge ejected at high pressure can cause serious injury and damage High Pressure Note The discharge plumbing for the external high pressure relief must be directed away from people to avoid injury and equipment to avoid damage It is the responsibility of the installer to make sure that a high pressure control syste...
Страница 34: ... to your application connect the CANbus connector to the CANbus controller 2 Connect the solenoid valve to the compressed air supply Note A clean and dry air supply is required for consistent operation 3 Connect power and ground from the apparatus Red or White 12 V Black Ground 4 Connect the switch connector to the panel switch Note Use the optional splitter cable if your application requires an a...
Страница 35: ...tch and the controller Use locally sourced components and the information below to construct an extension cable for your application Deutsch Connector Deutsch Connector 1 LP LED 2 HP Switch 3 Ground 4 LP Switch 5 HP LED 6 Plugged Deutsch DT04 6P or equivalent Deutsch Connector Deutsch Connector 1 LP LED 2 HP Switch 3 Ground 4 LP Switch 5 HP LED 6 Plugged Deutsch DT06 6S or equivalent ...
Страница 36: ...or 1 2 Use the illustration and instructions to set the CANbus terminating resistor if your application uses CANbus communication 1 Remove and set aside the vent plug Install the vent plug after setting the dip switches 2 Set the terminating resistor dip switches to the following Terminate CANbus Pass through CANbus ...
Страница 37: ...and instructions to adjust the flow controls on the cylinder 1 Adjust this flow control valves to cause the cylinder to fully extend or retract between 3 and 5 seconds This is achieved by doing the following 1 Fully open each valve 2 Adjust each valve the same amount until the cylinder extends and retracts between 3 to 5 seconds ...
Страница 38: ...r the speed governor system 1 Position the handle to the right to enable the high pressure discharge 2 Position the handle to the left to disable the high pressure discharge After operation follow established procedures that include Do not store the pump partially full Completely fill or drain the pump before storage Always drain the pump when freezing can occur NOTICE Do not allow fluid in the li...
Страница 39: ...amber LED flashes as the cylinder traverses between modes and illuminates solid once the mode is achieved 2 Disable the high pressure discharge by pressing the Low side of the switch The green LED flashes as the cylinder traverses between modes and illuminates solid once the mode is achieved After operation follow established procedures that include Do not store the pump partially full Completely ...
Страница 40: ...h pressure discharge available The proximity sensors on the cylinder communicate the cylinder position to the controller which illuminates the appropriate mode LED 3 In the event that high pressure mode is not achieved after being selected the mode LEDs will flash to indicate an error condition Depending on the error condition you can achieve high pressure mode by pressing and holding the high pre...
Страница 41: ...al conditions Replace wear components with equivalent components Operation Operation Before Initial Before Initial Operation Operation Weekly Weekly Monthly Monthly 12 Months 12 Months Comment Comment Clean the intake strainer X More or less often as determined by usage and the water quality used Replace strainer cover O ring 1 7 8 x 2 1 8 inches Check the pedestal oil level X X Verify operation X...
Страница 42: ... strainer Note Make sure that you purge all pressure before continuing Purge all pressure before servicing Liquid ejected at high pressure can cause serious injury High Pressure 1 Remove the strainer cover and the strainer 2 Remove and replace the strainer cover O ring with an equivalent 1 7 8 x 2 1 8 inches 3 Install the strainer and securely install the strainer cover ...
Страница 43: ...vel do the following Unscrew the oil fill cap Wipe the dipstick clean Fully screw the oil fill cap back into the pedestal Unscrew the oil fill cap to inspect the oil level 2 Inspect where the oil falls on the dipstick The oil should fall between the grooves on the dipstick Add oil to the pedestal if the oil level is low Refer to Adding the Pedestal Oil on page 45 Install the oil fill cap to comple...
Страница 44: ...tom of the pedestal Remove the drain plug and copper washer 2 Continue the process by performing the following Set aside the drain plug Set aside the copper washer Completely drain the pedestal oil 3 Inspect the copper washer for damage and replace it if necessary Only replace the washer with its equivalent 4 Perform the following to complete the procedure Locate the drain plug that you set aside ...
Страница 45: ...the illustrations and instructions to add the pedestal oil Use 1 qt 0 95 L SAE 10W 30 standard or synthetic 1 Remove the oil fill cap from the pedestal 2 Add oil to the pedestal 3 Check the oil level Refer to Checking the Pedestal Oil Level on page 43 Install the oil fill cap when the oil is within specification ...
Страница 46: ...Waterous Company 125 Hardman Avenue South South Saint Paul MN 55075 651 450 5000 www waterousco com ...