Installation and connection of the outdoor module
21.10.2015
20 / 60
Copyright
2014 by: WATERKOTTE GmbH. Subject to changes.
6.2
Clearance for ventilation and operation
When installing outdoor module on a rooftop / other location unprotected
from the wind, align air outlet opening in such a way that it is not directly
exposed to strong winds. Strong wind blowing directly into the air outlet
opening may impede normal airflow and thus cause malfunctions.
Precautions against strong winds can be seen in the following examples:
Align air outlet to nearest wall with a distance of about 50 cm.
Air guide: Position the module in such a way that the air discharged
from the air outlet is guided perpendicular to the direction from which
seasonal strong winds usually blow.
6.3
Installation in base plate or on the wall
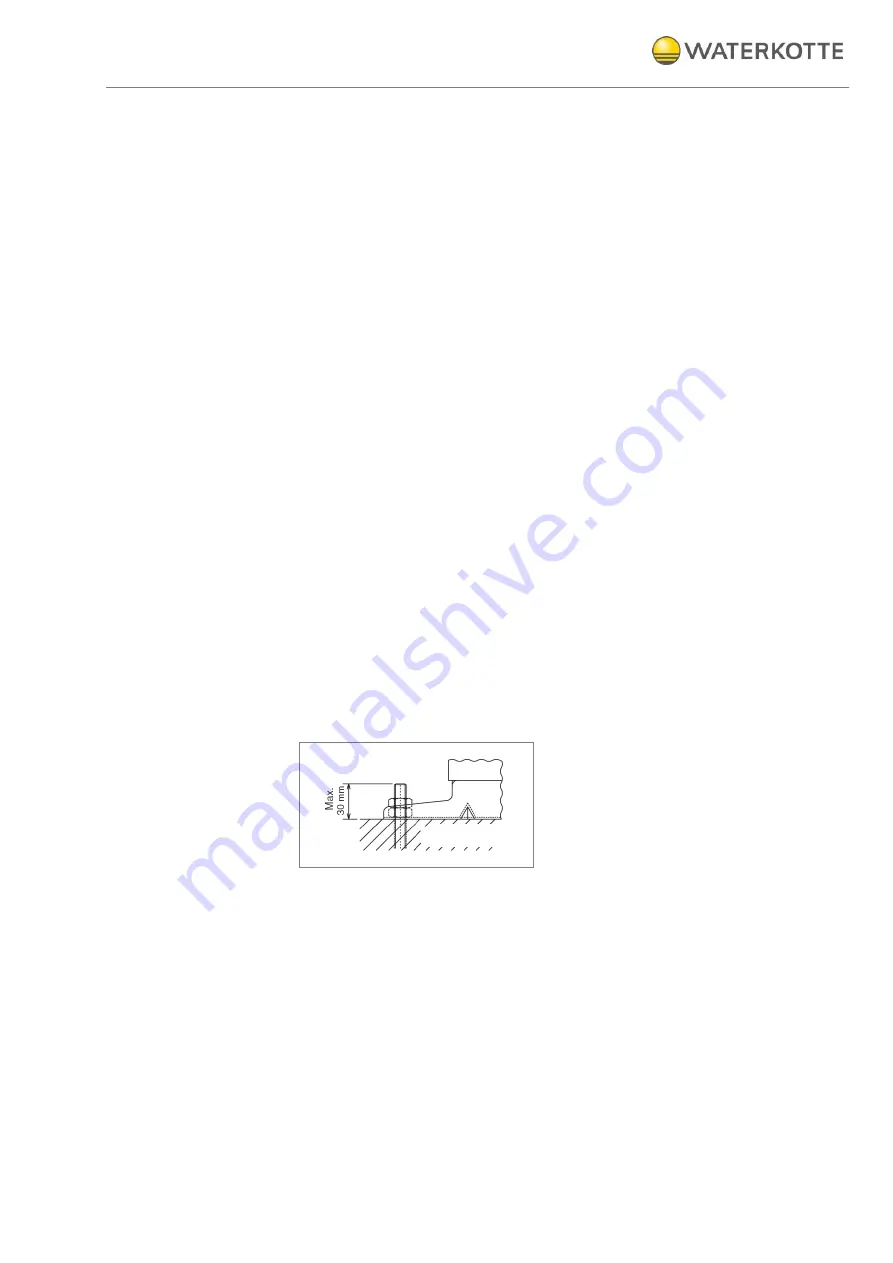
Secure the base of the module firmly with four M10 screws to a proper
base plate (screws and nuts are not included in delivery). Please note:
Connection directions: The connection (piping and wiring) is performed
from below.
Ensure that water can drain off during defrosting. This can be accom-
plished by excavating the ground.
The installation height depends on the climate conditions at the site. In-
stall the module at a height that takes possible flooding or heavy snow
into account, but at least about 40 cm to 60 cm above the ground to al-
low unobstructed drainage of condensation. This ensures trouble-free
operation even in case of snow.
Note: Ice formation can occur particularly during the cold season. In ex-
treme cases, this can block the fans. Remedial action: Ensure unob-
structed drainage of melted water and remove excessive ice build up
below the module manually if necessary.
Figure 6: Securing in base plate
WATERKOTTE GmbH offers a wall mounting set.
Ensure that the melted water can drain off. Ensure that the entire drain is
frost-free to prevent freezing in the winter. For this purpose, a trace
heating could be applied.
Base plate


