42
5 Channel
Selection Click one of the numbers to switch to the channel you want to see
in fullscreen
Display Mode
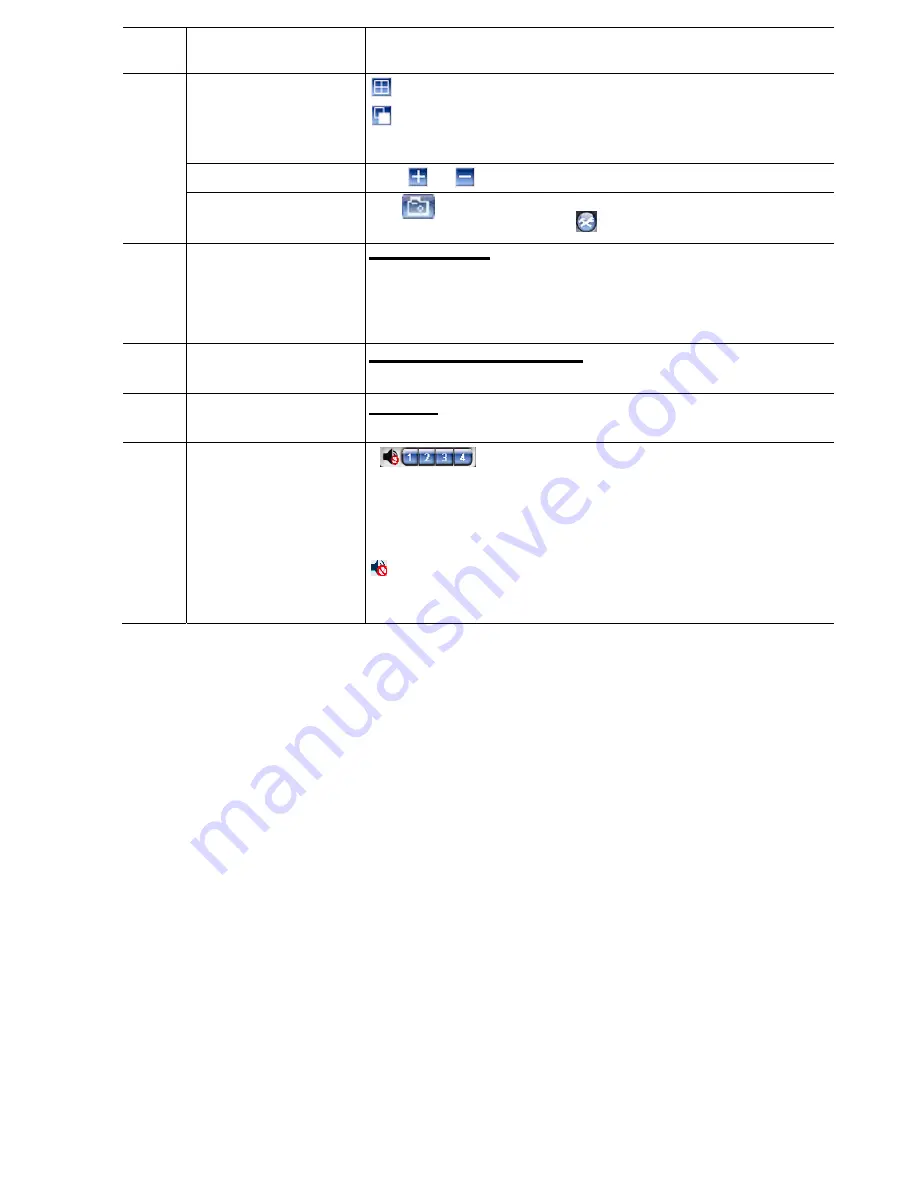
Click to show 4-cut display.
Click to display each channel one by one, starting from CH1.
When the last channel is displayed, the cycle repeats from CH1.
To exit from this display mode, press any other channel display
button
Selection
Click
or
to go to the previous/next channel, or change settings.
6
Snapshot
Click to take a snapshot of the current view, and save it to the
specified path in your PC set in “
”
“General”.
7 Web
Transmission
H.264 / QuickTime
QuickTime is Apple Inc.’s multimedia software. You need to have
QuickTime installed in you operation system first. When “QuickTime” is
selected, you will be promoted to enter the user name and password to
access the server of the DVR.
8 Change
Quality
BEST / HIGH / NORMAL / BASIC
Click to change the image quality.
9 Change
Resolution
4 CIF / CIF
Click to change the image resolution (4CIF: 704 x 576/CIF: 352 x 288)
10
Audio Channel Selection
Select the audio channel you want for listening to the live audio.
Note: Your camera must support audio recording, and connect to
the video channel which supports audio recording and the audio
input of the DVR. For details, please refer to “
1.3 Rear Panel
” at
page 8.
means mute.
To disable the mute status, click this icon again and select the
audio channel you want.
Содержание DVR4ENTPACK4
Страница 36: ...36 REMOTE OPERATION ...


