Vehicle Installation Instructions
WGD00085 REV B1
Page 9
8.
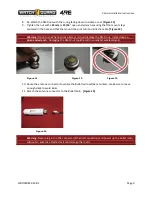
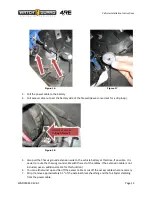
Re-attach the NMO nut with the o-ring facing down to create a seal.
[Figure 11]
9.
Tighten the nut with a
24mm
or
15/16
’’ open end wrench ensuring that the mount stays
centered in the hole and that the mount does not turn and kink the cable.
[Figure 12]
Warning:
Do not use a Channel lock pliers as it could damage the NMO nut. Instead use an
open end wrench
. Damaging the NMO nut could result in unreliable wireless signal.
Figure 11
Figure 12
Figure 13
10.
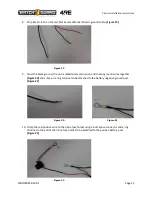
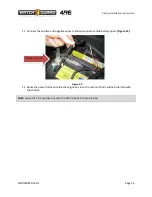
Route the antenna connector to where the Bullet radio will be mounted – make sure to leave
enough slack to avoid kinks.
11.
Attach the antenna connector to the Bullet radio.
[Figure 14]
Figure 14
Warning:
Never plug in the PoE connector (Ethernet connection) and power up the Bullet radio
without an antenna attached as it can damage the radio.


