10. Special MIDI controllers have been created for advanced sequencer edit and playback. All of the above
mentioned functions can be activated using MIDI controllers and also, a sequence can be muted while it
continues to cycle. This is particularly useful for playing live sequences in time with drum machines and other
sequencing instruments or controllers. See MIDI controller 21 in the MIDI implementation documentation for
details.
11. You can copy a sequence from one sequence location to another. First, select the sequence that you wish to copy
(see point 7 above). Then, press and hold down the “Write” button. Then, use the keypad to select the sequence
into which you wish the sequence to be copied. Finally, release the “Write” button.
Real Time Advanced Sequencer Editing Operations
Several functions are available for real time editing of sequences. All of these functions require that the sequencer be
running. You cannot perform any of these functions while the sequencer is not running.
12. You can copy append two sequences together. This allows you to create two different sequences and copy them
into the sequencer scratch memory (sequence 8). Once you have copy appended two sequences into scratch
memory 8, you can then copy that larger sequence back into one of the stored sequences 1 thru 7. You cannot
copy append two sequences together if the total length of the resulting sequence exceeds 256 events. To copy
append two sequences, select the sequence that you wish to have play first. Then, hold down the “Write” button
and select the sequence that you wish to play after the first sequence. If the copy append operation is successful
then the display will change to show sequence 8 as being selected. Sequence 8 is not stored in non volatile flash
memory so you must copy the sequence to 1 thru 7 sequence locations if you wish to keep sequence 8.
13. You can punch in notes to a playing sequence by pressing the “Write” button. The selected program will flash (as
though you were about to carry out a patch write). With the patch number flashing, you can now play notes into
the sequence. Any notes played will be punched in to the sequence. The new sequence that includes the punched
notes is stored in sequence scratch memory 8. You can continue to punch in notes as you desire.
14. You can punch in rests into your sequence by pressing and holding down the “Bank Hold” button. While holding
down the “Bank Hold” button you punch in rests by pressing the “Write” button. The longer you hold the “Write”
button down the more rests will be punched in over your sequence.
15. If you don't like the last real time edit you made, whether it's punching in notes or some rests, you can undo the
last edit by pressing the “Chord Memory” button.
16. Whenever you punch in notes or punch in rests, the display will flash briefly. While the display flashes you cannot
carry out any further punching operations. You must wait for the flashing to stop before attempting any
additional real time edits.
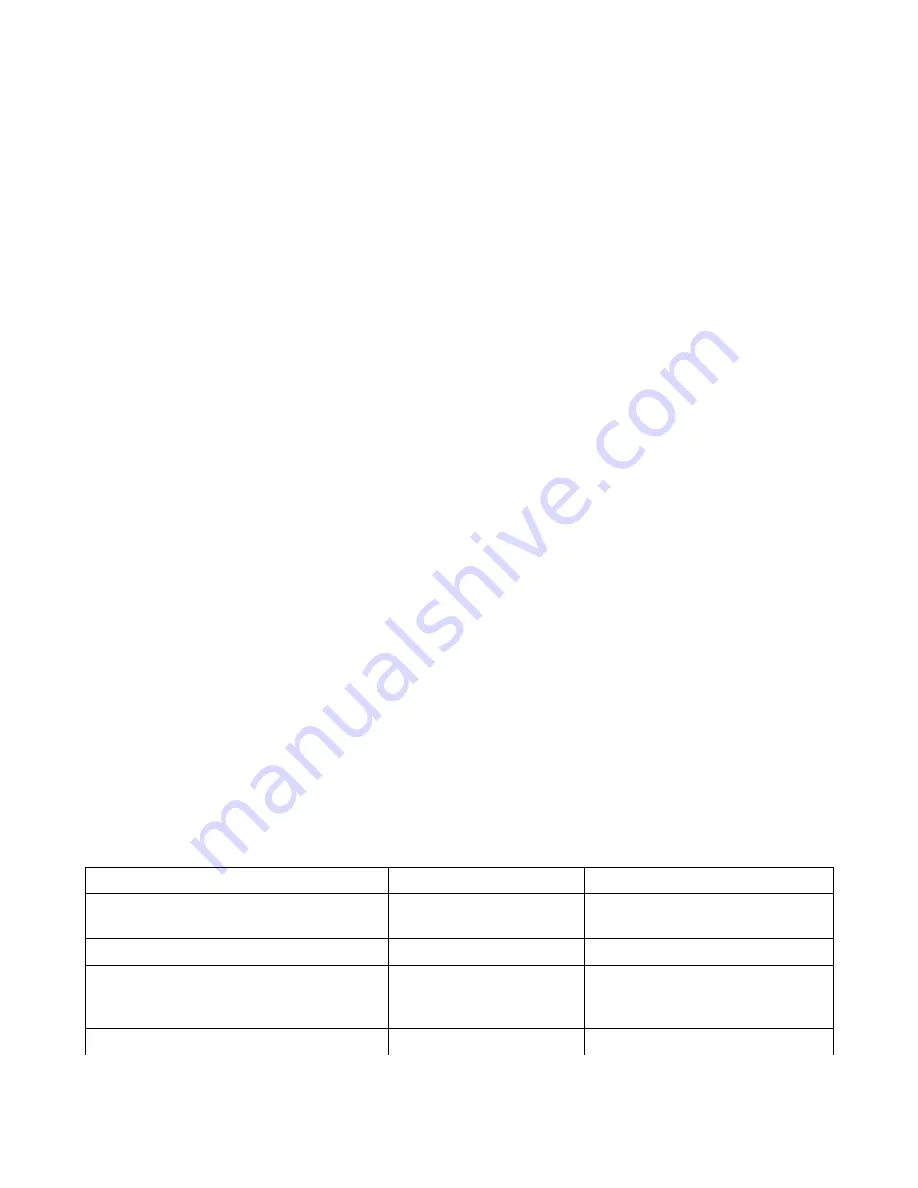
Power On Functions
The following power up functions are available.
Button Combination
Action
Purpose
Hold down the “Write” button
Enters“Flash” mode
Allows upgrading boot software and
operating software
Hold down the “Prog/Para” button
Enters “Tools” mode
Allows access to “Tools” functions
Hold down the “CHORD” and “HOLD” buttons
Clears all patch memory
Helps to troubleshoot problems with
patch memory by clearing all patch
memory with zero values.
Hold down the “CHORD” and “DOWN” buttons Clears all software flash
Helps to troubleshoot problems with
-38-
Содержание HAWK-800
Страница 1: ...1...


