20
OPERATIONS (cont.)
WARNING!
MAKE CERTAIN THAT THE MACHINE IS DISCONNECTED FROM THE POWER
SOURCE.
REMOVING AND INSTALLING THE HEADSTOCK FACEPLATE
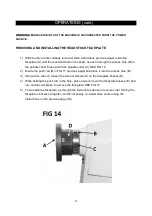
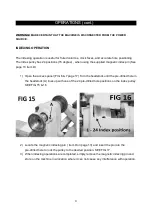
1) With the drive center already removed, (See instructions previous page) rotate the
faceplate (A) until the machined hole in the shaft, as seen through the access hole (B) in
the spindle collar lines up with the spindle collar (C). SEE FIG 14
2) Locate the push rod (B in FIG 11 previous page) and place it into the access hole (B).
3) Using a hex wrench. loosen the two set screws (D) on the faceplate bosses (E).
4) While holding the push rod in the hole, place a wrench over the faceplate bosses (E) and
turn counter-clockwise to remove the faceplate. SEE FIG 14
5) To re-install the faceplate, go through the instructions above in reverse order turning the
faceplate clockwise to tighten. And if necessary, re-install drive center using the
instructions on the previous page (19)
Содержание 60170ML-WHD
Страница 5: ...5 FEATURE IDENTIFICATION cont WIRED REMOTE CONTROL WITH MAGNETIC BACK...
Страница 24: ...24 PARTS...
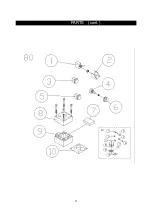
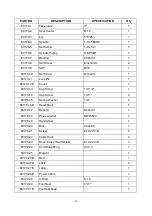
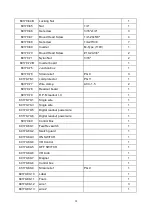
Страница 25: ...25 PARTS cont...
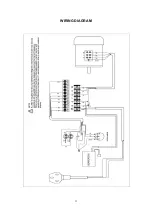
Страница 31: ...31 WIRING DIAGRAM...
Страница 32: ...32...

