21
"
Adjust the video eyewear’s nose bridge length and separation for a
comfortable fit. The eyewear displays should align at the same level as your
eyes.
Tip:
The nose pad stem can be pulled out of the display module to enable easy
replacement. If the stem pulls completely out, simply slip it back into its slot
taking care that the serrated strip faces toward you – away from the eyewear
display assembly.
Note:
Just as is the case with prescription eyeglasses, the wire arms of the nose pads
are designed for adjustment for consistent users. Excessive frequency of
adjustment of the wire arms or sharp bends may weaken and break the arms.
Replacement nose pads are available from Vuzix.
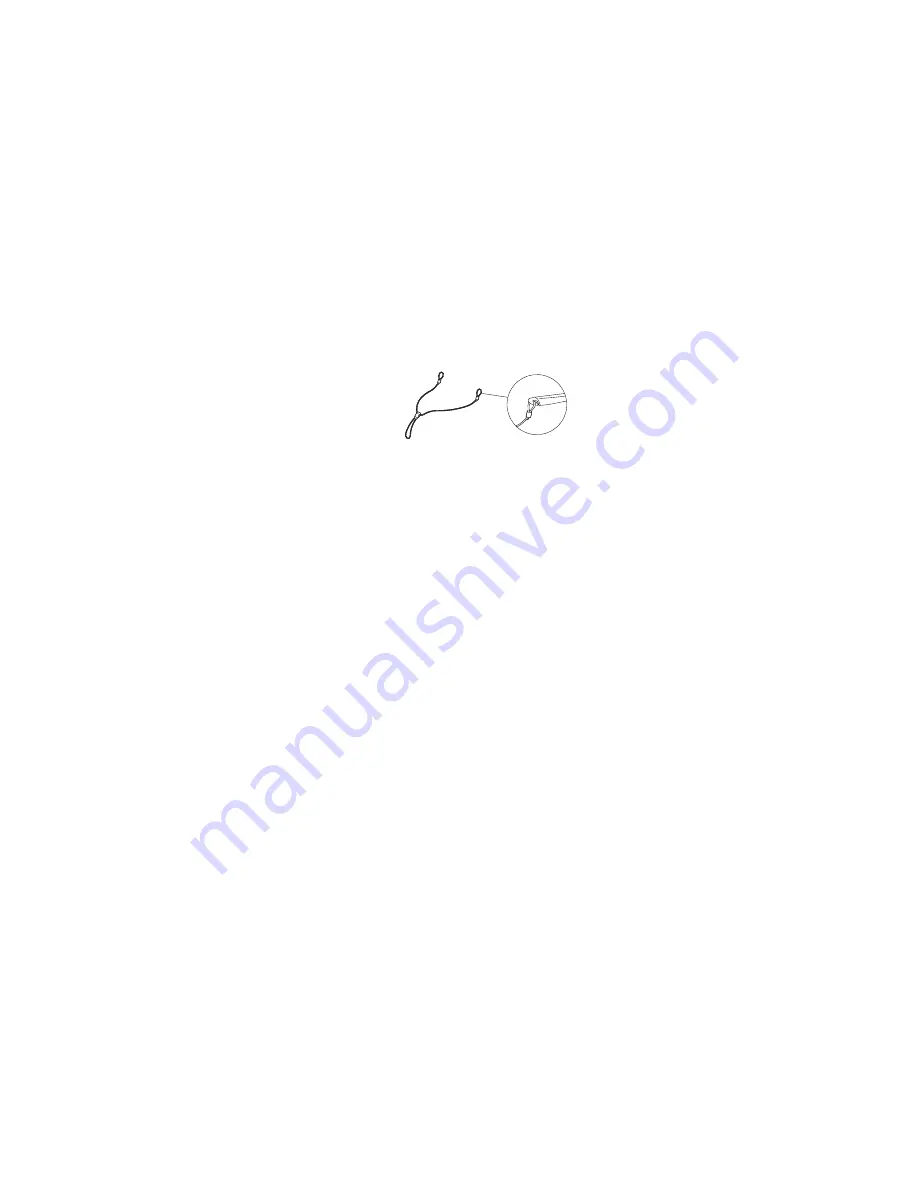
Tether Strap
For applications where greater security of the eyewear is required, such as
when moving around, a provided tether strap can be used.
"
Attached each end of the tether strap to the eyelets on the eyewear stems.
"
Adjust the strap synch for a comfortable and secure fit.
Step 4: Software Installation
There are two software installers included in the STAR 1200 software and
documentation package – VR Manager and maxReality.
VR Manager is a software application used to calibrate the head tracker and
enable head-tracking and 3D stereoscopic video in virtual reality
applications. Its installation is required if the head tracker is to be used.
MaxReality is an optional use software application that is not required for
using the STAR 1200 AR eyewear system. maxReality is plug-in for
Autodesk 3DS Max that enables 3ds Max objects and scenes to be
transformed into 3D AR content. The maxReality installation package
includes the maxReality plug-in as well as a stand-alone Viewer application.
It does not include Autodesk 3ds Max, which must be purchased separately


